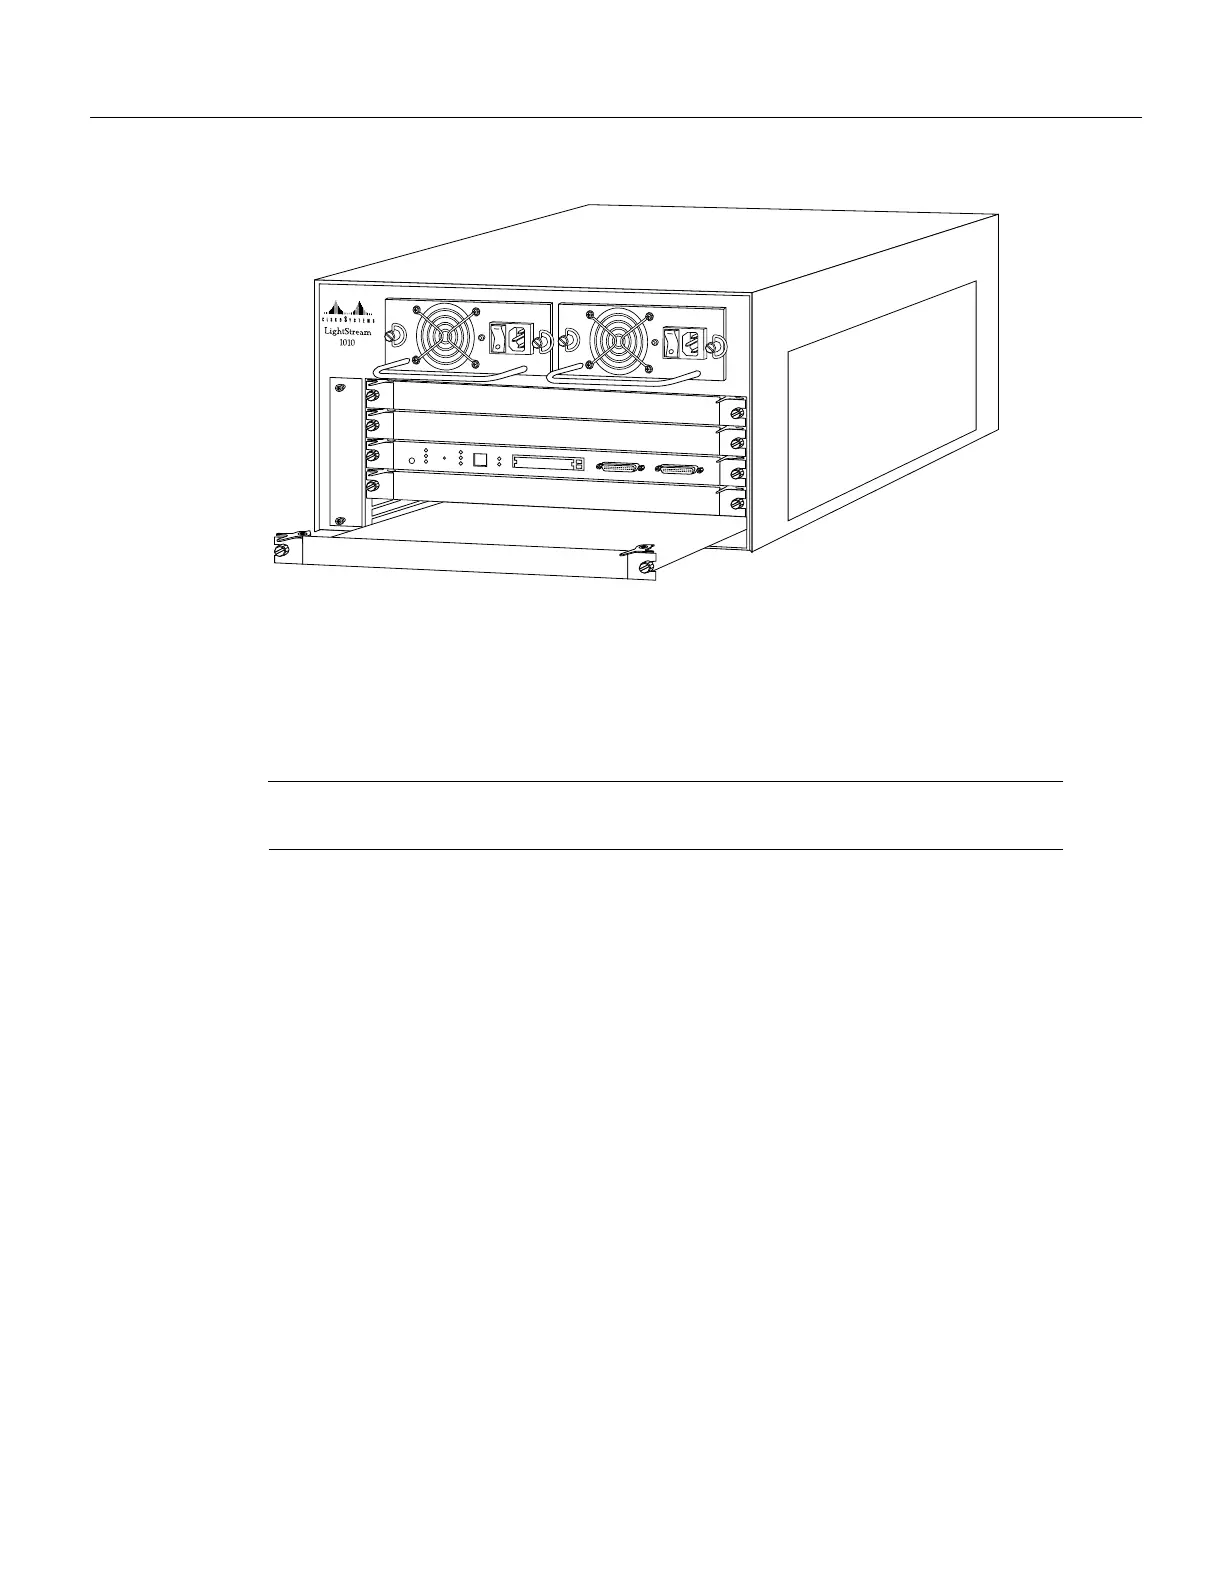
until the faceplate makes contact with the ejector levers.
Note Always use the ejector levers when installing or removing the ASP. A module that is partially
seated in the backplane causes the system to halt and subsequently crash.
Step 6 Use a screwdriver to tighten the captive installation screws on the left and right ends of the
ASP.
Step 7 Attach network interface cables or other devices to the interface ports.
Step 8 If needed, turn the power back on. See the section “Starting the System” in the chapter
“Installing the LightStream 1010 ATM Switch” in the LightStream 1010 ATM Switch User
Guide.
Step 9 Check the status of the interfaces as follows:
• If this installation is a replacement PAM, use the show configuration or show atm
interface [card/subcard/port] command to verify that the system has acknowledged the
new interfaces and brought them up.
• See the publications LightStream 1010 ATM Switch Software Configuration Guide and
LightStream 1010 ATM Switch Command Reference for all software instructions and
information.
Configuring the Interfaces
After you install the module, use the following information to configure the module and the
individual interfaces on the ASP module. In the LightStream 1010 ATM Switch User Guide the
section “LightStream 1010 ATM Switch Hardware” contains an overview of the port and module
numbering scheme used to configure the ASP. The section “Configuring the LightStream 1010 ATM