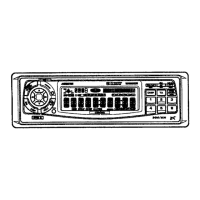
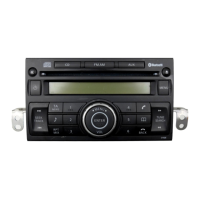
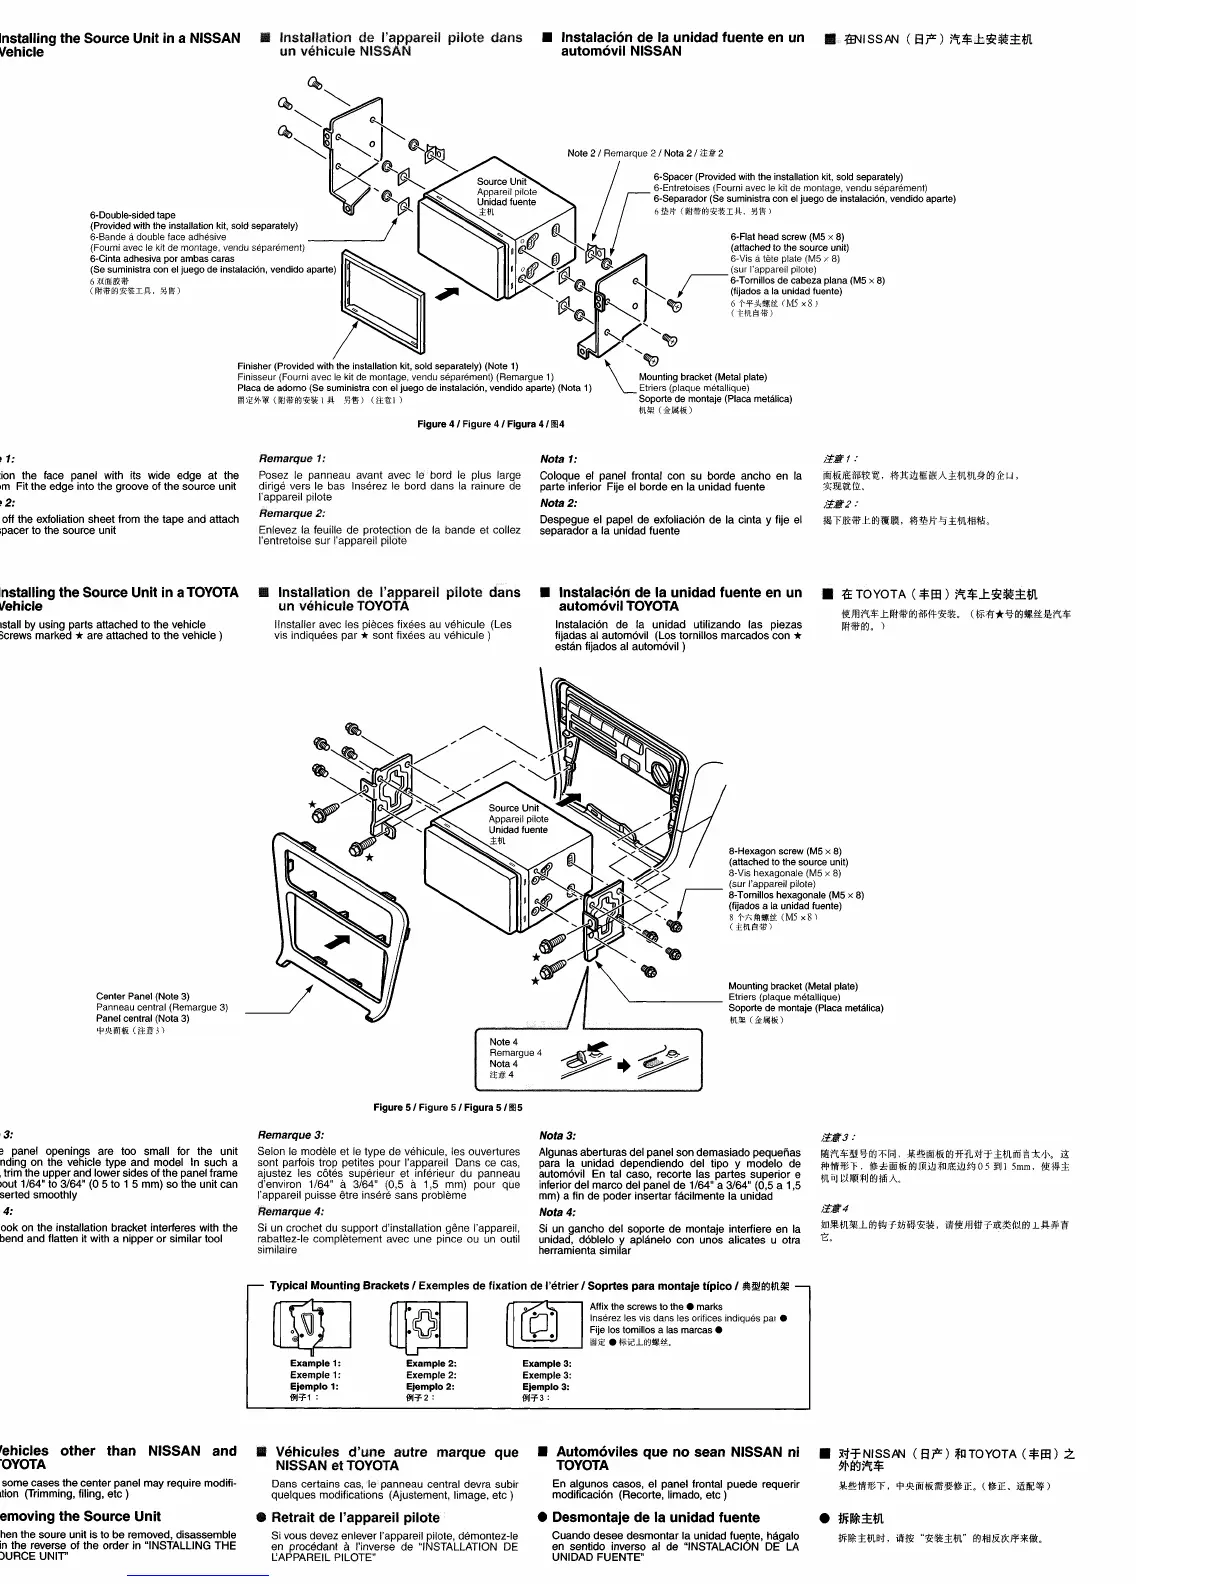
• Installing the Source Unit in a NISSAN
Vehicle
• Installation de I'appareil pilote
dans
un
vehicule
NISSAN
• Instalaci6n
de
la unidad fuente en un
autom6vil NISSAN
Finisher (Provided with the installation kit, sold separately) (Note
1)
Finisseur (Fourni avec
Ie
kit de montage. vendu separement) (Remargue
t)
Placa de adorno (Se suministra con
el
juego de instalaci6n, vendido aparte) (Nota 1)
[jj]jEW~
OH*A91i:'iIi 1
J'I.
,1}i!i)
(lt~l)
6-Double-sided tape
(Provided with the installation kit. sold separately)
6-Bande
adouble face adhesive
(Fourni avec
Ie
kit de montage. vendu separement)
6-Cinta adhesiva por ambas caras
(Se suministra con el juego de instalaci6n, vendido aparte)
6XJ(fHi~*
OIt*fI'J1i:'iliIJ'I.. !]jl1i)
Note 2 / Remarque
2/
Nota 2 /
i±~
2
/
6-Spacer (Provided with the installation kit. sold separately)
6-Entretoises (Fourni avec
Ie
kit de montage. vendu separement)
r
6-Separador (Se suministra, con
el
juego de instalaci6n. vendido aparte)
6
t'Ht
OfHI1Ag1i:'iliIl{.,
!]j
t.
)
'"
0
'&J
~
I 6-Flat head screw (M5 x 8)
o
~
,~"'~o
(attached to the source unit)
n.~.j"@
6-Vis atete plate (M5 x 8)
o
0t!.::i<J:;:'
(sur I'appareil pilote)
o
~
~~
~
;-
6-Tornillos de cabeza plana (M5 x
8)
....
'-....
~
J"
I
(fija",
dO"S,
a la unidad fuente)
'~
""--
0
~
6
t-'f3l<~ti:
(M5
x 8 )
17""-@l
'-....""CI
(Hit
FHI1
)
~
/
....
~....
........~
'~
\ Mounting bracket (Metal plate)
~
Etriers (plaque metalliquej
Soporte de montaje (Placa metalica)
t!L~
(~Jilita)
Figure
41
Figure
41
Figura
4/004
Yote 1:
::>osition
the face panel with its wide edge at the
)ottom Fit the edge into the groove of the source unit
r-Iote2:
::>eel
off the exfoliation sheet from the tape and attach
[he
spacer to the source unit
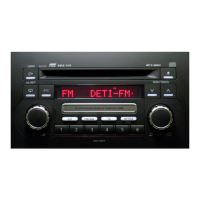
• Installing the Source Unit in a
TOYOTA
Vehicle
Install
by
using parts attached to the vehicle
(Screws marked
*are attached to the vehicle)
Remarql1e 1:
Posez
Ie
panneau avant
avecta
bord
Ie
pius large
dirige vers
Ie
bas Inserez
Ie
bard dans
la
rainure de
I'appareil pilote
Remarque2:
Enlevez la feuille de
proteGtipn
de
la
ban
de et collez
I'entretoise sur I'appareil pilote
• Installation
de
I'appareil pilote dans
un
vehicule
TOYOTA
IInstalier avec les pieces fixees
au
vehicule (Les
vis indiquees par
*sont fixees
au
vehicule )
Nota 1:
Coloque el panel frontal con
su
borde ancho en
la
parte inferior Fije
el
borde en la unidad fuente
Nota 2:
Despegue
el
papel de exfoliaci6n de la cinta y fije el
separador a la unidad fuente
• Instalaci6n
de
la unidad fuente en un
autom6vil
TOYOTA
Instalaci6n de
fa
unidad utilizando las piezas
fijadas al autom6vil (Los tomillos marcados con
*
est{m fijados
al
autom6vil )
i'tif
1 :
1llf,f&rreff~'iX~,
¥f:l'l;j;QWHrx;\.:l:fnfJl:9tIi%':
u,
:g;:\'l!iVtffL
i:tif2
;
.T
••
k~~.,.m~~.:l:fJU§M.
••
1£
TOYOTA
($I':EI)
;"i:$..t*~::l:.m
Rm~$kM.~.#~&.
(~~*%~~~.~$
~tl*~.
)
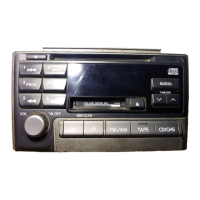
Center Panel (Note 3)
Panneau central (Remargue
3)
Panel central (Nota
3)
9'fHiita
(I-un)
Note 4
Remargue 4
Nota 4
i±~4
Figure
51
Figure
5/
Figura
5/00
5
8-Hexagon screw (M5 x
8)
(attached to the source unit)
Mounting bracket (Metal plate)
'--
Etriers (plaque m6tallique)
Soporte de montaje (Placa metalica)
tit'll!
(~Iillta)
Note 3:
Some
panel openings are too small for the unit
depending
on
the vehicle type and model
In
such a
case,
trim the upper and lower sides of the panel frame
by
about 1/64" to 3/64"
(0
5 to 1 5 mm)
so
the unit can
be
inserted smoothly
Note 4:
If
a hook
on
the installation bracket interferes with the
unit,
bend and flatten
it
with a nipper or similar tool
Remarque3:
Selon
Ie
modele et
Ie
type de vehicule, les ouvertures
sont parfois trap petites pour I'appareil Dans ce cas.
ajustez les cotes superieur et inferieur du panneau
d'environ
1/64" a 3/64" (0.5 a 1,5
mm)
pour que
I'appareil puisse etre insere sans probleme
Remarque4:
Si
un
crochet du support d'installation gene I'appareil.
rabattez-Ie completement avec une pince
ou
un
outil
similaire
Nota 3:
Algunas aberturas del panel son demasiado pequenas
para la unidad dependiendo del tipo y modelo de
autom6vil
En
tal caso, recorte las partes superior e
inferior del marco del panel de
1/64" a 3/64" (0,5 a 1,5
mm)
a fin de poder insertar facilmente la unidad
Nota 4:
Si
un
gancho del soporte de montaje interfiere
en
la
unidad, d6blelo y aplanelo con unos alicates u otra
herramienta similar
i:tif3
:
.~$.%~~~.
_~Illf~~*R~f.:l:m®!~~
~
jipmlBl'.
~:idm~~IV!J1l;ftl)ff;j;Qt~OHIJl
5mm.
{t1~.:l:
mrimJ@!;fIJa'~ttliA.
i:£ti14
1lD!~Hn!#1l.~ftJfM~~1i:&.
i'lf1tmWT~?R1t!~
L!'!·#ff
'f:;.
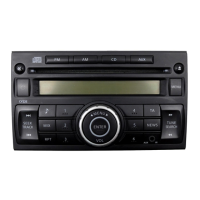
Typical
Mounting
Brackets1Exemples de fixation de l'IHrierI Soprtes para montaje trpico I
~~~m~
Example
1:
Exemple
1:
Ejemplo
1:
iJlJ'1'1
:
Example
2:
Exemple2:
Ejemplo2:
f§tJ'1'2
:
Affix the screws to
the.
marks
Inserez les vis dans les orifices indiques pal •
Fije los tomillos a las marcas •
fM5E
•
t*lCl..ffJ~ti:.
Example 3:
Exemple3:
Ejemplo3:
f§tJ1"3
:
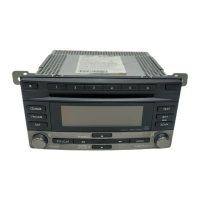
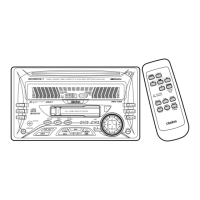
• Vehicles
other
than
NISSAN and
TOYOTA
111
some cases the center panel may require modifi-
cation (Trimming, filing,
etc)
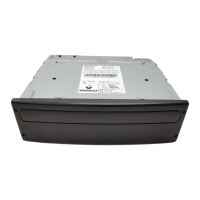
• Removing
the
Source
Unit
When
the soure unit is to be removed, disassemble
it
in
the reverse of the order in "INSTALLING THE
SOURCE UNIT'
• Vehicules d'u;ne autre marque que
NISSAN
et
TOYOTA
Dans certains
cas.lepanneau
central devra subir
quelques modifications (Ajustement, limage,
etc)
• Retrait de I'appareil pilote
Si
vous devez enlever I'appareil pilote, demontez-Ie
en procedanl
a I'inverse de "INSTALLATION
DE
l.:APPAREIL PILOTE"
• Autom6viles
que
no
sean NISSAN
ni
TOYOTA
En
algunos casos, el panel frontal puede requerir
modificaci6n (Recorte, Iimado,
etc)
• Desmontaje
de
la unidad fuente
Cuando desee desmontar la unidad fuente,
Mgalo
en sentido inverso al de "INSTALACI6N
DE
LA
UNIDAD FUENTE"
•
X'fTNISSPN
(Sf")
~nOYOTA
($I':EI) Z
9~B9n:$
~~'l\\'lBT,
<p9I:Illf~1i'ii~1t1:iL
(~iL
Ji!!fc~)
• m
1l*::E
fJl.
j)f~±mB>t,
i'lftte
"1i:&.:l:m"
~;j>§)jUXff*j{.
 Loading...