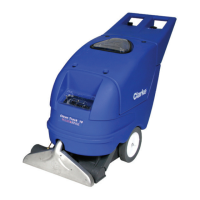
12/11 A-9 56091055 - Clean Track S16, L18
ENGLISH - AINSTRUCTIONS FOR USE
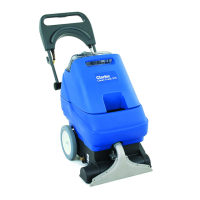
8
7
B
A
FRONT
OPERATING THE MACHINE
1 Follow the instructions in the Preparing the Machine for Use section of this manual.
2 Loosen the Handle Height Adjustment Knobs (20A) and adjust the handle height to the most comfortable position for the operator. Re-tighten the knobs once
the desired height is reached. Or lift up on Handle Position Adjustment Lever (20B) to adjust to a comfortable height.
3 Plug the machine into a properly grounded outlet. To start the vacuum motor and brush motor, turn Power and Extract / Accessory Switch (14) to the extract
On (I) position (brush symbol).
4 Push down on the Brush Pressure Control Knob (17) to release the machine from the storage position.
5 Adjust the brush pressure. Turn the Brush Pressure Control Knob (17) counter-clockwise to decrease the brush pressure and clockwise to increase the brush
pressure. The machine should assist, but not propel itself (on carpet) when the brush is properly adjusted.
6 Continually hold the Solution Switch (1) to dispense solution. Once the Solution Switch (1) is released the solution fl ow will stop. On the Clean Track L18,
which is equipped with Solution Switch (Constant or Intermittent) (16), solution is dispensed in two ways.
• When the Solution Switch (16) on the panel is in the “constant” position, solution is dispensed continuously and the Solution Switch (1) is disabled. This is
mainly used when the machine is used in the high productivity walk behind mode.
• When the Solution Switch (16) on the panel is in the “intermittent” position, solution is dispensed only when the Solution Switch (1) is pressed.
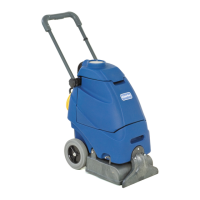
7 Begin cleaning by pulling the machine along in a straight line and overlap each pass by 2 inches (5 cm). Release the Solution Switch (1) prior to turns to ensure
complete extraction of solution from carpet.
8 Watch the fl uid entering the Recovery Tank Dome Lid (4). If there is a large amount of suds in the recovery tank, add a defoamer chemical to the recovery
tank.
CAUTION!
Empty the recovery tank before the fl uid or foam enters the vacuum motor.
If there is little or no fl uid entering the recovery tank, check the Solution Drain Hose / Level Indicator (15), the solution tank may be empty. Refi ll the solution
tank with water and the proper ratio of cleaning chemical.
9 The recovery tank has an Automatic Float Shut-Off (9) to block the vacuum system when the recovery tank is full. You can tell when the fl oat closes by the
sudden change in the sound of the vacuum motor. When the fl oat closes, the recovery tank must be emptied. The machine can continue to dispense solution,
but will not pick up water with the fl oat closed.
10 When the operator wants to stop cleaning or the recovery tank is full, release the Solution Switch (1). Then turn the power switch Off (O) and unplug the
machine.
11 Push the machine to a designated waste water “DISPOSAL SITE” and empty the recovery tank. To empty, pull the Recovery Tank Drain Hose (12) from its rear
storage hanger, then remove the plug (hold the end of the hose above the water level in the tank to avoid sudden, uncontrolled fl ow of waste water). Refi ll the
solution tank and continue cleaning.
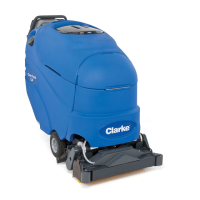
USING ATTACHMENTS
To use accessory tools, disconnect the recovery hose at the Recovery Tank Dome Lid (4). Attach the accessory’s recovery hose to the machine’s Recovery Tank
Dome Lid (4). Attach the accessory’s solution hose to the machine’s Accessory Solution Port (2). When using accessory tools place the Extract/Accessory Switch
(14) in the accessory position (wand symbol).
See your Clarke Distributor for accessories that may be used with the Clean Track.
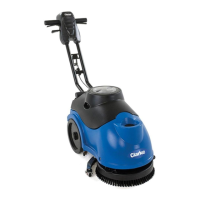
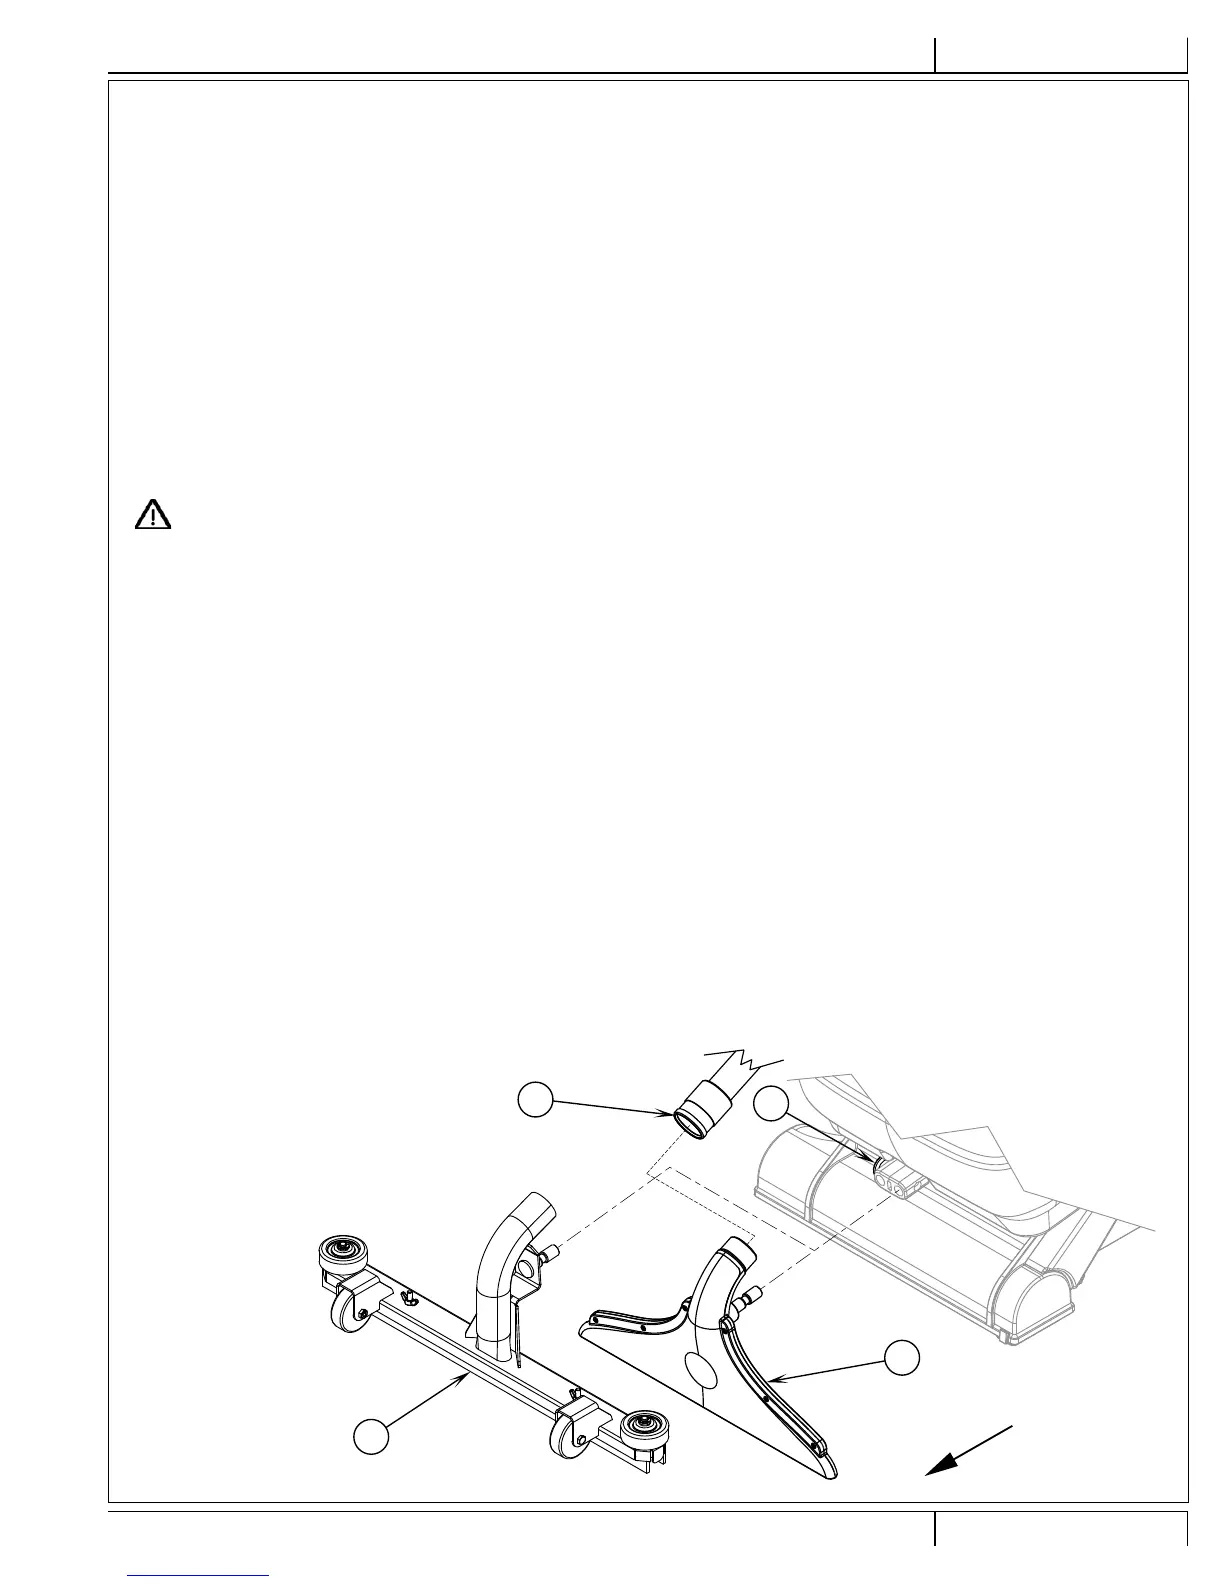
HARD FLOOR KITS
The vacuum shoe can be removed and replaced with an optional Squeegee Tool (A) for use on hard fl oors. See Figure 5. The vacuum shoe can be removed by
pulling on the Pin Release (7) and sliding the Vacuum Shoe (8) off. Then disconnect the Recovery Hose (B) from the vacuum shoe and connect to the squeegee
tool. Attach the squeegee tool to the machine at the same mounting location used for the vacuum shoe, simply pull the pin release and slide the squeegee tool into
place.
FIGURE 5
 Loading...