SLEEPVIEW USER MANUAL
19
The “Connect Device” page will appear with instructions on how to connect the system
to the PC.
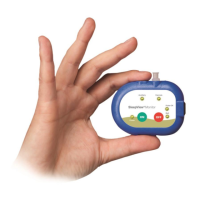
1. Connect your SleepView to the computer using the USB cable provided. There is a
connection inside the battery compartment for one end of the USB cable.
2. Once the SleepView is connected to the computer, press and hold the ON button
until the power LED illuminates.
PLEASE NOTE: A green or flashing amber LED is not a concern, however if at
any point the power LED flashes red, this indicated a serious system failure
and technical support should be contacted immediately.
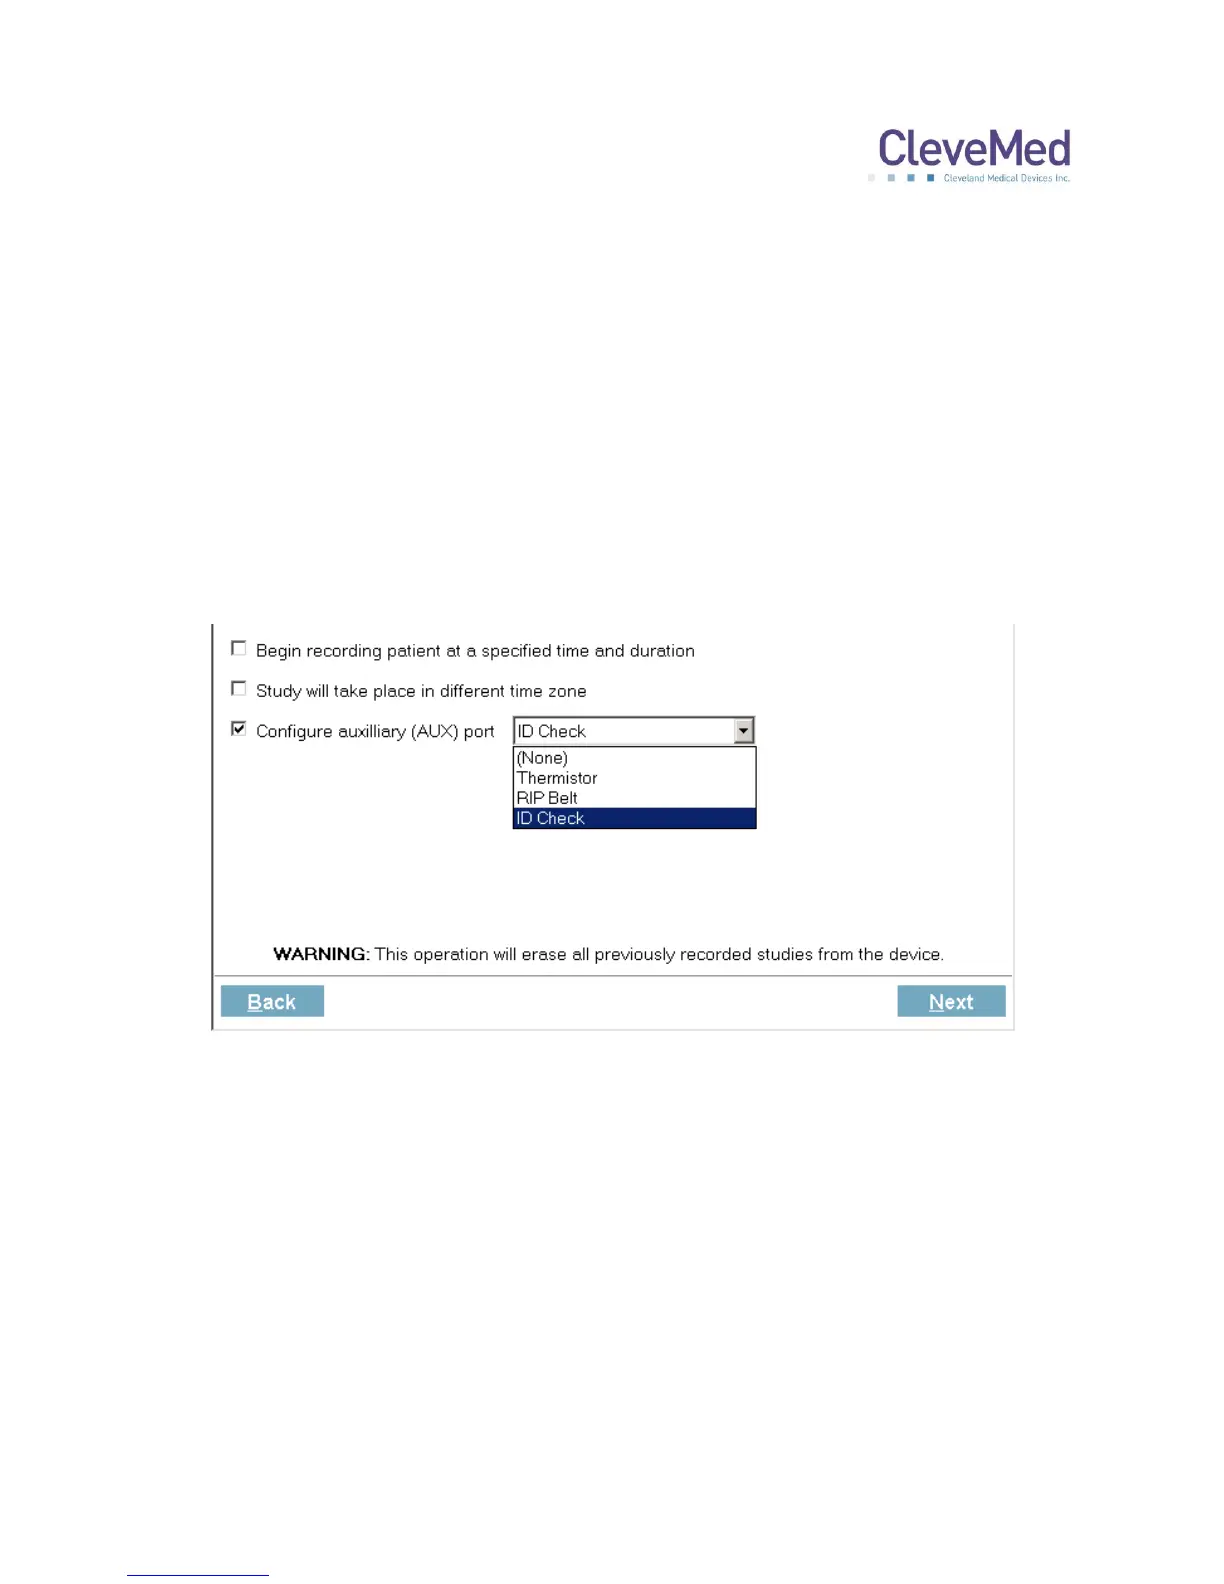
3. Click <Next> and the “Prepare device” screen will appear with the recording options.
4. If you would like the SleepView unit to automatically turn on and remain on for a
specified duration, click the check box labeled “Begin recording at a specified time
and duration” and select the desired start time and duration (specified in hours and
minutes). It is recommended that the recording duration only last as long as the
patient is likely to sleep so that the Smart Check can be used in the morning.
AUTOMATIC ON: If a recording time is programmed, the OFF button on
SleepView Monitor will be disabled during the set recording duration. The
patient may turn SleepView ON early (for example, if they chose to go to bed
earlier than scheduled) by pressing the ON button. SleepView will continue to
record until the programmed OFF time. The programmed auto recording time