7. Servicing your 3D Printer
7.1 Replacing the Print Mat
The Cocoon Create 3D Printer includes 2 x Print Mats. Additional Print
Mats are available for purchase from store.cocooncreate.com.au
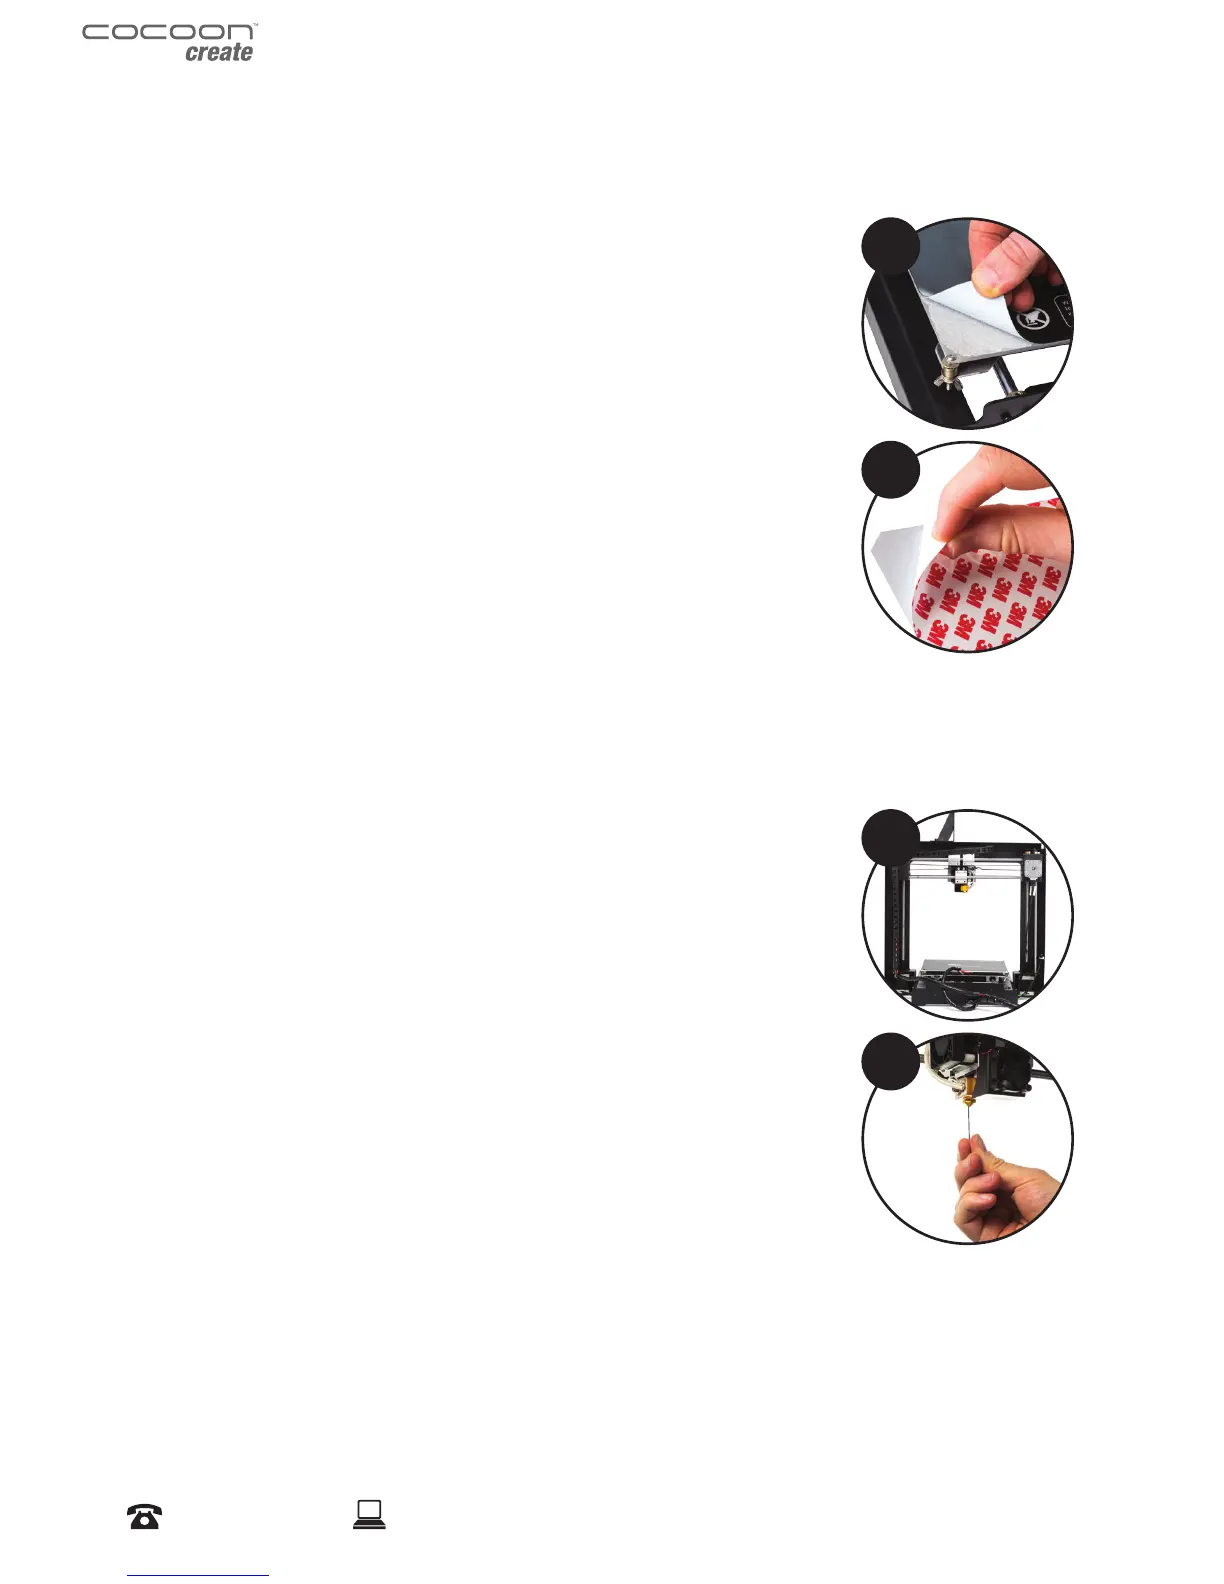
1. Remove the current Print Mat by slowly peeling from one corner
2. Using rubbing alcohol and a microber towel, carefully remove any
residual adhesive left on the Heated Print Bed
3. Peel the 3M backing from the new Print Mat
4. Gently place the new Print Mat onto the Heated Print Bed, making
sure to align with each edge. It is recommended to start at a corner
to ensure no bubbles become present
5. Use the Scraper to apply pressure on the new Print Mat, ensuring
strong adhesion. Keep the Scraper level as it can damage the Print
Mat
TIP: Warming the bed slightly may make removal easier. You can also use masking tape in lieu of
a Print Mat. Blue painters tape is recommended.
7.2 Nozzle Cleaning
If your Extruder nozzle becomes blocked, follow these steps to clean the
nozzle.
1. Remove the existing lament using steps from section 3.3
‘Removing Filament’
2. Raise the Extruder using Position > Z Pos. Fast, then rotating the
Dial clockwise
3. Heat the Extruder to 215°C
4. Using a clean 0.4mm drill bit, insert the drill bit into the nozzle by
hand, twisting while inserting
5. Remove the drill bit from the nozzle, twisting while removing
6. Repeat steps ‘4’ and ‘5’ three times, then follow the steps in section
3.2 ‘Inserting Filament’ to re-insert the lament into the nozzle
1
2
3
4
Servicing