Code Blue
•
259 Hedcor Street
•
Holland, MI 49423 USA
•
800.205.7186
•
www.codeblue.com
GU-157-AApage 37 of 76
CB 1 Series
Administrator Guide
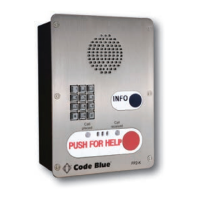
20 Overhead Camera Mount Installation Instructions
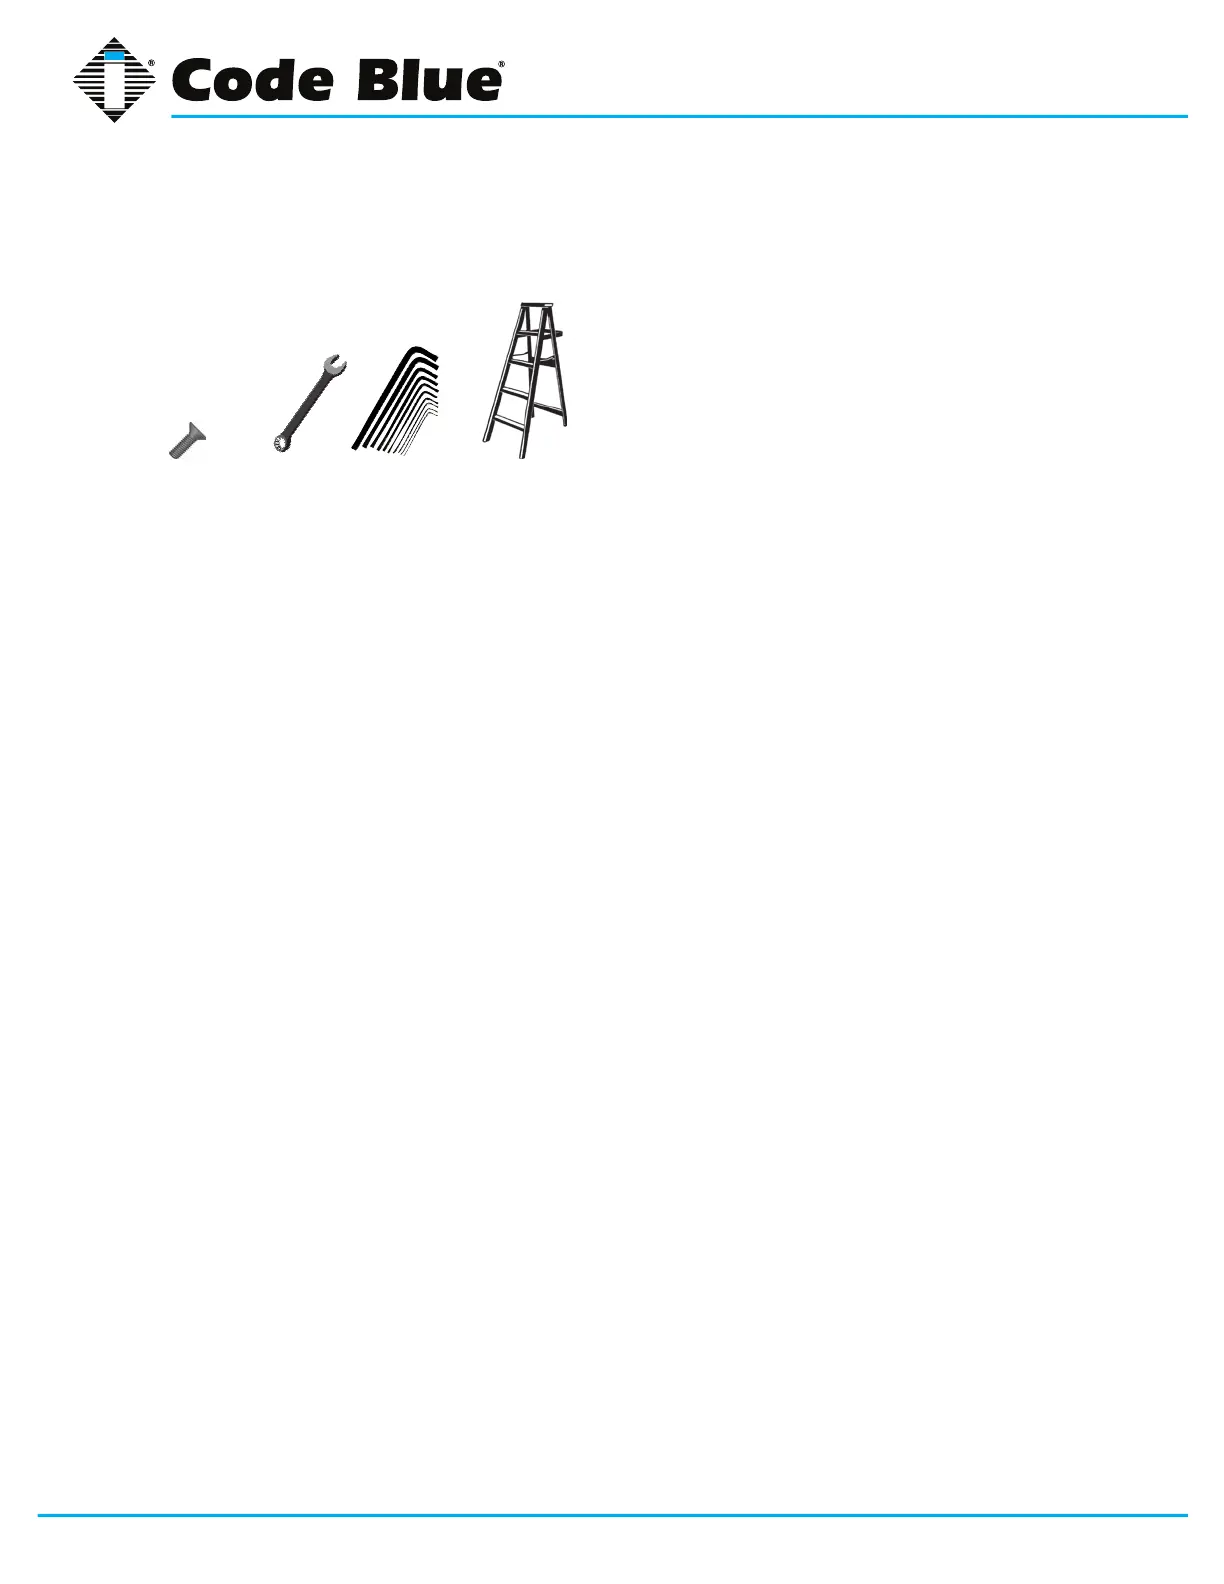
TOOLS REQUIRED
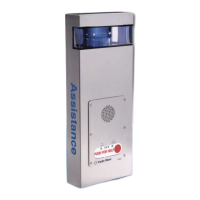
1.0 RETRO-FITTING EXISTING UNIT
1.1 If applicable, remove dome top assembly prior to installation. New style dome top
assembly is required to access installation screws on overhead camera mount.
2.0 INSTALL CAMERA MOUNT
2.1 Locate and install the three ½ x 1-inch hex Allen screws from the inside of the mount-
ing ring. Be sure the Allen screws do not extend beyond the outside of the ring.
2.2 Install the camera mount on top of the unit. Rotate to desired position.
NOTE: If retrotting existing unit with three countersunk holes near the top of the bol-
lard, the Overhead Camera Mount may be rotated to align the clearance holes with
holes in the unit. The three countersunk screws and nuts provided may be used to
cover these holes. The three Allen screws MUST be used to secure the Overhead
Camera Mount to the unit.
2.3 Verify camera mount is evenly positioned to ensure gasket seal is seated appropriately
360 degrees.
2.4 Apply downward pressure while simultaneously tightening the three ½-inch set screws
until snug against the inside of the pedestal.
3.0 INSTALL CAMERA
3.1 Camera and wiring (by others) is installed into the male 1 ½ NPT.
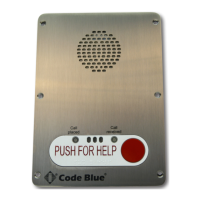
4.0 INSTALL THE DOME TOP ASSEMBLY
4.1 Remove the clear Lexan dome from the black metal casting.
4.2 The casting, complete with strobe, should be brought to the top of the unit (Overhead
Camera Mount) where the wiring will be connected (see wiring instructions).
4.3 After the wiring is complete, set the casting on top of the unit and fasten the casting to
the Overhead Camera Mount by reaching through the casting openings and tightening
the three 10-24 X 1-inch stainless steel thumbscrews against the inner wall.
4.4 Finally, reattach the clear Lexan dome to the black metal casting with the security
screws provided.
All wiring must be installed and connected by experienced and certied personnel to meet local and national electrical codes,
and will include a service disconnect.
7/16
Wrench
Ladder
Access Panel
Security Bit
Allen
Wrench