PR120H
MECHANICAL MAINTENANCE
Version: 5
Page: 20 of 24
Date: 2022.12.13
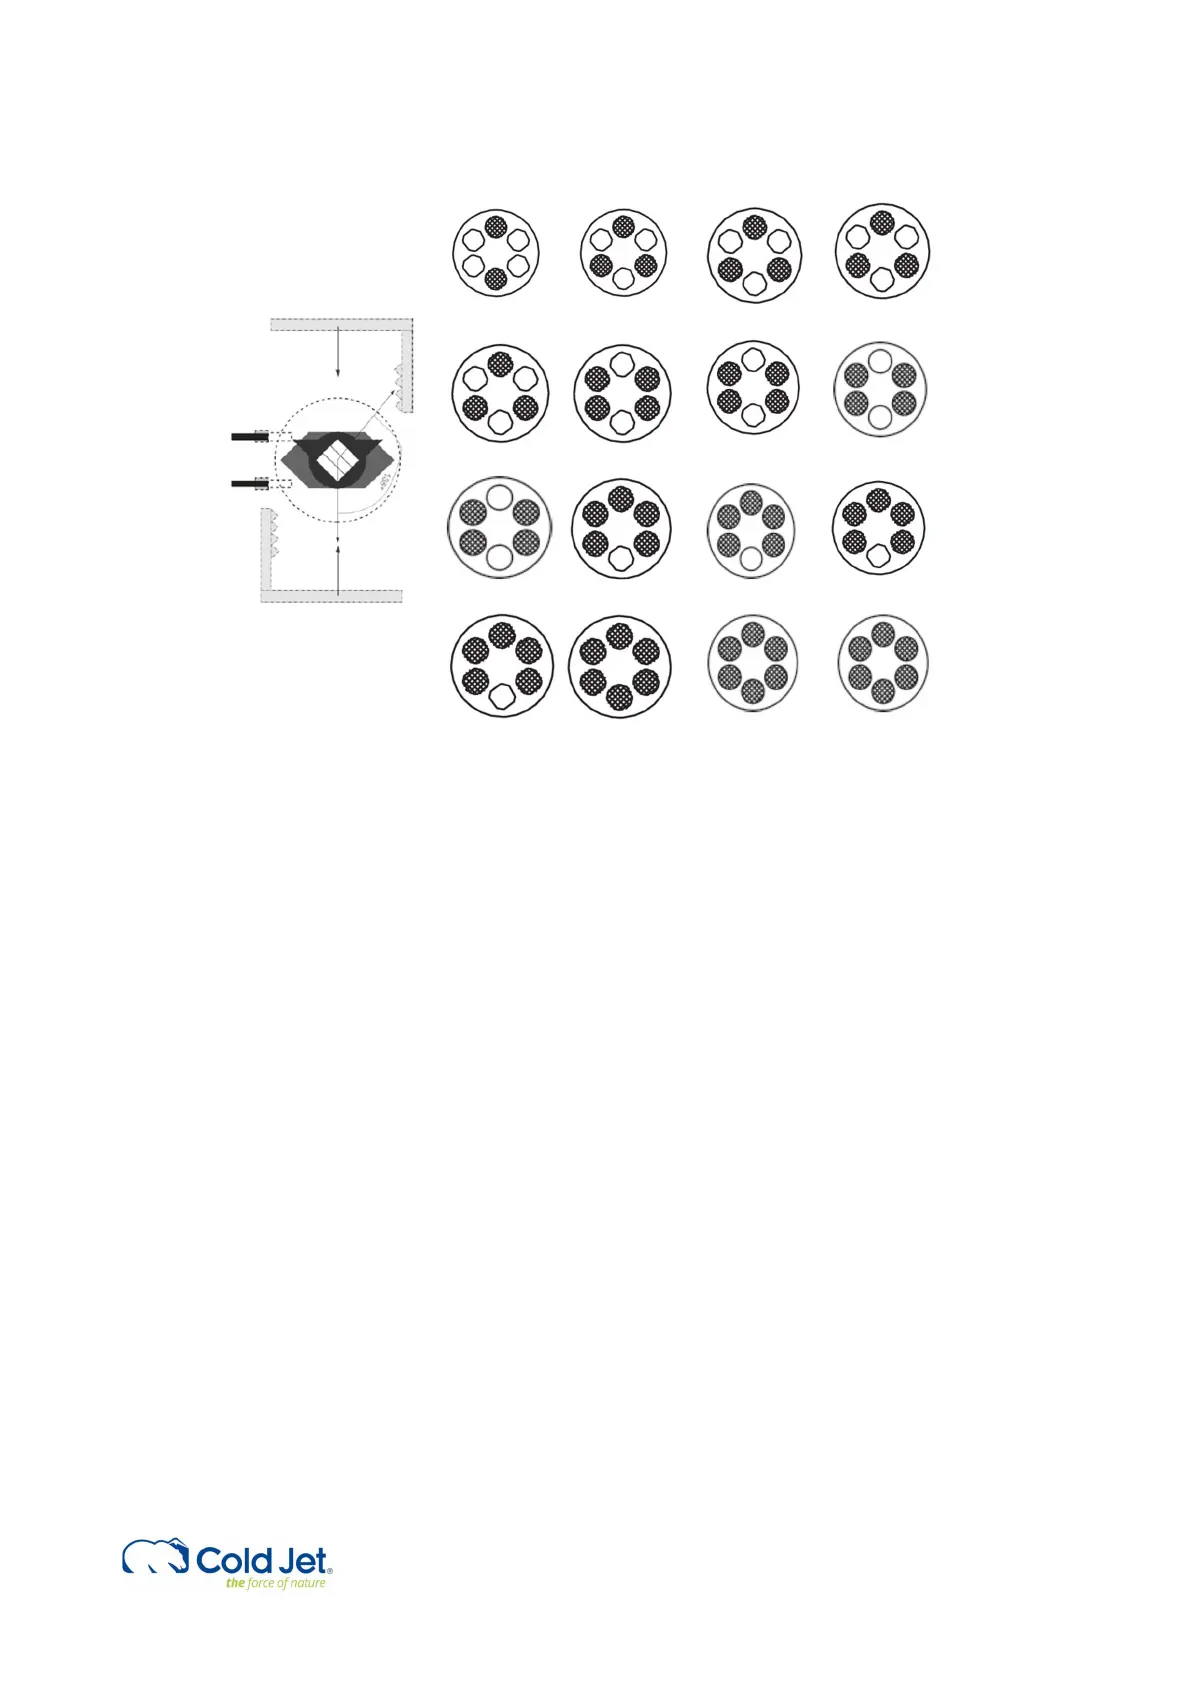
Starting position for
installation of pistons
5 Springs
6 Springs
7 Springs
8 Springs
9 Springs
10 Springs
11 Springs
12 Springs
6. Fit the stroke adjustment screw [22] with the nut [21] and o-ring [20] in the body.
Pressure test
Pressure test the actuator with 6 bar (90 psig) compressed air and inspect for
leaks using a soap and water solution sprayed on to all joints and rotating shafts.
Disassembly of the ball valve
1. Loosen the 4 nuts [17] and remove the 4 screws [16]. The ball valve is now split up in 3 parts and the
seat and joint gasket can be removed.
2. Turn the valve to closed position, and the ball can be removed.
3. Loosen the nut [12] and remove the washers [10] and seals [8]