Vers. 1.0 Page 14
column.
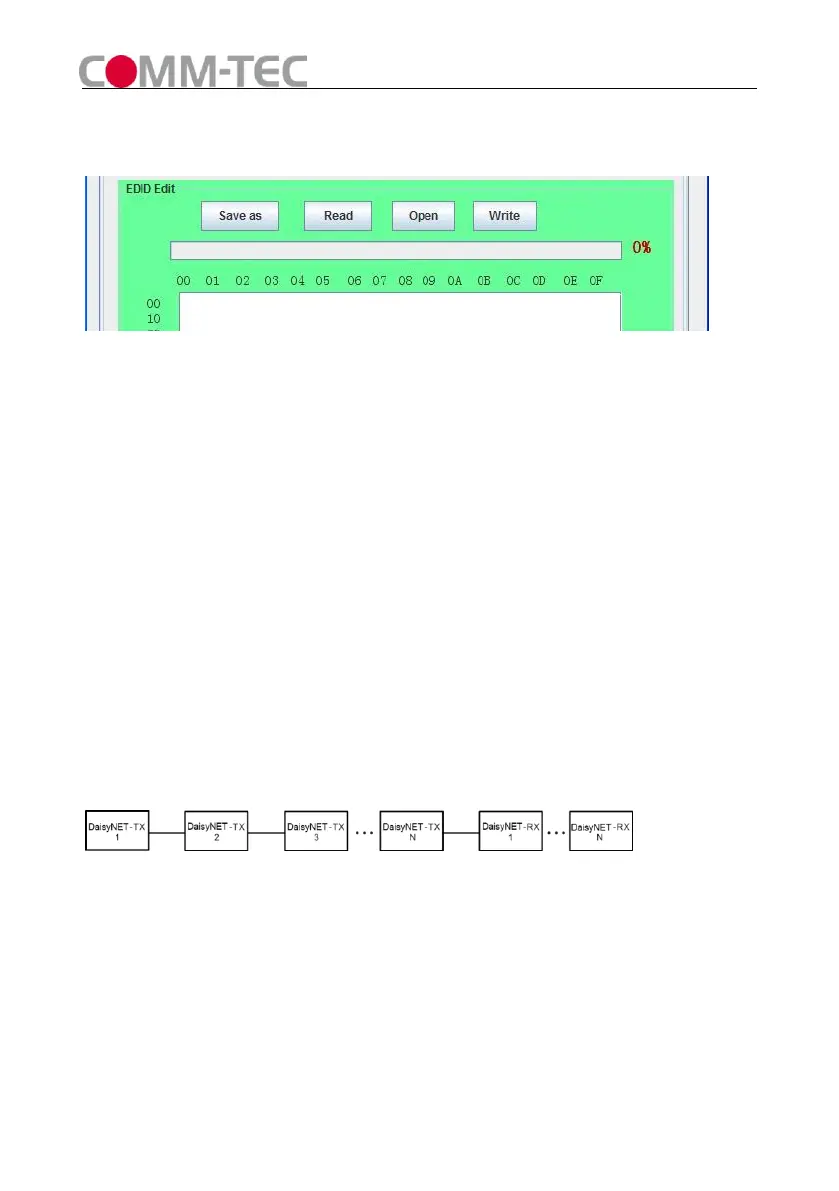
Click “Write” button to set EDID of this Input Port the same as “*.bin” file.
Figure 11
5) EDID Copy
Connect DaisyNET-TX UTP OUT to DaisyNET-RX UTP IN.
Set both Rotary Switchers to position 6.
Connect RS232 port of DaisyNET-TX to PC and run PC control software.
Enter Address of DaisyNET-RX you want to read EDID from (If unit has no address
you must assign an address at first).
Select HDMI Port, click “Read” button to get EDID from the display connected to
DaisyNET-RX.
Enter Address of DaisyNET-TX you want to copy EDID to.
Select HDMI Port, click “Write” button to set EDID the same as the display.
6) Cascade Control
Connect DaisyNET-TXs and DaisyNET-RXs as below (all units must be assigned
different address at first).
Figure 12
Set Rotary Switchers of all units to position 6.
Choose one DaisyNET-TX (for example: TX3), connect its RS232 Port to PC,run
PC control software, you can control TX3 and units connected behind TX3’s UPT
OUT port(from TX4 to TXN and RX1 to RXN).
You cannot control units connected before TX3’s UTP IN port (TX1 and TX2).