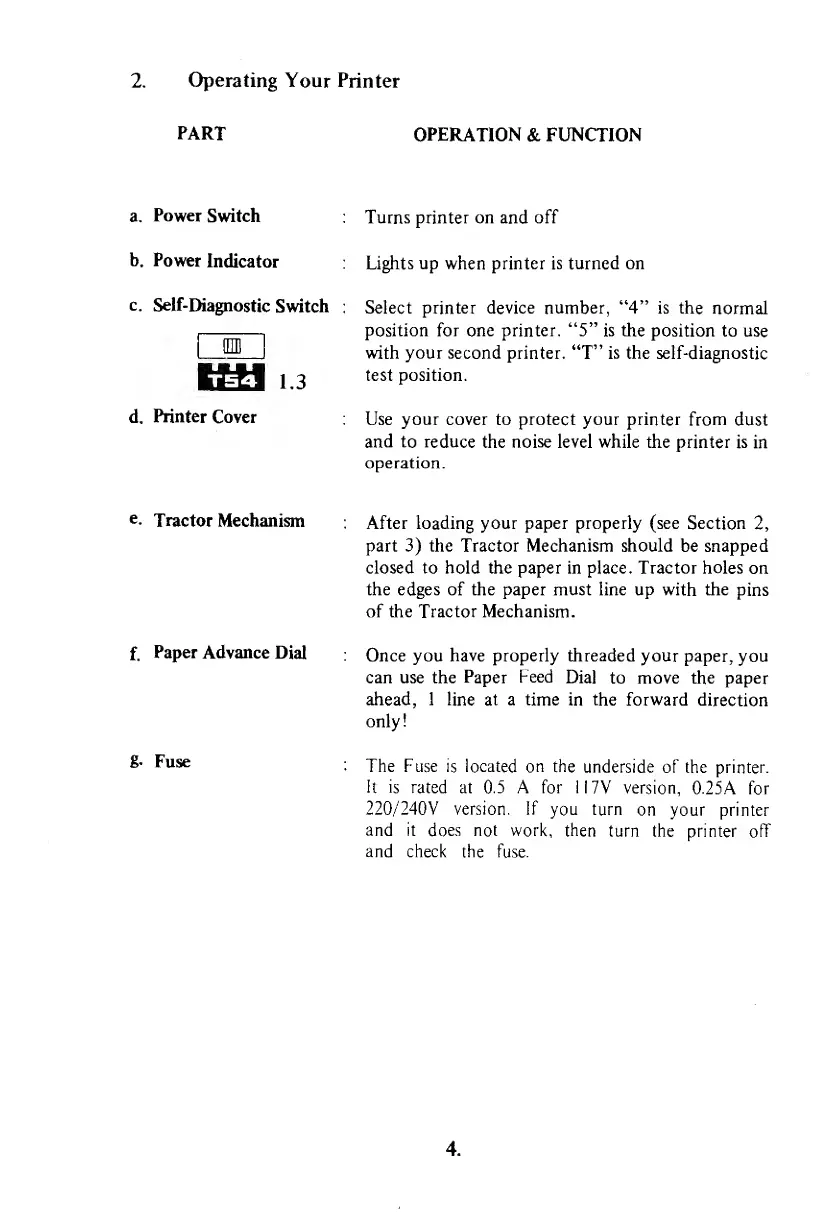
2.
Operating
Your Printer
PART
OPERATION & FUNCTION
a.
Power
Switch
b.
Power
Indicator
c.
Self-Diagnostic
Switch
1.3
d.
Printer
Cover
Turns
printer
on
and
off
Lights up when printer is turned on
Select printer device
number,
"4"
is the
normal
position for one printer.
"5"
is the
position to use
with
your second
printer. "T"
is
the self-diagnostic
test position.
Use your cover to protect your printer
from
dust
and to reduce
the
noise
level while the printer is
in
operation.
e.
Tractor
Mechanism
f.
Paper Advance
Dial
g.
Fuse
After loading your paper properly (see
Section
2,
part
3)
the Tractor Mechanism should
be
snapped
closed to hold the paper in place. Tractor holes
on
the edges of the paper must line up
with
the
pins
of the Tractor Mechanism.
Once you
have
properly
threaded
your paper,
you
can use the
Paper
Feed
Dial
to move the paper
ahead, 1 line at a time
in
the
forward
direction
only!
The Fuse
is
located
on the
underside of
the
printer.
It is
rated at 0.5 A for 1
17V version,
0.25A for
220/240V
version. If
you
turn
on your printer
and it
does
not
work, then
turn the
printer off
and check
the fuse.
4.