INS_FDW1000_EXP101 01/06/2020 PAGE 12
INSTALLATION AND OPERATION MANUAL FDW1000 / EXP101
TECH SUPPORT: 1.888.678.9427 / +44 (0)203 630 1653
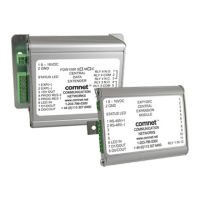
Configuring an FDW1000/R – old version – (rev .2xx range)
Initialization
• Do not apply power to the FDW1000/R. Remove all fiber and signal connections. Remove the
metal housing to expose the DIP switches.
• Turn DIP Switches 1 and 4 ON, all others OFF.
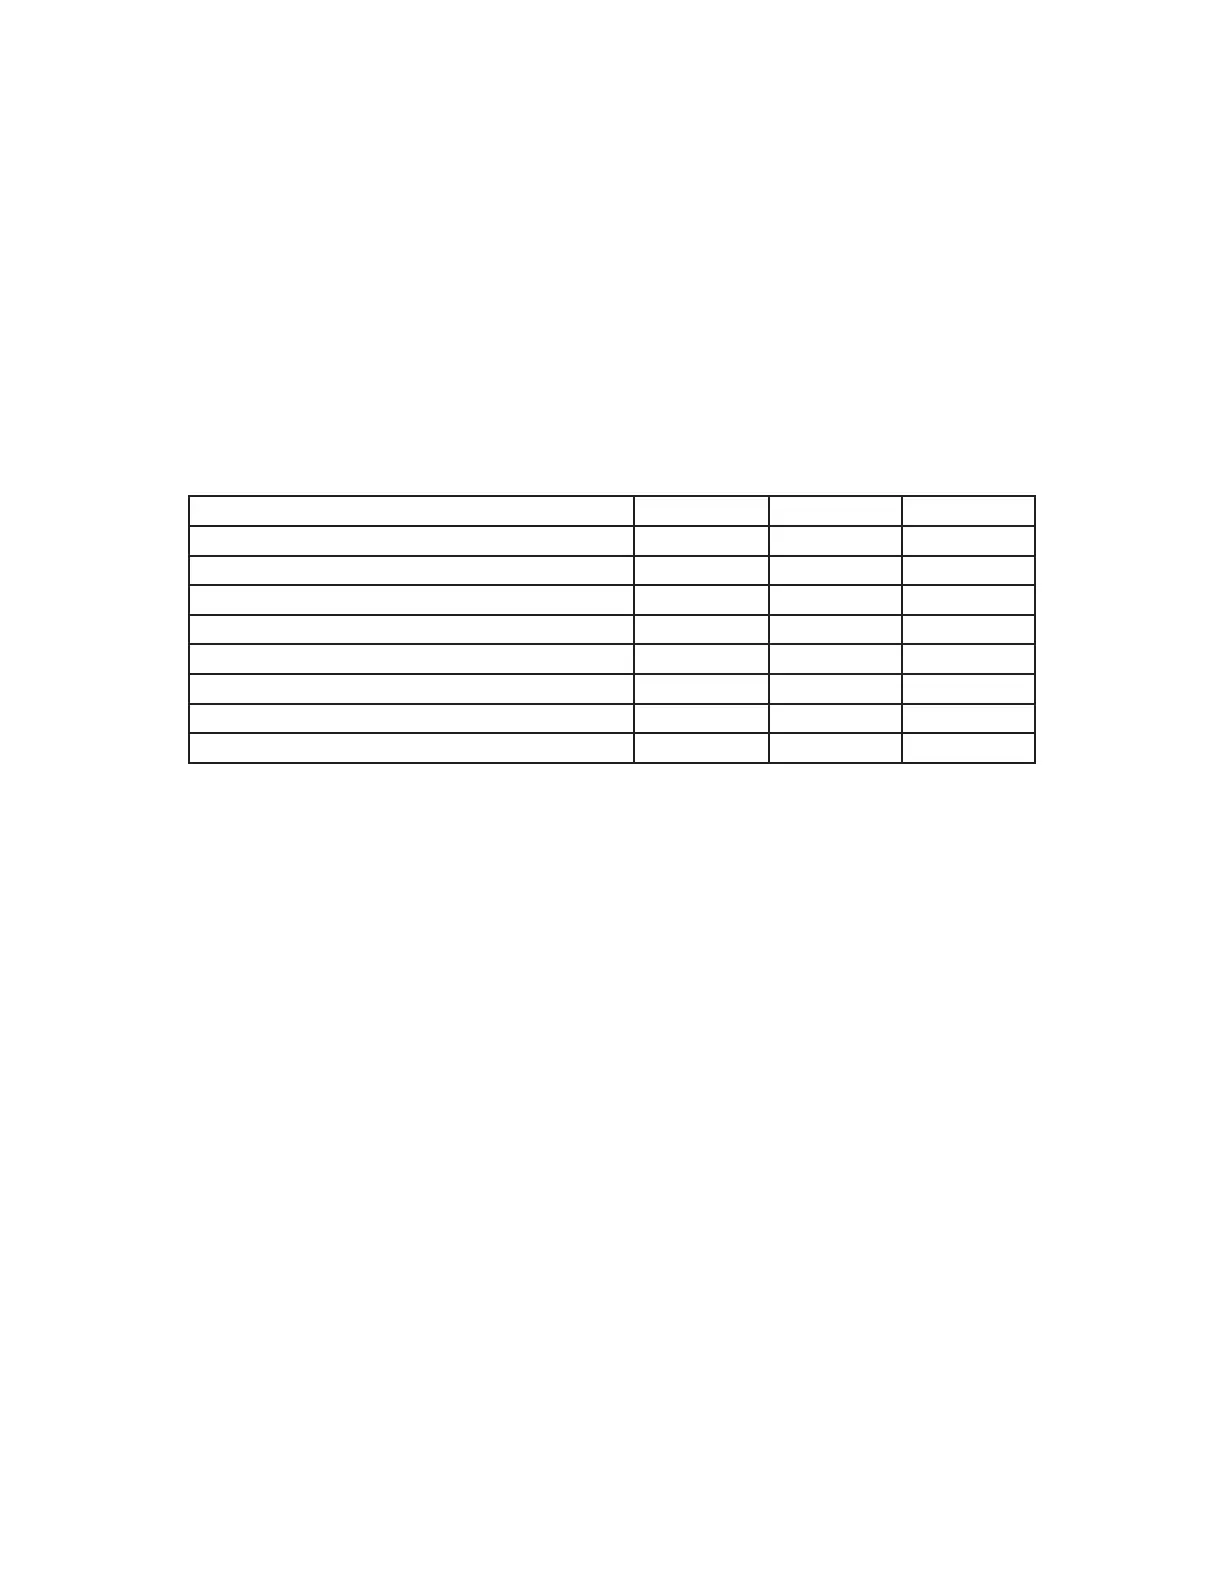
• Using DIP Switches 6, 7, and 8, set the polling address of each pair of EXP100s using the table
below.
• If only one pair of EXP100s will be used, set the EXP100/C and the EXP100/R to polling address 1.
• If more than one pair of EXP100 will be used, set one pair of EXP100/C and EXP100/R to polling
address 1. Address the next pair using polling address 2 and continue sequentially as needed.
Number of EXP100 Pairs DIP Switch 6 DIP Switch 7 DIP Switch 8
no EXP100 pairs OFF OFF OFF
one pair of EXP100s – polling address 1 OFF OFF ON
two pairs of EXP100s – polling address 2 OFF ON OFF
three pairs of EXP100s – polling address 3 OFF ON ON
four pairs of EXP100s – polling address 4 ON OFF OFF
five pairs of EXP100s – polling address 5 ON OFF ON
six pairs of EXP100s – polling address 6 ON ON OFF
seven pairs of EXP100s – polling address 7 ON ON ON
• Apply power to the FDW1000/R.
• The STATUS indicator LED near the power connector should very quickly become solid green.
• If the STATUS indicator LED quickly becomes solid green, the unit is now initialized. Continue
to the Programming section below.
• If the STATUS indicator LED fails to quickly become solid green, repeat the steps above. If still
unsuccessful, consider the unit bad.