5) Remove one of the wires from the e-stop
contact terminal and butt splice it to one
of the two remaining wires.
6) The last wire is to be connected to the
contact terminal where the original e-
stop wire was removed.
After
making connections, it is highly
recommended to tie-wrap wire harness in
place to prevent it from moving.
9) Go to section 6.0 Operating Instructions
to set-up and operate your CMM unit.
7) Clean up any debris from drilling. Check
to make sure that during this process
you did not bend any tubing or
disconnect any connections.
8) Connect 110v plug to wall outlet.
.
5-2
5. Transportation and installation
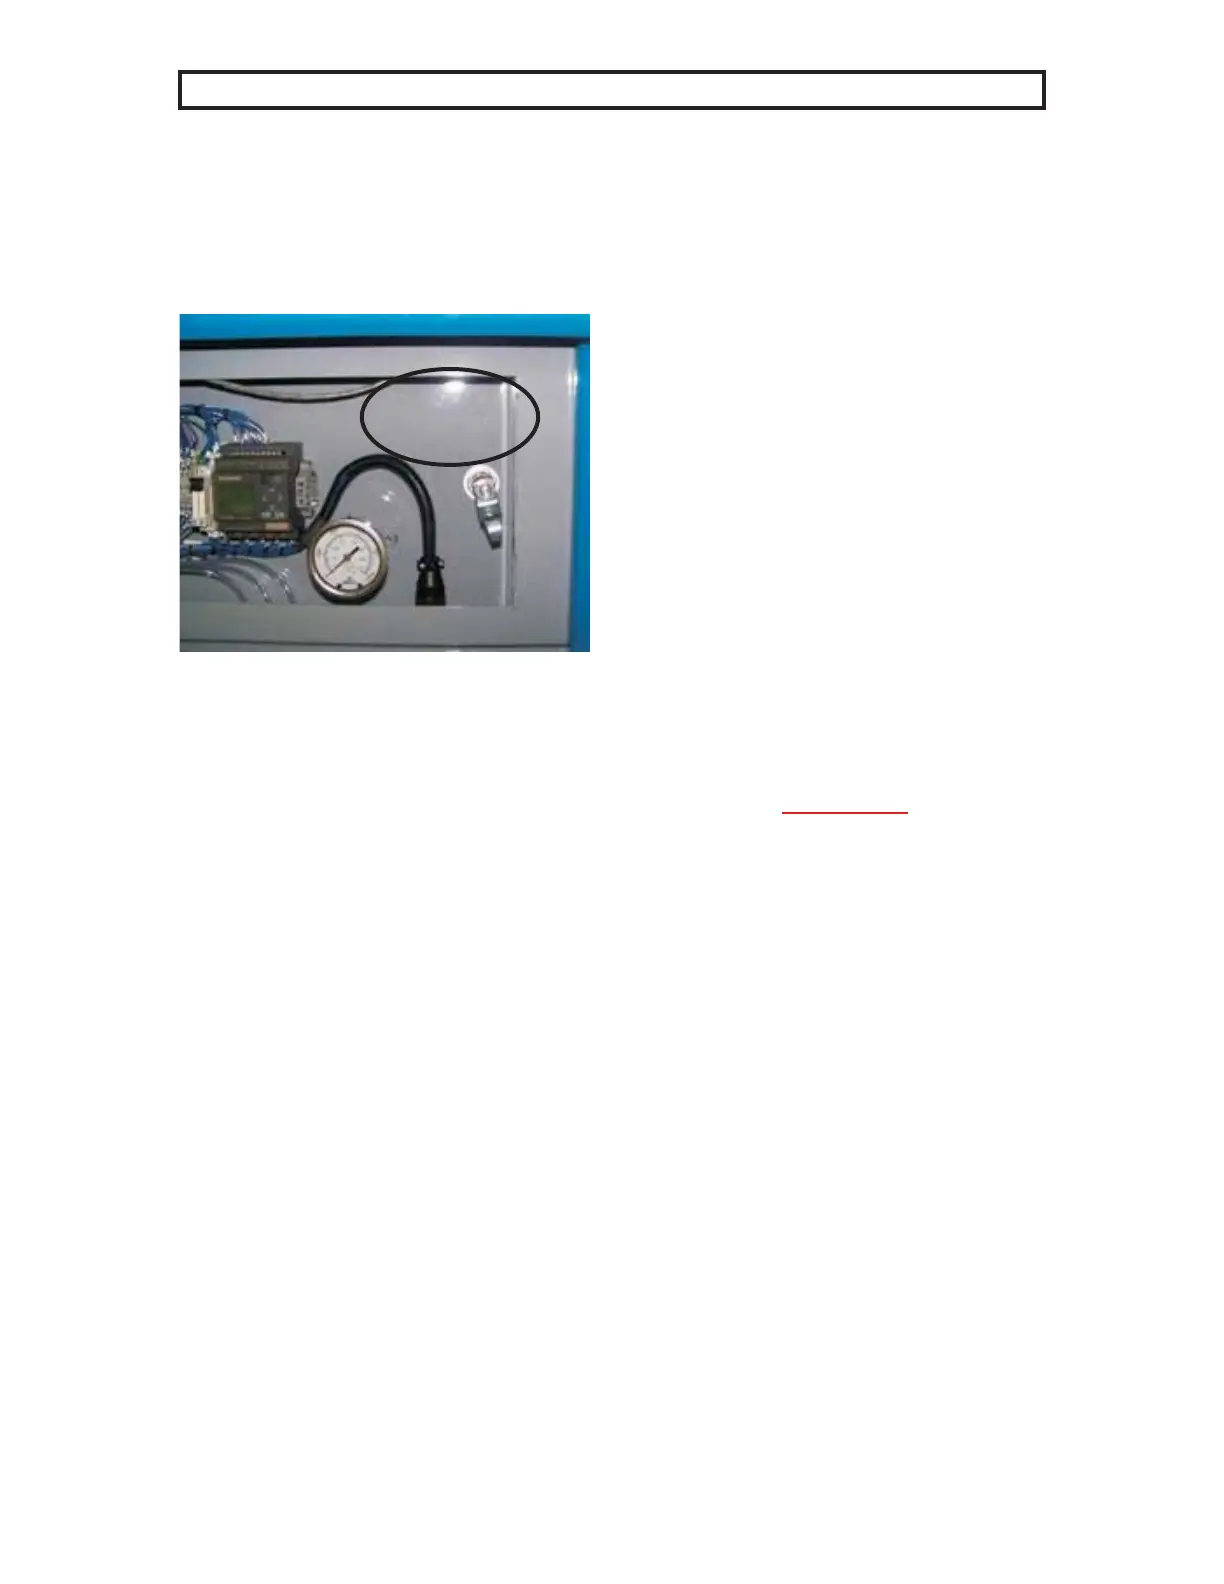
fig.5.3-2 BAM Upper Control Panel
Once hole is drilled, make sure to
remove sharp edges with file or de-
burring tool. It would be beneficial to use
a strain relief to prevent wires from being
pulled loose.
4) Attach #7 or blue/white wire to negative
terminal of hour meter with other wires.
Then attach the #6 blue wire to the
positive terminal of hour meter with other
wires.
(Other Compressor Units)
Connections remain the same as illustrated
above. The two wires to the hour meter
provide power to the internal relay forwarding
a control signal to the CMM. Two remaining
wires must be put in series with the control
voltage.
5.5 Initial Startup Procedure
The unit is preset in the factory. Once the unit
is installed and energized the following initial
start-up procedure should be carried out by the
local distributor or by an Authorized Service
Technician to insure proper operation:
1) Read and Study this manual before
starting this unit.
2) Visually check all electrical and
pneumatic connections.
3) Listen and look for air leaks as
system is pressurized. If an air leak
is detected take the unit out of
service. Report leak to the service
personnel.
High pressure air leaks can be very
dangerous.
4) Check and adjust, if necessary, the
pressure regulators of this monitoring
unit.
5) This monitoring system and all the air
connections between the air source and
this monitoring system must be purged
before continuing.
6) Power must be applied to the wall mount
unit and the CMM must be on for at least
30 minutes before continuing. The
compressor does not need to be operating
during this time period.
7) Calibrate this monitoring unit. (see
section 6.3.3 for the calibration
instructions)
Danger!
3) To make the harness connections it will
be necessary to drill into the upper
control panel. First, open door to upper
control door and look for a clear spot to
drill a hole sufficient to fit the relay
wiring through. The ideal location is
illustrated in fig 5.3-2.