>>>>>>>>>>>>>>>>>>>>>>>>>>>>>>>>> CAUTION <<<<<<<<<<<<<<<<<<<<<<<<<<<<<<<<<
Screws in the computer are not interchangeable. As you remove screws, place
them with the components you removed. Damage may occur if you insert the
screws in the wrong place.
>>>>>>>>>>>>>>>>>>>>>>>>>>>>>>>>>>>>><<<<<<<<<<<<<<<<<<<<<<<<<<<<<<<<<<<<<<
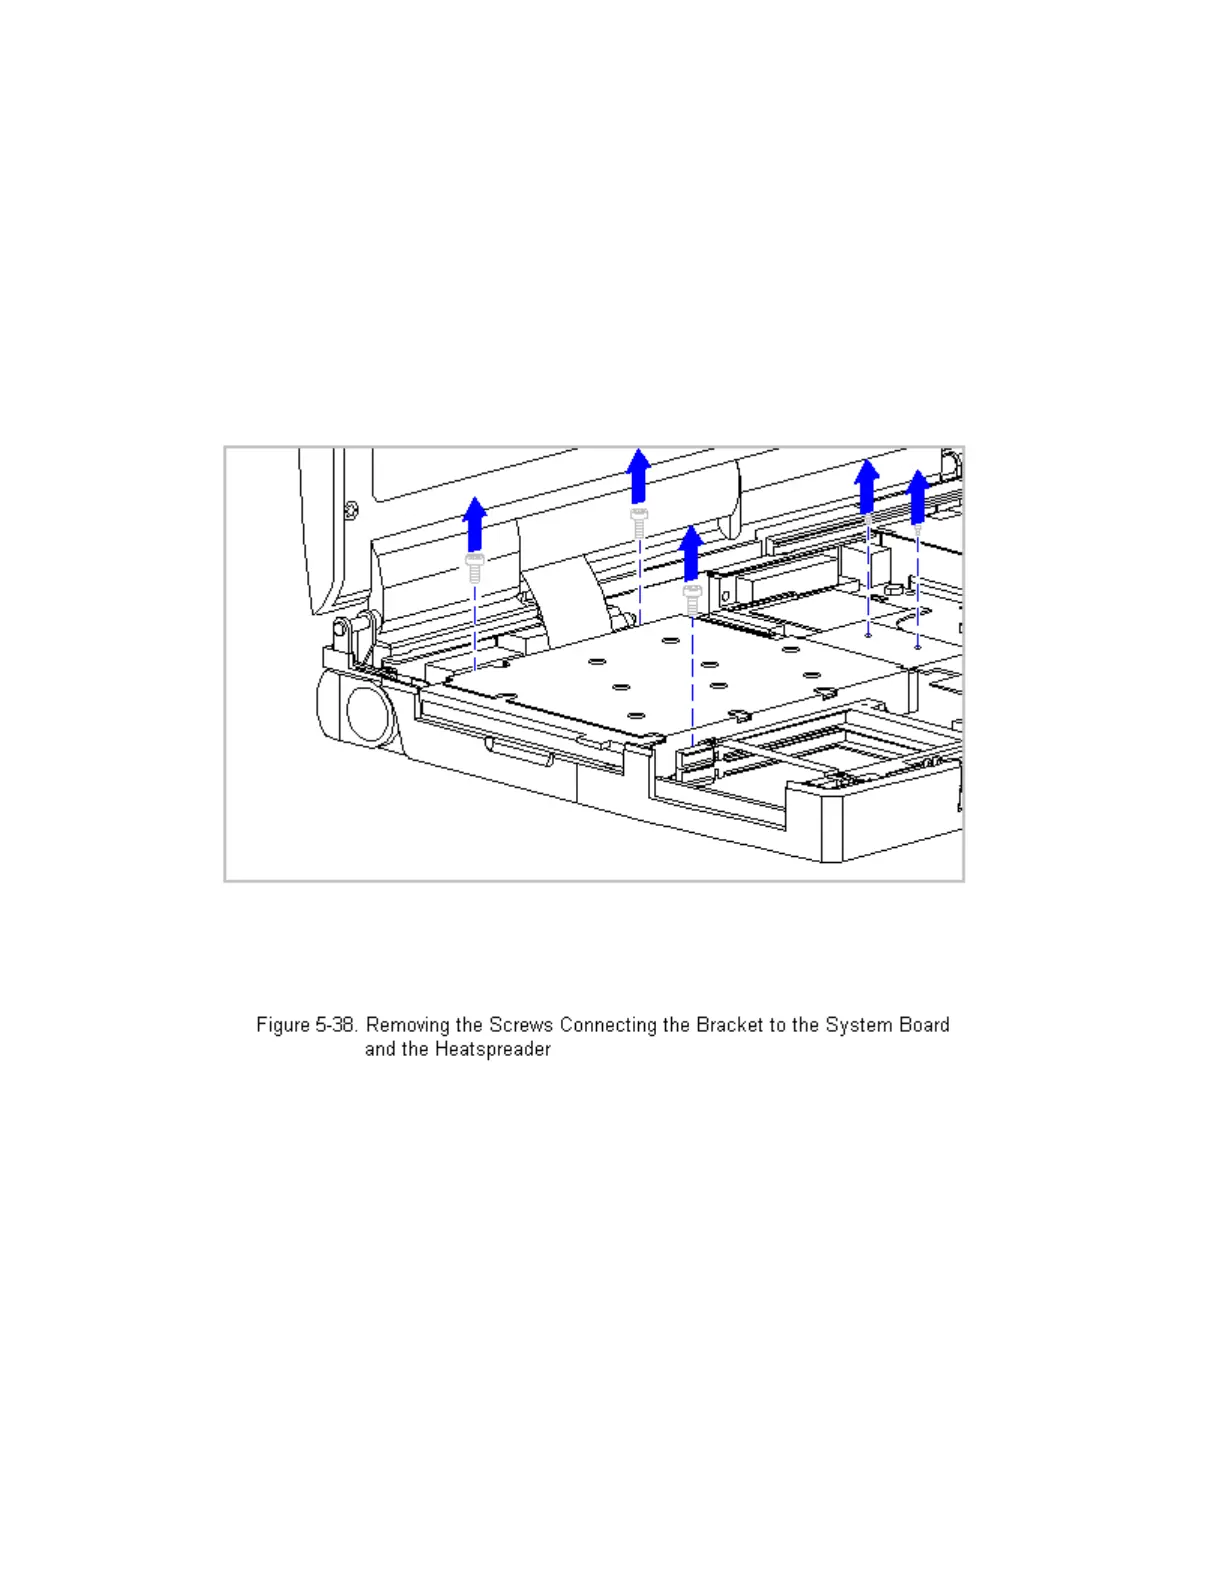
4. Remove the three screws that attach the diskette drive bracket to the
system board, and the two screws that connect the bracket to the
heatspreader (Figure 5-38).
>>>>>>>>>>>>>>>>>>>>>>>>>>>>>>>>> CAUTION <<<<<<<<<<<<<<<<<<<<<<<<<<<<<<<<<
When removing or replacing the diskette drive, hold it by grasping the
vertical sides. Pressure to the front drive door area of the diskette drive
will cause the drive door to pop out from the mounting.
>>>>>>>>>>>>>>>>>>>>>>>>>>>>>>>>>>>>><<<<<<<<<<<<<<<<<<<<<<<<<<<<<<<<<<<<<<
5. Tilt up the diskette drive bracket, then lift it up and out of the
system chassis (Figure 5-39).
 Loading...