4. Plug in the power plug, and then press the
key to put the ice maker in a standby
state, the screen displays "OFF"; press the "
" button, the ice maker enters the
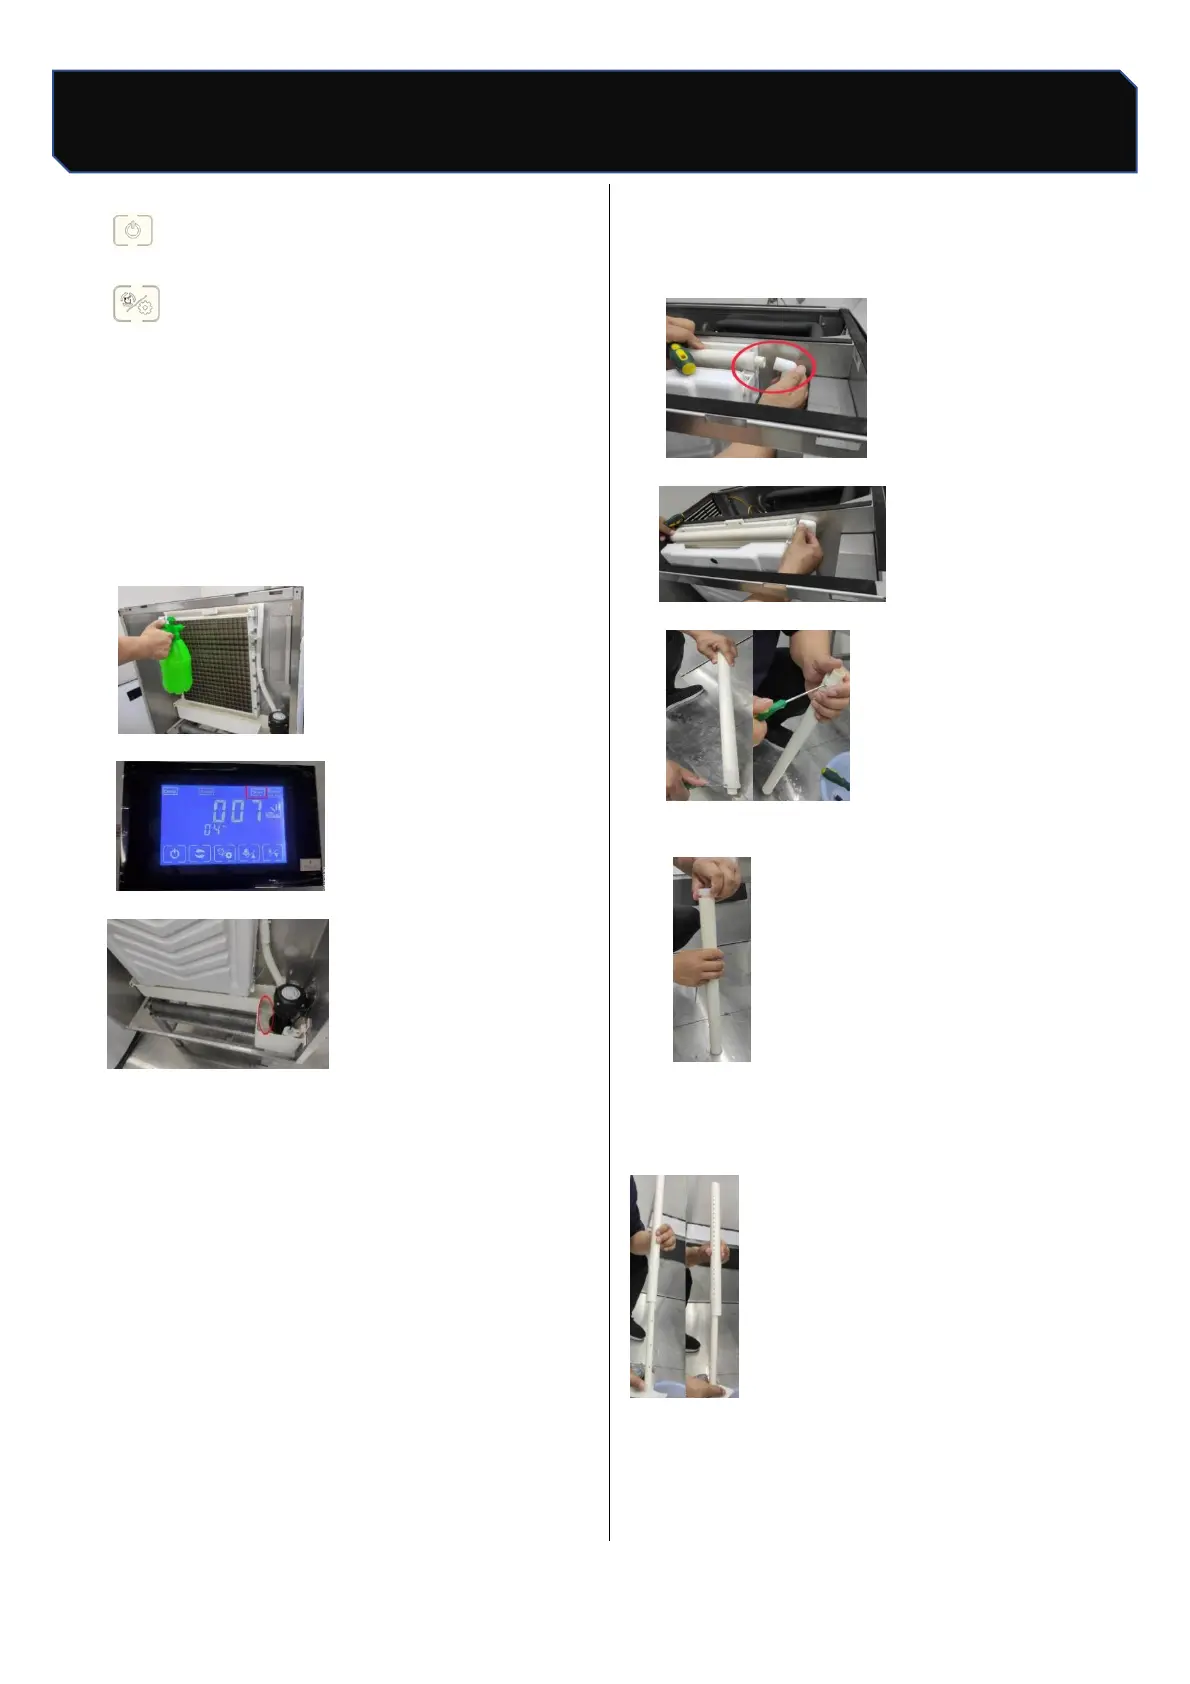
cleaning phase, the water inlet valve opens,
and the screen displays Start timing. When
water starts to flow on the evaporator, add the
disinfectant that has been prepared into the
sink of the ice maker. At the same time, use
a watering can with disinfectant to spray the
outer surface of the tank to the evaporator.
Minutes later, the cleaning stops and the
drainage starts,
Flushing evaporator
5. Drainage is completed after 30s
6.Enter the automatic rinsing phase, first
clean for 3 minutes, then drain for 30 seconds,
after the tap water rinsing process cycle 2
times, and then rinse with pure water 3 times,
the entire cleaning process ends, the screen
displays "OFF", about 37 minutes later the
entire cleaning process After the end, the
screen displays "OFF", enter the standby state,
and then unplug the power plug.
7.Note: Ice making starts after cleaning and
disinfection. The first 5 plates of ice are
discarded and do not eat.
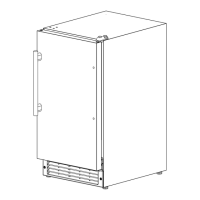
14.3 Parts removal/installation process
a. When removing the water pipe, please remove
the "pull out the "clamp" and the "up water
pipe" (as shown in the picture)):
Unplug the water pipe
Unplug the water pipe
b. Remove the two screws
Unscrew the plastic cover and take out the
plastic core rod
Note: When assembling the flow pipe, the hole
position of the flow pipe must be opposite to the
direction of the mandrel hole position, and the
direction must not be the same.
Disassembly and assembly of the water baffle:
grasp the middle position of the water baffle,
use a flat-head screwdriver to apply force from
one side to the other, until one side of the water
baffle comes out of the pin hole.