19
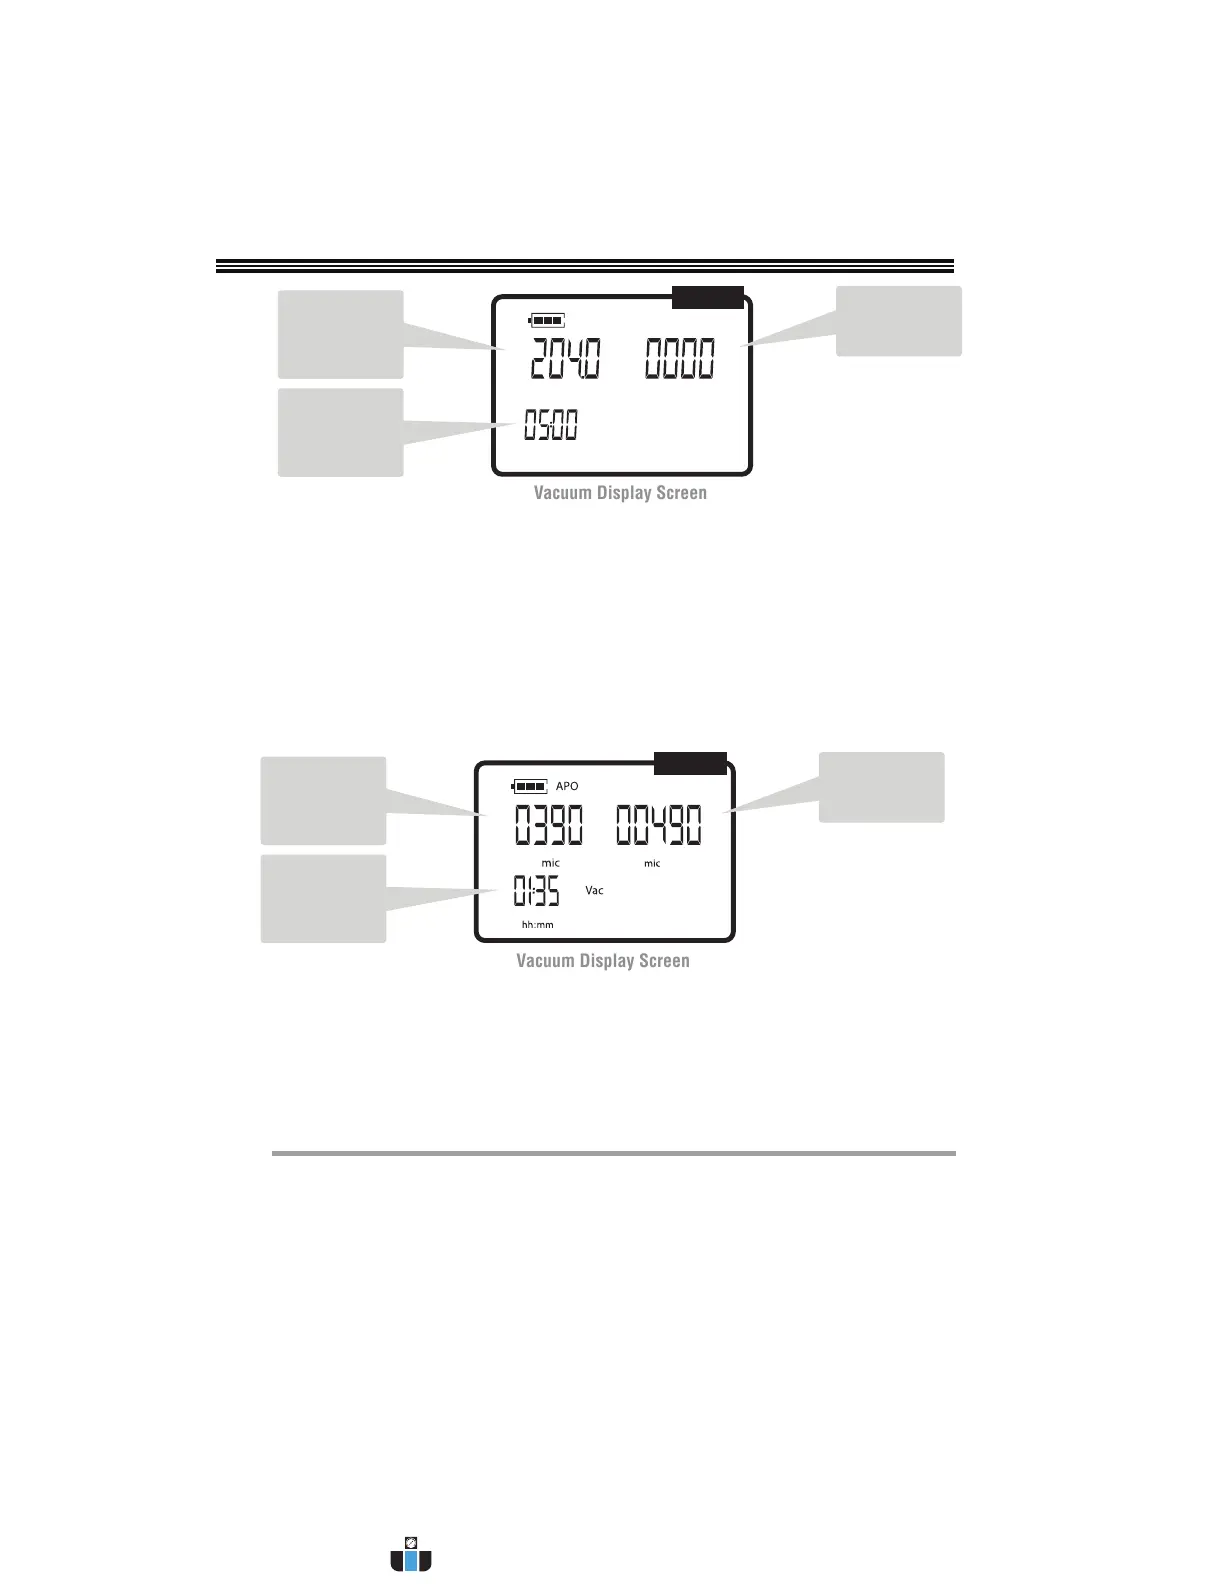
VACUUM HOLD TEST
hh : mm
Psig
B) Continue to Evacuate the system to the desired level which is indicated in the
upper left display once the desired vacuum level is reached:
a. On the MD100W, close the vacuum valve
b. On the MD50W, close the High and Low side valves.
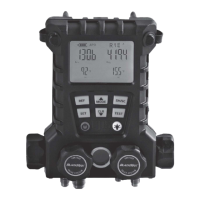
C) Press [SET] to start test. Starting test vacuum level is indicated in upper left
display [FIG.15]. Current system vacuum level is shown in upper right of
display and timer is shown in lower left. The timer decrements and when zero, a
bells sounds and test ends. At end of test, Start vs. Final Vacuum levels will be
displayed to enable determination of any vacuum loss over a set period of time.
Inactive
Current Vacuum
Level
Leak test
duration
FIG.14
D) Press [CLR] to return to Main Screen [FIG.1].
NOTE: If it is required to rerun the vacuum pump after STEP 3, disconnect and reconnect the
MDXVG to reset it in the vacrometer mode.
Current System
Vacuum Level
Desired Test
Level
Timer counts
backwards
FIG.15
PROGRAMMING/SETTING UNITS
According to your geographic location, MD50W and MD100W manifold series are fac-
tory programmed with 5 common refrigerants in those regions (see chart below), and
units of measure (Temperature, Pressure and Vacuum) for specific regions. See chart on
next page for details. Any of these units can be changed via the Program Mode.
www.calcert.com sales@calcert.com1.888.610.7664
0
5
10
15
20
25
30