22
PROGRAMMING/SETTING VACUUM UNITS (MIC VS. INHG)
1. At main screen [FIG.1] press and hold [MODE] until “PrO” screen [FIG.16] appears. “PrO” blinks.
2. Press [SET] to enter “ PrO” Screen. The Refrigerant Selection Screen appears [FIG.17].
3. Press [SET] to bypass Refrigerants Screen. The Temperature Units Screen (blinking) appears [FIG.18].
4. Press [MODE] to advance to the Pressure Units Screen [FIG.19].
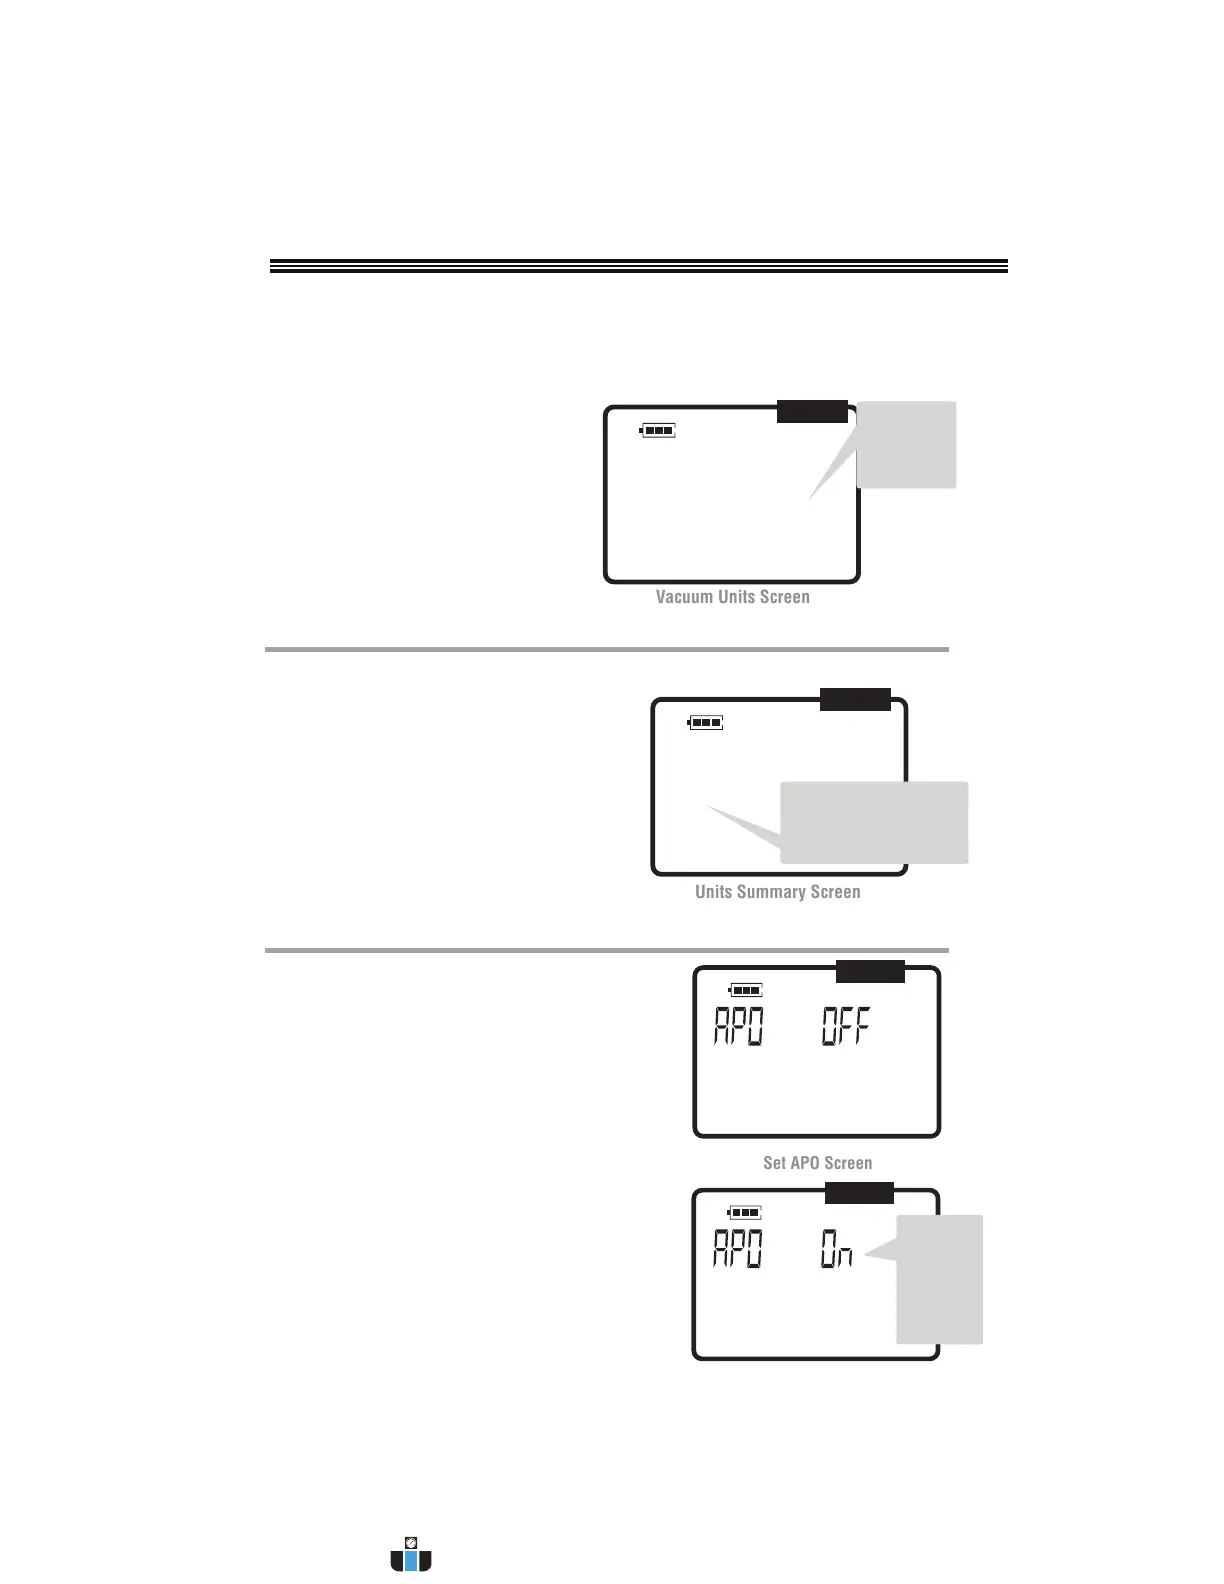
5. Press [SET] to advance to Vacuum Units Screen (blinking) [FIG.20].
mic inHg
APO
Vacuum
Units
(“mic” or
“inHg”)
FIG.20
6. Press [SET] to select this menu.
Current units will blink.
7. Use [UP/DOWN ARROWS] to select
either microns (mic) or inches of
mercury (inHg).
8. Press [SET] to select desired units
and go to next menu (Units Summary
Screen), or
9. To return to the Main Screen [FIG.1]
press and hold [CLR].
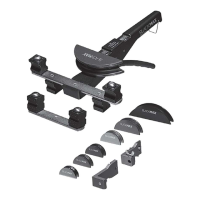
1. The next menu item after selecting Vacuum Units is the Units Summary Screen [FIG.21].
Blinking symbols represents units chosen in
previous steps.
2. Press [SET] to select units shown on this screen-
making them the current working units.
3. Or after pressing [SET], use [UP/DOWN
ARROWS] to display previous units. These can
be restored by pressing SET Menu. In either
case, units become current units and manifold
returns to Main Screen [FIG.1]
Psig
mic
APO
°F
Blinking symbols indicate
Pressure, Temperature and
Vacuum Units chosen in
previous steps
FIG.21
APO
When APO is ON and there has been no user activity (usually
10-15 minutes), manifolds turn OFF to conserve battery power.
About 1 minute before turning OFF, an alarm will sound to
signify that override is possible by pressing any key, except the
[ON/OFF] key. This will re-start the APO timer. APO is suspended
when performing either the vacuum or pressure hold test or
when the unit is used as a vacuum gauge.
When APO is OFF, the user must turn a manifold off manually.
1. From Main Screen [FIG.1], press and hold [MODE]. The
PrO icon will blink [FIG.16].
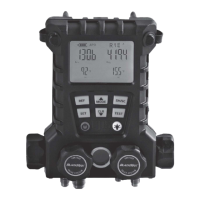
2. Press DOWN ARROW to go to (blinking) Set APO screen.
[FIG.22].
3. At SET APO Screen briefly press [SET]. “APO On” will
appear and blink [FIG.23].
4. Use [UP/DOWN ARROW] to change display from APO On
[FIG.23] to APO OFF as desired.
5. Press [SET] to select desired APO state and return to Main
Screen [FIG.1]
From either
screen,
select either
Automatic
Power ON
or OFF
APO
FIG.22
FIG.23
ENTER PROGRAMMING CHANGES (MAKE CHANGES CURRENT)
SETTING APO (AUTOMATIC POWER) ON OR OFF
www.calcert.com sales@calcert.com1.888.610.7664
0
5
10
15
20
25
30