Required Tools for Setup
#0 Philips-head screwdriver (for modem door cover)
#2 Philips-head screwdriver (for the mounting screws)
Mounting equipment, varies upon desired mounting location. These tools may include, but are not limited to:
Drill with 2.5 mm (or equivalent) drill bit
Additional screws
Zip ties
Setup
The following instructions walk you through basic setup of the router. For more advanced setups, contact a professional installer.
STEP 1: Check box for content.
The contents of the box vary depending upon the model purchased. Refer to the following to ensure you received all items included with the hardware:
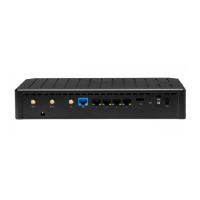
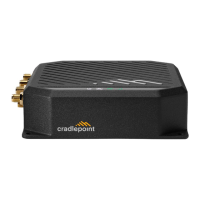
[1] Cradlepoint E300 Enterprise Branch Router
A number of included antennas, depending on the model:
[2] LTE cellular antennas with E300-C7C and E300-C7D
[4] LTE cellular antennas with E300-C18B and E300-5GB
[1] Power supply
[1] Modem door screw
[4] Rubber desk mount feet
[2] Wall/ceiling mount screws
[1] Antenna Alignment Tool
[1] Antenna Alignment Tool guide and wall mount template
[1] Getting Started reference sheet
[1] Safety, Regulatory, and Warranty guide
Accessories
To enable cellular connectivity, you will also need at least one activated 2FF-sized SIM card with an active cellular data plan. Additionally, the router models
may be enhanced with a Cradlepoint modular modem and additional external antennas.
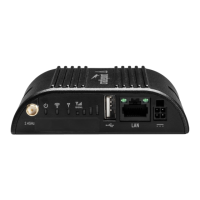
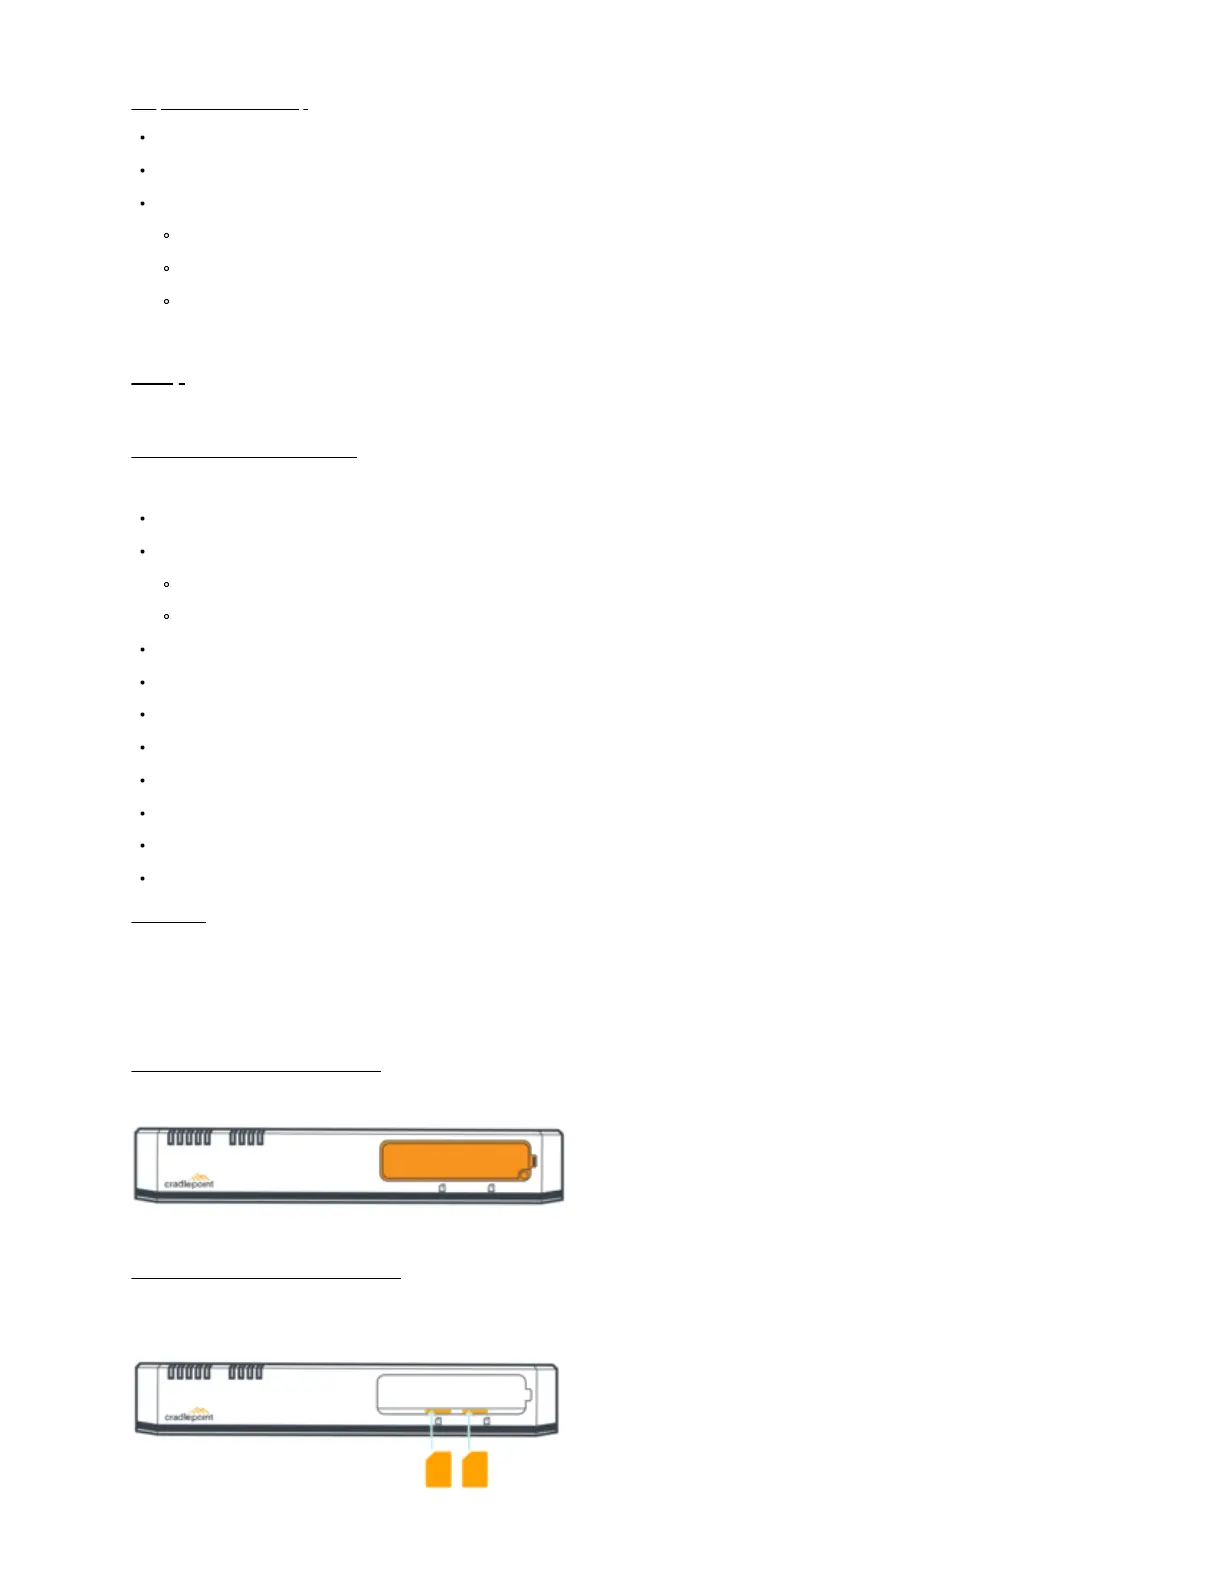
STEP 2: Remove the modem door.
Unclip and remove the modem door from the router.
STEP 3: Insert an activated SIM card.
Insert an activated 2FF-sized SIM card into the the SIM1 slot (contacts down, notch in). The SIM card clicks into place.
Optionally, insert an activated 2FF-sized SIM into the SIM2 slot with the same orientation.
 Loading...