Pre-drill holes for the mounting screws.
Use wall anchors to ensure the device is securely mounted.
STEP 9 (Optional): Connect the Ethernet cable.
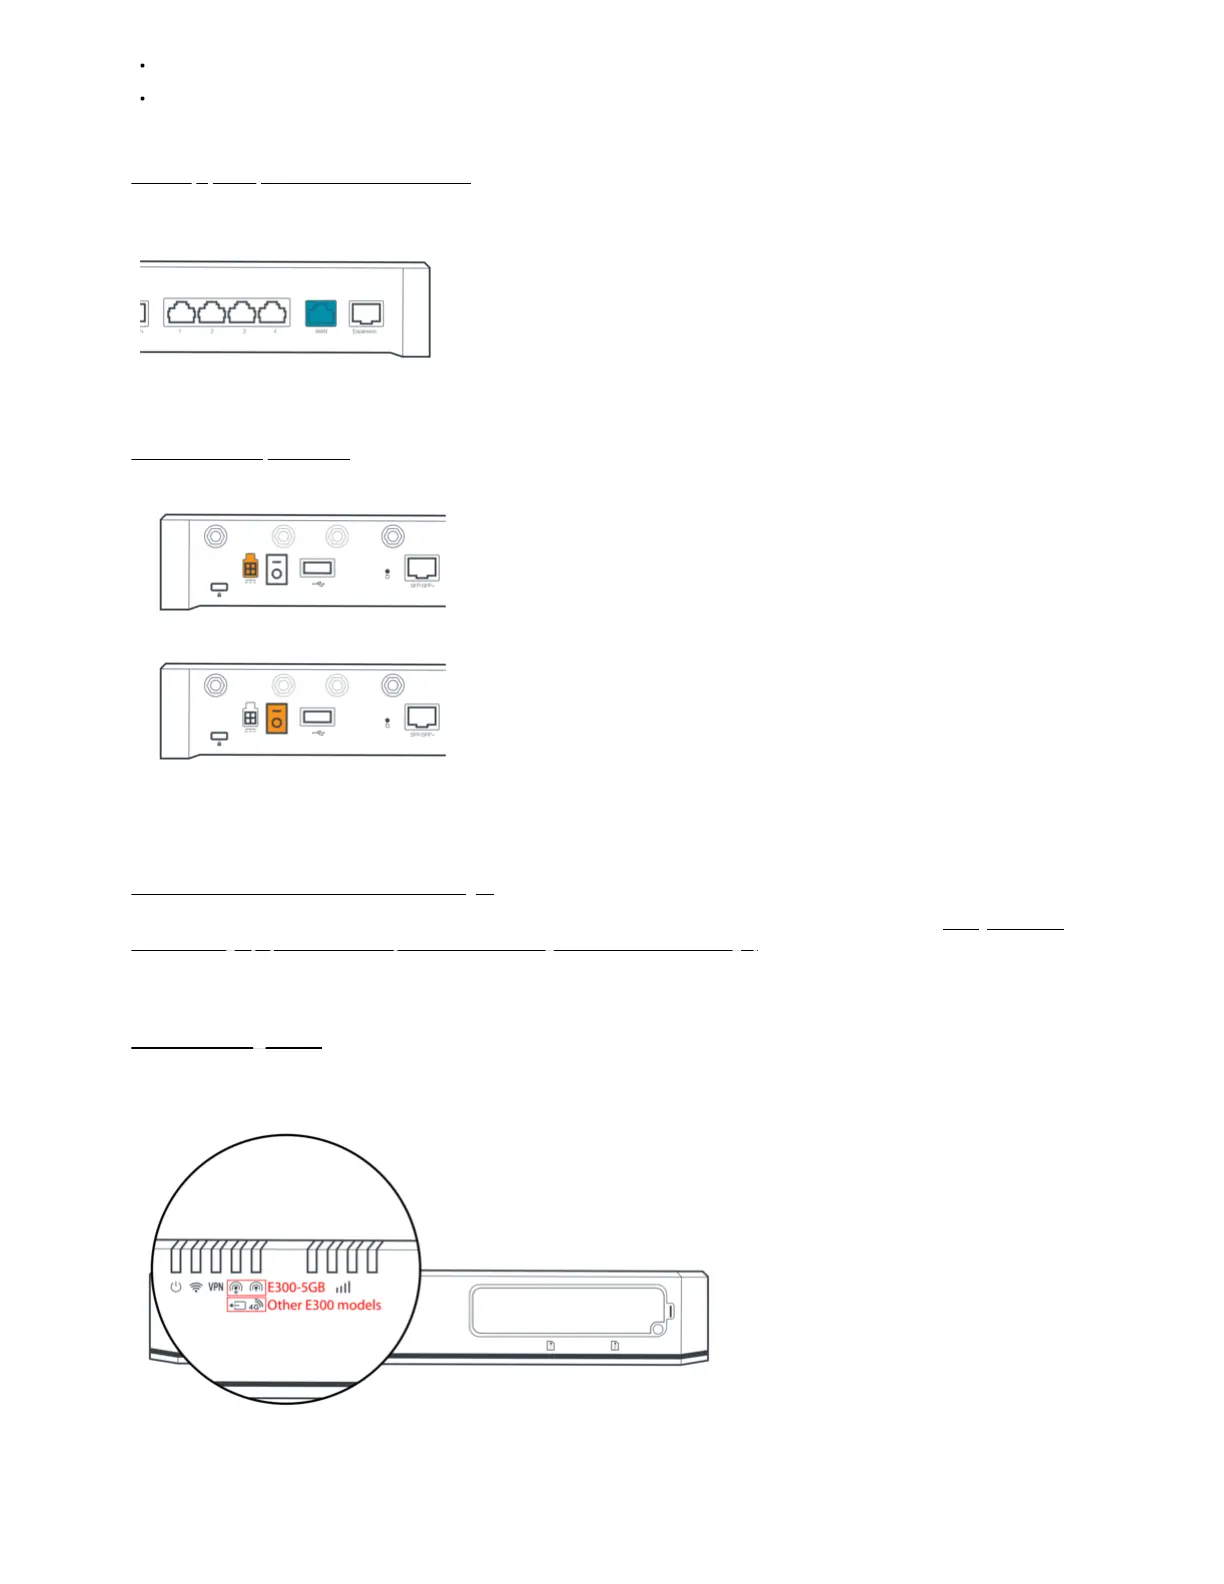
If using a wired, Ethernet WAN connection, connect the Ethernet cable to the blue port marked WAN on the back of the router. Connect the other end to the
WAN source.
If using a wireless WAN (using cellular connectivity), power up the router first, and then access your NetCloud Manager account to complete the setup.
STEP 10: Power up the router.
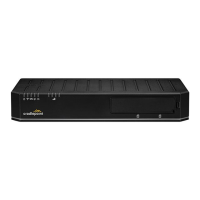
1. Connect the power supply to the router and then plug the other end into an electrical outlet.
2. Switch the device to the ON position (O = Off, – = On).
3. Allow one minute for the router to run through its bootup sequence.
4. Refer to the Understanding LEDs section of the guide for more information about LED indicator status.
STEP 11: Activate the router in NetCloud Manager.
Activate the router through NetCloud Manager. Device activation requires that you log into your NetCloud Manager account. Refer to Getting Started with
NetCloud Manager (https://customer.cradlepoint.com/s/article/Getting-Started-with-NetCloud-Manager) for more information.
Understanding LEDs
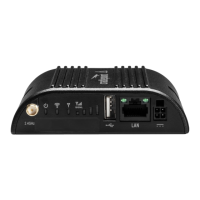
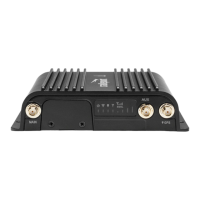
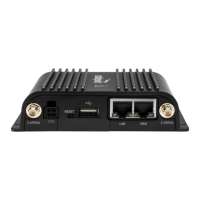
The E300 series routers use LED lights on the front panel to communicate various status conditions. Use the chart below to verify the status of your router
after the 1-minute boot-up cycle.





 To Next Page