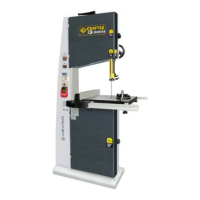
15
Slide the adjustment shaft and position
each guide bearing approximately 1/16"
behind the gullets of the saw blade. See
figure-16.
Figure-16 Blade guide approximately 1/16"
behind the blade gullets
The guide bearing is mounted on a
concentric shaft. When the shaft is rotated,
the relative position of the guide to blade
can be changed.
Rotate each adjustment shaft to position
the guide bearings approximately 1/32"
away from the saw blade
Secure the upper guide bearings by
tightening thumb screws and the lower
guide bearings by tightening the set screws.
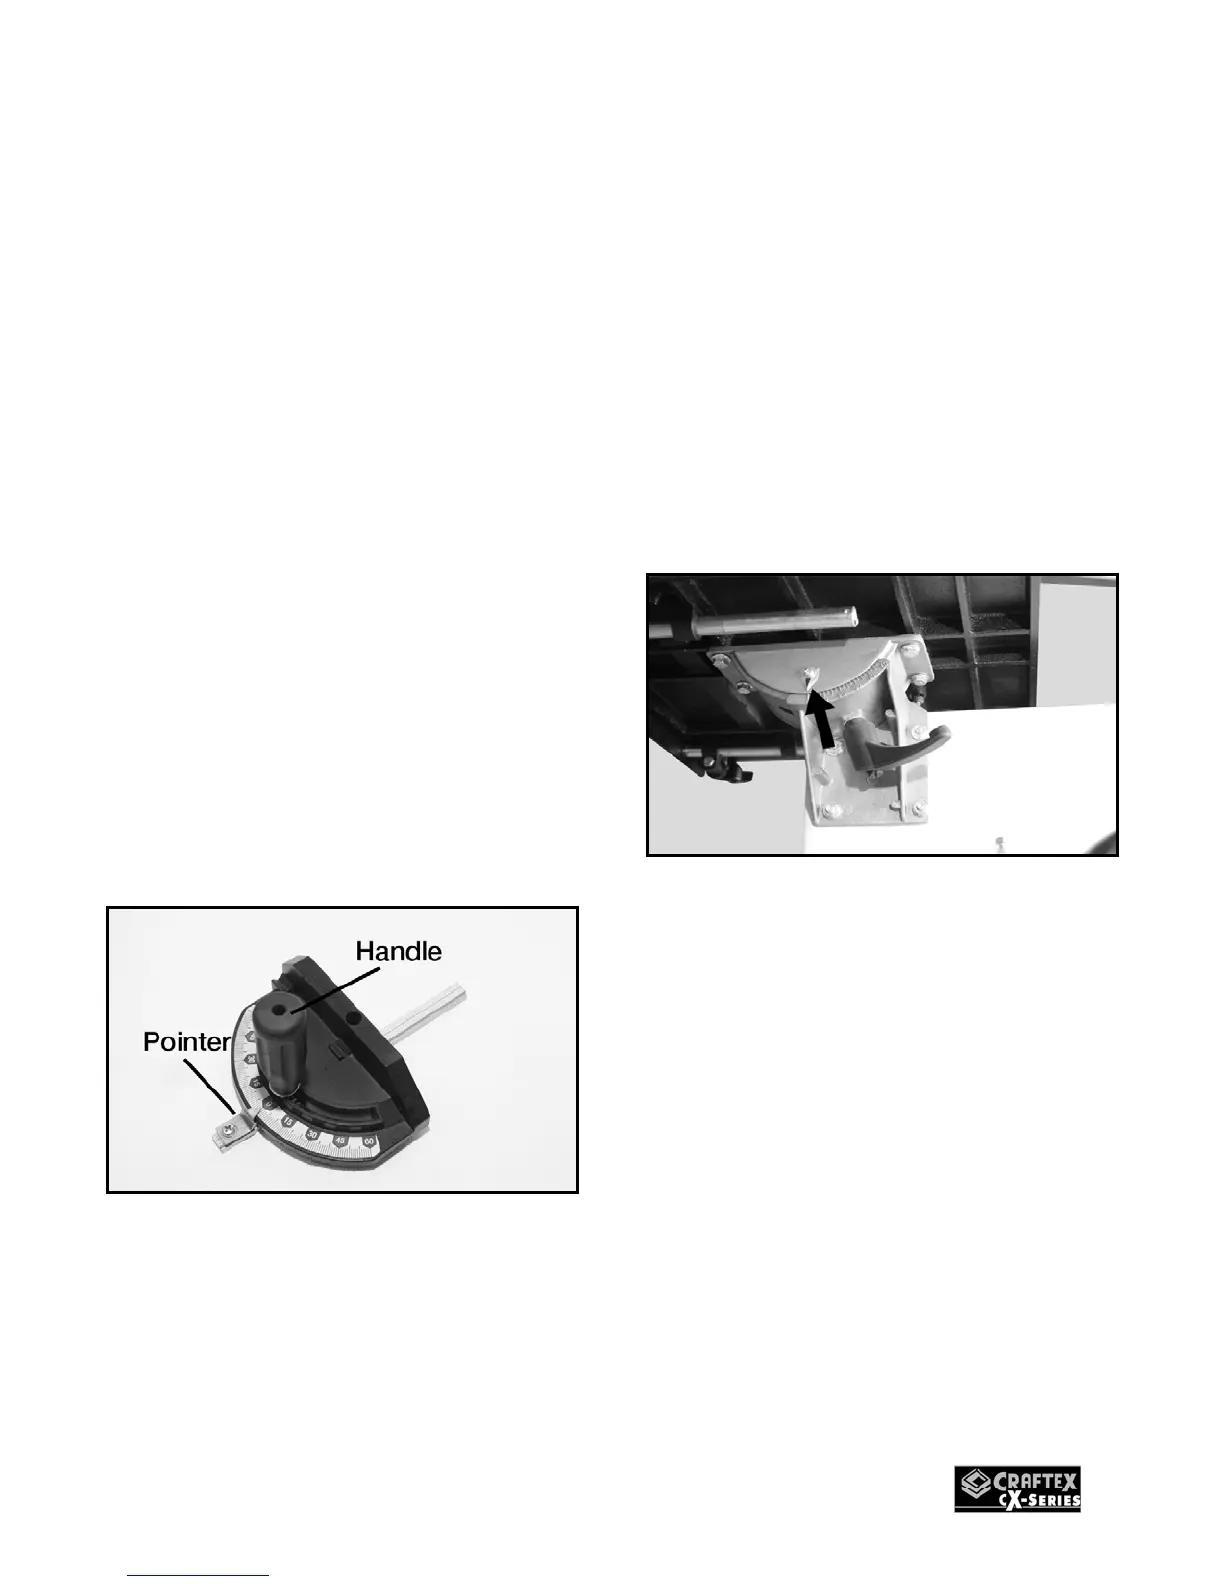
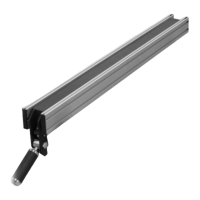
MITER GAUGE
ADJUSTMENT
To adjust the miter gauge, loosen the
handle and rotate the gauge body. Re-
tighten the handle.
Figure-17 Miter gauge
Place the miter gauge into the table slot
and use a square to verify that miter gauge
is at a 90 degree angle with the slot.
Adjust the pointer on the miter gauge if
necessary.
CALIBRATING
TABLE TILT SCALE
The pointer on the table tilt scale must
calibrated in order for the scale reading to
be accurate.
TO CALIBRATE THE POINTER ON THE
TABLE TILT SCALE:
Make sure the blade is tracking and
tensioned properly and the table is at 90°
angle with the blade. See page-18.
Loosen the screw on the pointer.
Figure-18 Table tilt scale and pointer
Align the tip of the pointer with the 0° mark
on the table tilt scale.
Re-tighten the screw on the pointer and
lock the pointer in position.