Do you have a question about the Craftsman 113.234700 and is the answer not in the manual?
Explains DANGER, WARNING, and CAUTION signal words used in the manual and on the saw.
Discusses three major hazards associated with radial arm saw use: outfeed zone, kickback, and wrong way feed.
Details required protective gear, clothing, and practices for safe saw operation.
Guidelines for maintaining a safe and clear work environment around the saw.
Specific safety precautions for operating the radial arm saw.
Instructions on how to safely handle and position workpieces during cuts.
Guidelines for safe usage, selection, and maintenance of saw blades.
Explains the meaning and location of safety labels present on the saw itself.
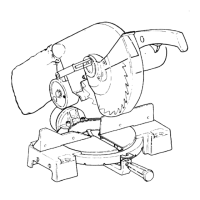
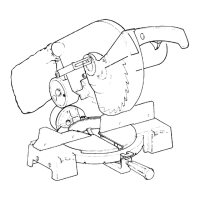
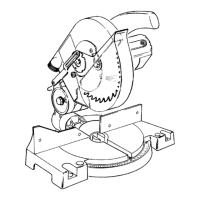
Lists and illustrates the components included with the radial arm saw for assembly.
Lists the necessary tools required for assembling and aligning the saw.
Provides step-by-step instructions for assembling the saw's base structure.
Details the process of attaching the blade carriage to the radial arm.
Instructions for connecting the radial arm assembly to the saw base.
Steps to ensure the radial arm is parallel to the saw frame for accurate cuts.
Instructions for assembling the table support components.
Provides instructions for assembling the front table section.
Details the adjustment procedure for the miter lock mechanism.
Steps to install rip scale indicators, table clamp screws, and dust elbow.
Lists and describes the function of various controls on the radial arm saw.
Explains the importance and sequence of saw alignment procedures.
Provides steps to adjust carriage bearings for smooth, resistance-free travel.
Instructions for adjusting the column support for smooth arm movement.
Steps to ensure the front table is level relative to the blade.
Adjusting blade travel to be perpendicular to the fence for accurate crosscuts.
Ensuring the blade is perpendicular to the table surface for accurate cuts.
Adjusting the blade to be perpendicular to the fence for ripping safety.
Steps to align the spreader with the blade for kickback prevention.
Aligning the in-rip and out-rip scale indicators for accurate measurements.
Details the motor's electrical and mechanical specifications.
Information on connecting to the power supply and using extension cords.
Explains hazards and precautions for safe crosscutting operations.
Step-by-step guide for performing straight and miter crosscuts.
Instructions for executing bevel and compound crosscut operations.
Discusses repetitive crosscutting and the use of carriage stops.
Details hazards and safety measures specific to ripping operations.
Instructions on making and using push sticks and push blocks for safety.
Essential steps to perform before executing any rip cut.
Step-by-step guide for safely performing rip cuts.
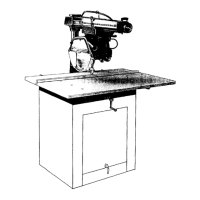
Explains the purpose, types, and creation of fences for saw operations.
Instructions for making a push stick for safe workpiece handling.
Instructions for making an auxiliary fence and push block.
Guidance on how to use a featherboard for workpiece support.
Instructions on attaching a straight edge to irregular workpieces for ripping.
General safety guidelines for using accessories with the saw.
Information and safety precautions for the lower blade guard.
Lists available accessories designed specifically for this saw model.
Overview of the saw's maintenance requirements, lubrication, and cleaning.
Procedures for periodically cleaning the saw to maintain performance.
How to adjust common locks (bevel, swivel, etc.) for wear.
Instructions for inspecting and replacing motor brush assemblies.
Step-by-step instructions for safely changing the saw blade.
Lists common motor issues, their causes, and recommended solutions.
Lists common cutting issues, their causes, and recommended solutions.
Lists common saw operational issues and their causes and solutions.
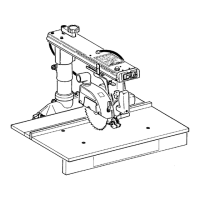
Exploded view diagram illustrating parts of the radial arm saw.
Exploded view diagram illustrating parts of the radial arm saw.
Exploded view diagram illustrating parts of the radial arm saw.
Exploded view diagram illustrating parts of the radial arm saw.