ASSEMBLYOF EXTENSIONSAND LEGS
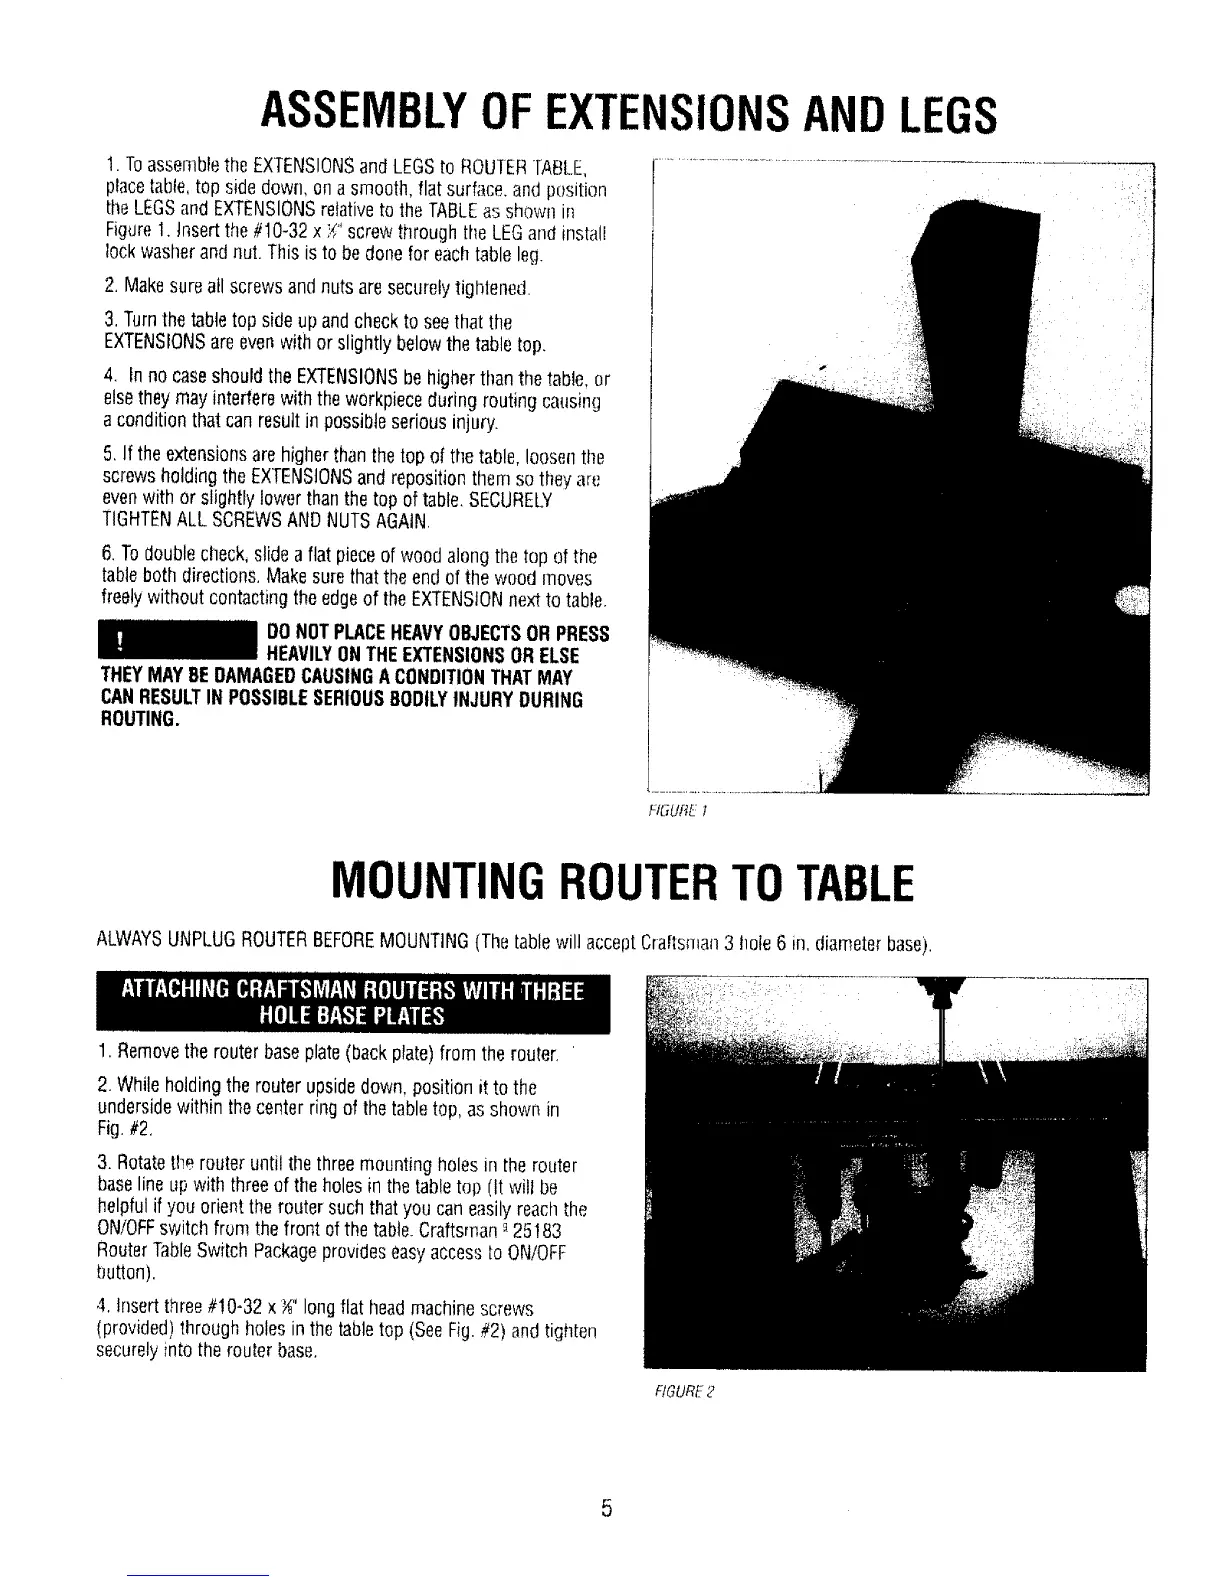
t. Toassemblethe EXTENSIONSand LEGSto ROUTERTABLE,
placetable,top side down, on a smooth, flat surfi_ce,and position
theLEGSand EXTENSIONSrelativeto the TABLEas shown in
Figure1. htsert the #10-32 x Yi'screwthrough the LEGand install
lock washerandnut. This is to bedone for eachtable leg.
2, Makesureall screws andnuts aresecurelytightened,
3.Turnthe tabletop sideup andcheckto seethat tfm
EXTENSIONSare evenwith or slightly belowthe table top.
4, In no caseshouldthe EXTENSIONSbehigher thanthe table, or
elsetheymay interferewith theworkpieceduring routing causing
a conditionthat canresultin possibleserious injury.
5. If the extensionsarehigherthan the top of the table, loosenthe
screwsholding theEXTENSIONSand repositionthem sothey art;
evenwith or slightly lower than the top of table, SECURELY
TIGHTENALL SCREWSANDNUTSAGAIN,
6.Todoublecheck,slide a flat pieceof woodalong thetop of the
tableboth directions,Makesurethat the end of the wood moves
freelywithout contactingthe edgeof the EXTENSIONnextto table,
DONOTPLACEHEAVYOBJECTSORPRESS
HEAVILYONTHEEXTENSIONSORELSE
THEYMAYBEDAMAGEDCAUSINGA CONDITIONTHATMAY
CANRESULTIN POSSIBLESERIOUS80DtLYINJURYDURING
ROUTING.
FIGURE 1
MOUNTINGROUTERTO TABLE
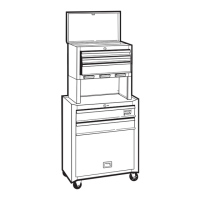
ALWAYSUNPLUGROUTERBEFOREMOUNTING(Thetablewill acceptCraftsman3 hole 6 in. diameterbase).
, i:f •
1. Removethe router baseplate(back plate)from the router. '
2. Whileholding therouter upsidedown, position it to the
undersidewithin the centerring of thetabletop, as shown in
Fig.#2,
3. Rotatethe router until the three mountingholesin the router
baselineup with threeof the holesin the table top (It will be
helpfulif you orient the router suchthat you caneasilyreachthe
ON/OFFswitch from the front of the table.Craftsman_-25183
RouterTableSwitch PackageprovideseasyaccesstoON/OFF
button).
4. Insertthree#!0-32 x _" longflat headmachinescrews
(provided)throughholesin the tabletop (SeeFig,#2) and tighten
securelyinto the router base.
FIGURE2
5