2
Introduction
Greetings! Since you are reading this document you are probably about to convert a 3D printer from
a Bowden setup to direct drive – or you are considering doing it in the near future. We have used
this approach to convert many 3D printers to direct drive with great success – you will see that we
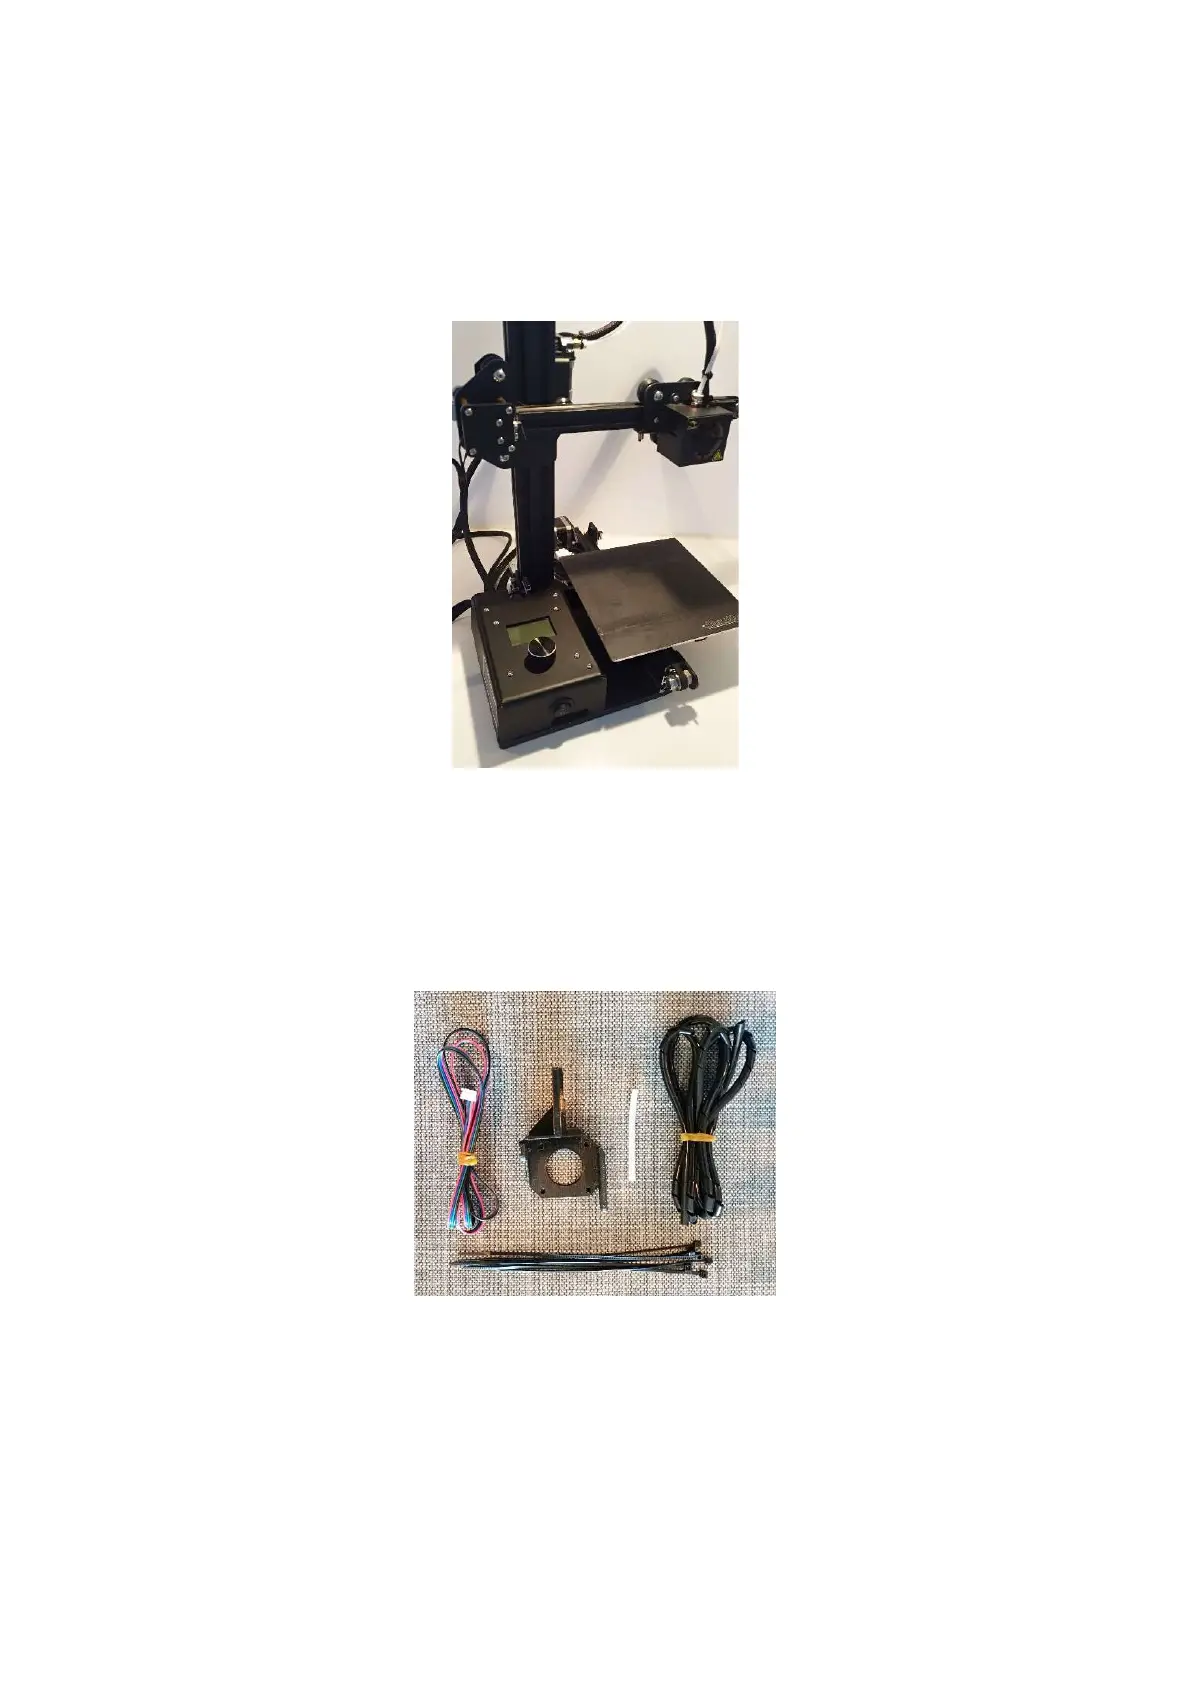
are using a Creality Ender 2 printer in this guide:
The Ender 2 is one of the cheapest and simplest Creality 3D printers, and it is consequently one of
the most accessible 3D printers while providing great value-for money. Since many Creality 3D
printers uses the same extruder and hotend carriage, this modification can be performed on a wide
range of Creality 3D printers, including Ender 3, Ender 3 pro, CR-10, CR-10S, CR-10 S4 with small
changes to the method, for example to allow for differences in the controlboard housings.
The direct drive kit contains the following parts:
1 x NEMA motor cable, 1m long
1 x PETG direct drive adapter
1 x short PTFE tube
1 x wire wrap, 1m long
6 x zip ties