11
ENGLISH
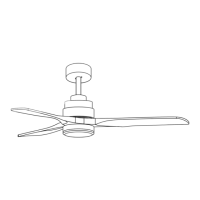
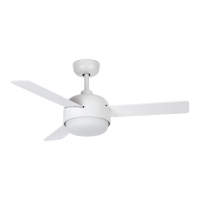
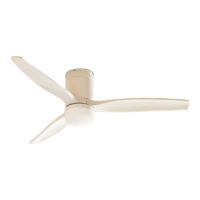
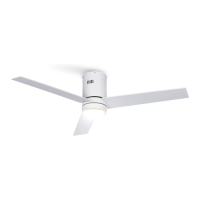
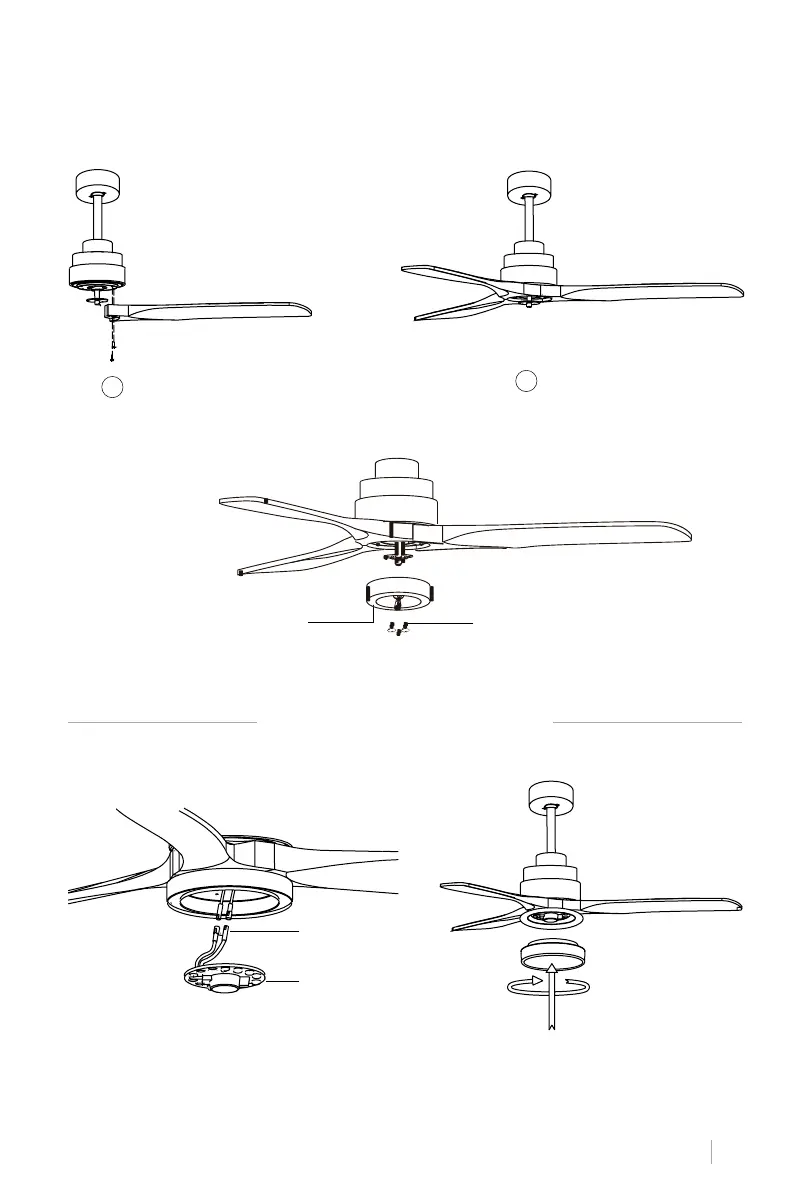
BLADES ASSEMBLY
Align the holes on the blade holder with the holes on the blades and the motor body and screw
them in place, but don’t tighten them until they are all placed and screwed in.
Tip: To save time, you can t the washers on each screw prior to installing the blades.
1
2
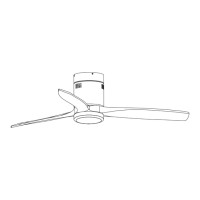
CONNECTIONS PANEL ASSEMBLY
Attach the connections plate up to the bottom of the fan by inserting the set screw heads into
the key hole slots. Rotate them to place and tighten them to secure the plate.
Connections panel
Panel screws
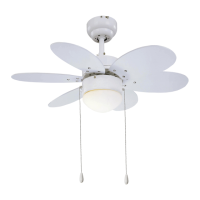
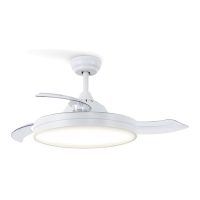
LED LIGHT PANEL AND LAMP SHADE ASSEMBLY
Single-pin plug
LED panel
Connect the single-pin plugs of the connections plate with the ones on the LED panel. The LED
panel is magnetized so it will be attached to the connections panel just by placing them together.
Note: While installing or removing the LED plate, please keep the insulation pads intact carefully.
Turning the set screws over-tightly or fast will damage the insulation pads.
Screw the lamp shade back to the connections plate.
CEILING FAN WITH LED LIGHT