Getting Started 2-5
Installing
Software
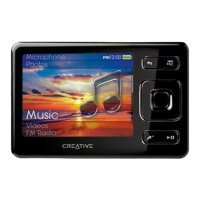
Your NOMAD Zen Xtra comes with software that helps you create audio
tracks, manage your music library and use your player.
1. Make sure that your player is not connected to your computer.
2. Insert the Installation CD into your CD-ROM drive.
3. The Installation CD supports Windows AutoPlay mode and starts
running automatically. If not, you need to enable your CD-ROM drive's
auto-insert notification feature. For more details see "AutoPlay" on page
C-1.
4. Click the
Install software for NOMAD Jukebox Zen Xtra
option to
select it.
5. Click the
OK
button.
6. Click the
Next
button to register with Creative, so that you will be
updated on new developments for your Jukebox.
7. Follow the onscreen instructions.
8. When prompted to restart your computer, leave the CD in the CD-ROM
drive, and then click the
Yes, I want to restart my computer now
option to select it.
9. Click the
Finish
button to complete the installation.
You must restart your
computer before trying
out any of the installed
applications.
You can also select the
language that your
player’s screens
appear in. See
"Language Settings"
on page D-3.