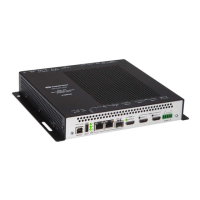
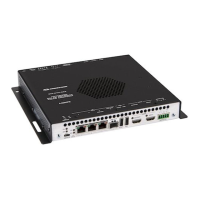
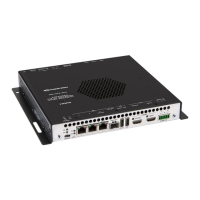
The Status field (read only) displays the connection status of the DM-NVX-E30(C)
to the control system as OFFLINE or ONLINE.
To save the new entries, click the Save Changes button. The Control System Save
message box appears, indicating that the control system settings were saved successfully.
To revert to the previous settings without saving, click the Revert button.
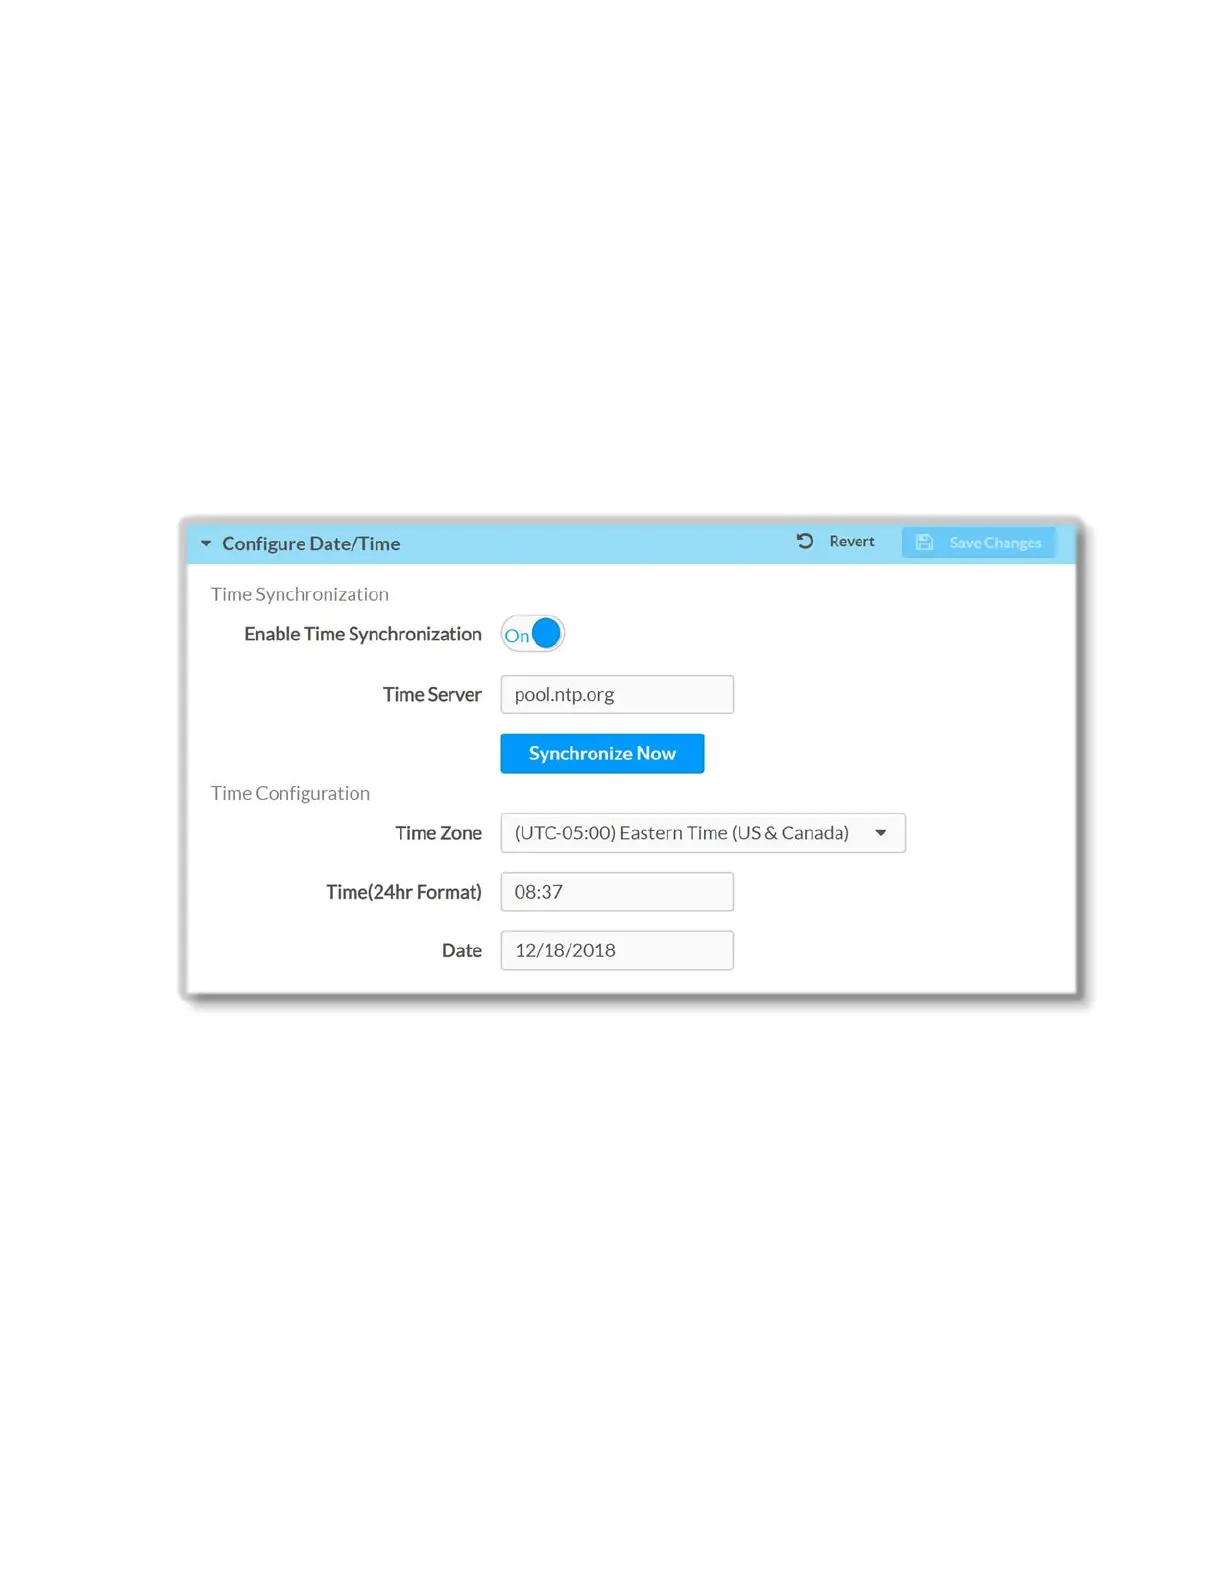
Configure Date/Time
To configure the date and time settings of the DM-NVX-E30(C), in the Configure
Date/Time section of the page, do the following:
Time Synchronization
1. Move the Enable Time Synchronization slider to the desired position (On or Off)
to specify whether time synchronization will be enabled (On) or disabled (Off). By
default time synchronization is set to On.
2. In the Time Server text field, enter the URL of the NTP server
3. Click Synchronize Now to perform time synchronization between the device's
internal clock and the time server
Time Configuration
1. Click on the Time Zone drop-down to select the applicable time zone
2. In the Time (24hr Format) text field, enter current time in 24-hour format
3. In the Date text field, enter the current date
35 • DM-NVX-E30(C)