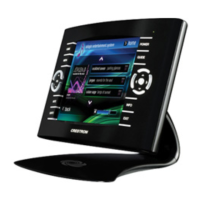
Isys™ 5.7” Wireless Touchpanels Crestron TPS-6X Series
2. Continue holding the right trigger key and touching the upper right corner
of the screen. At the same time, press and hold the left trigger key on the
top of the touchpanel. After four seconds, the panel will reset.
3. Once the screen turns black, release the left trigger key and the panel will
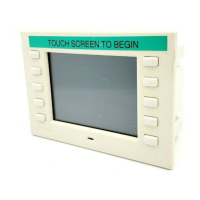
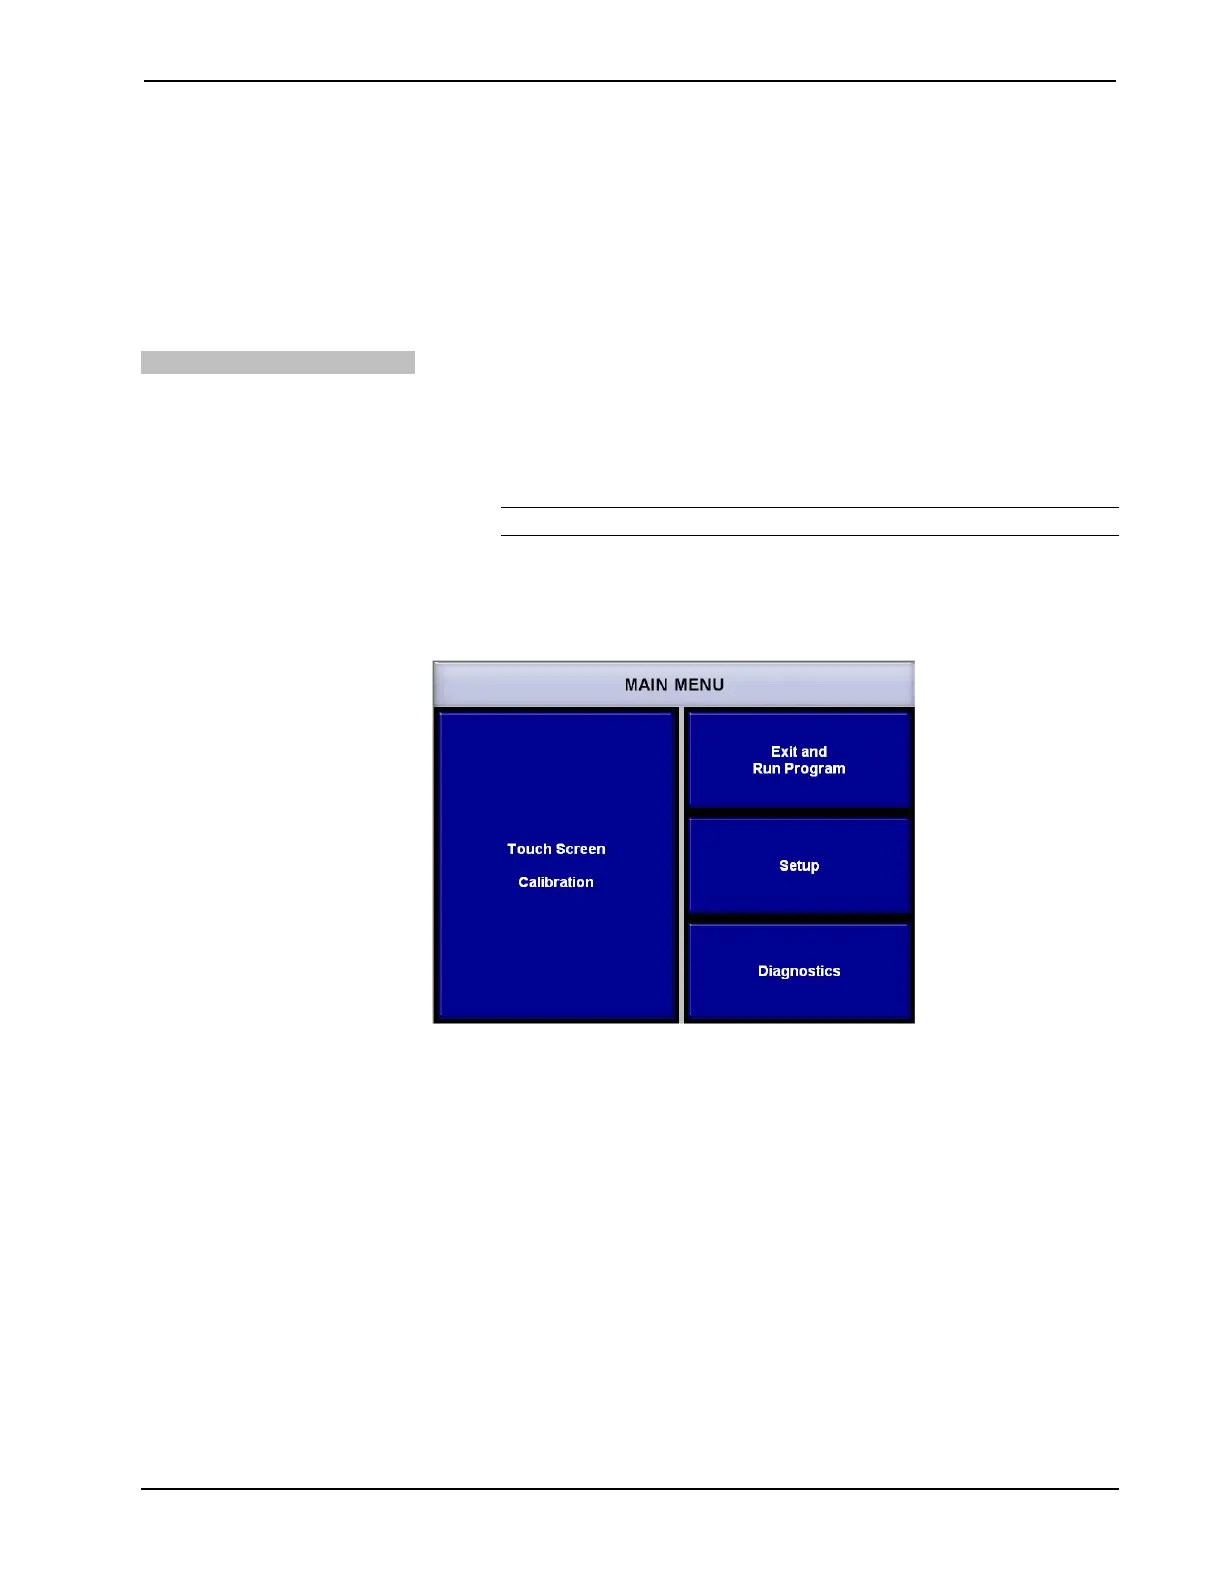
enter the MAIN MENU, as shown in the illustration below.
4. Release the right trigger key and the touch screen.
Via Crestron Toolbox
1. Establish communication with the touchpanel (refer to “Establishing
Communication” which starts on page 50 for details).
2. Right-click on the device and select Functions | Setup Mode….
3. Select Enter Setup Mode. The MAIN MENU will be displayed, as shown
in the illustration below.
NOTE: Select Exit Setup Mode to exit the setup menu.
The MAIN MENU displays four large buttons: Touch Screen Calibration, Exit
and Run Program, Setup and Diagnostics, as shown in the following illustration.
MAIN MENU
The Exit and Run Program button verifies that all of the setup information has
been saved to the EEPROM and displays the main page that has been programmed
into your system. The remaining buttons on the MAIN MENU open other menus and
displays which are discussed in subsequent paragraphs.
14 • Isys™ 5.7” Wireless Touchpanels: TPS-6X Series Operations Guide – DOC. 6875B
 Loading...