5. Wait for the progress bar to complete (typically 30-45 seconds). A pass
or fail message will appear. To continue using the instrument,
disconnect the test gas and press the main button. This will return the
unit to its normal operating mode. (The unit is comparing what it
measures from the bottle with the standard gas values it knows should
be in the bottle.)
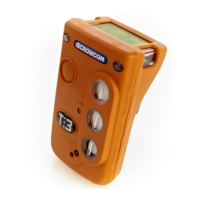
6.3 How to perform a field calibration test
To perform a field calibration test, you must first Zero your Tetra 3 unit 15
minutes or less before commencing the gas test instructions.
1. Follow steps 1 to 3 given in 6.2, Tetra 3 will display an alternate screen
message;
Press the button within 10 seconds to confirm Calibration.
If the button confirmation for calibration is not made within 10
seconds then the process will revert to gas test as in 6.2.
3. Apply calibration gas following step 4 in 6.2.
Tetra 3 will display a progress bar at the bottom, the names of the gas
sensors fitted are shown in reverse image with a cross beside each.
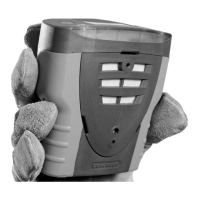
Operate the Trigger regulator and apply gas to the Tetra 3 whilst the
progress bar is counting down.
As gas flows the Tetra 3 allows the sensors to respond and then adjust
the value for each gas channel to match the stored calibration gas
value within each sensor i-module. Provided all channels calibrate
successfully within the allowed time the calibration will be designated
successful. If any channel does not calibrate successfully it will remain
marked with a cross and screen a message ‘Gas test failed’ and ‘Send
for calibration’ will be displayed. A tick will appear against each
channel as the unit passes the test
4. To abort the Calibration test press the button at any time whilst the
test is in progress.
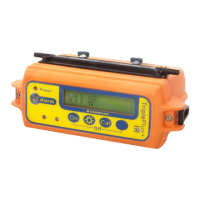
Calibrate?
Click to
Confirm
In 10 seconds
18
Field calibration Tetra 3
 Loading...