IX.
i-module replacement
1. Ensure you are in a non-hazardous (safe) area.
Switch off the unit
2. Remove any accessories, such as the flow adaptor, if fitted.
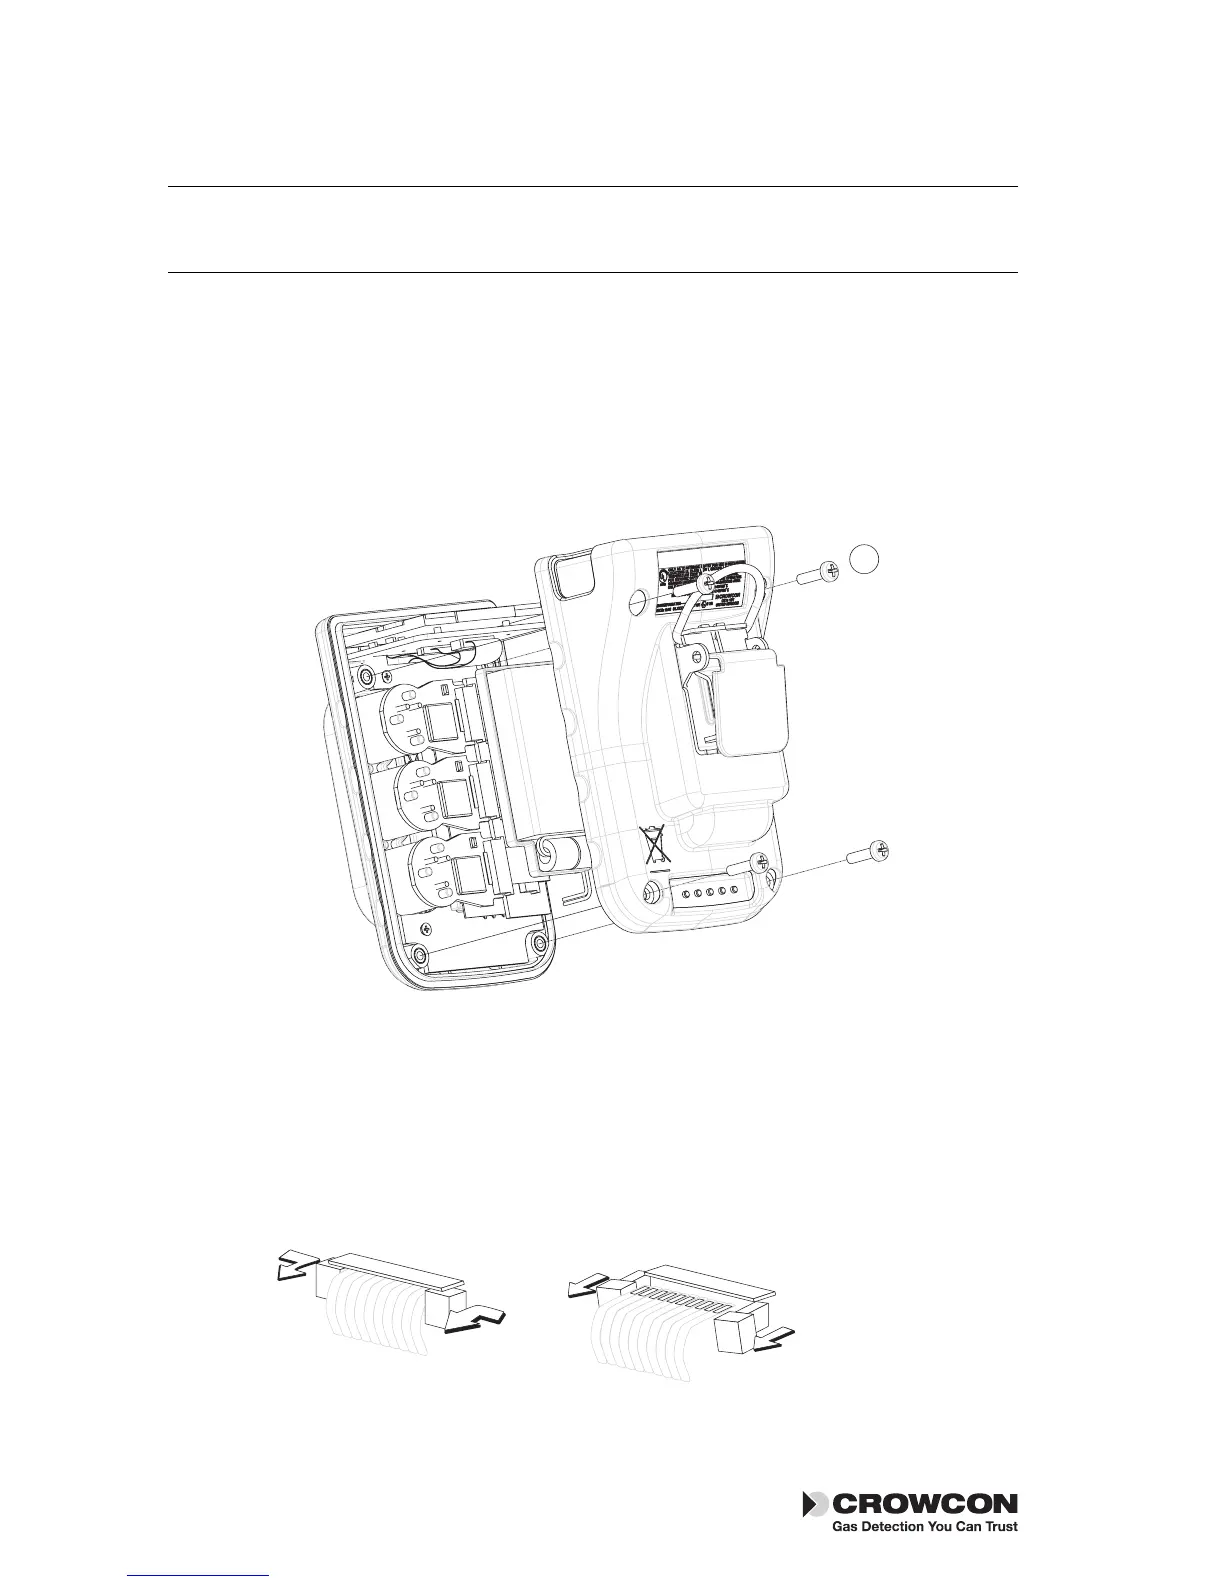
3. Remove the cover by unscrewing the four M3 screws as shown in the
drawing, point
With care, withdraw the battery with plastic holder downwards.
Removing an installed i-module
1. Locate the i-module connection ribbon, squeeze the two retaining
lugs, on the i-module board, toward each other and pull out slightly,
this will release the ribbon.
2. Gently pull the i-module out of the unit. There may be some resistance
at first, as the seal between the sensor and the front case is broken.
22
i-module replacement Tetra 3