PN: 2975 Rev F, 3/2004
Page 5 of 24
C R Y S T A L
engineering corporation
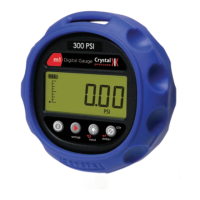
Connect the XP2 to your system. Use pipe thread tape or pipe thread sealant on the ¼″ NPT
fitting. Always use a wrench (¾″ or 19mm) for installation and removal of XP2s! There
is a limit to how much rotational force can be applied to the case, so don’t rely on, or use,
the case to screw the XP2 into a fitting, and don’t use the case to remove the XP2
fitting, either.
To ensure safe and accurate operation, please read the following warnings:
WARNING:
Severe injury or damage can occur through improper use of pressure instruments!
Do not exceed recommended pressure limits of tubing and fittings. Be certain all pressure
connections are secured.
This gauge can display zero pressure with up to 200 PSI applied! Do not rely on the
display indication before disconnecting - it may not be indicating true pressure. Never
disconnect pressure instrumentation without first relieving system pressure.
CAUTION:
Never insert any object (other than the
1
⁄
16
″ NPT metal filter) into the pressure
connection! The sensor diaphragm is very thin and can be damaged or destroyed by solid
or sharp objects. Cleaning of the sensor must be done with appropriate solvents only.
Zero/Tare
To make sure that the XP2 is performing to it’s rated accuracy, the XP2 should
be exercised and re-zeroed whenever exposed to changes in temperature (see
Specifications). It’s also good practice to check zero as your final reading too,
as the XP2 should return to a perfect zero reading. (If it does not return to zero,
check the filter - it may be blocked).
The XP2 can zero (or “tare”) any applied pressure up to 200 PSI (or equivalent). This
means that even if zero pressure is displayed, the actual gas or fluid pressure connected
to the XP2 may be high enough to be dangerous if you were to disconnect the XP2 without
relieving the pressure first. Always check that the pressure has been equalized with
ambient pressure before disconnecting the XP2!
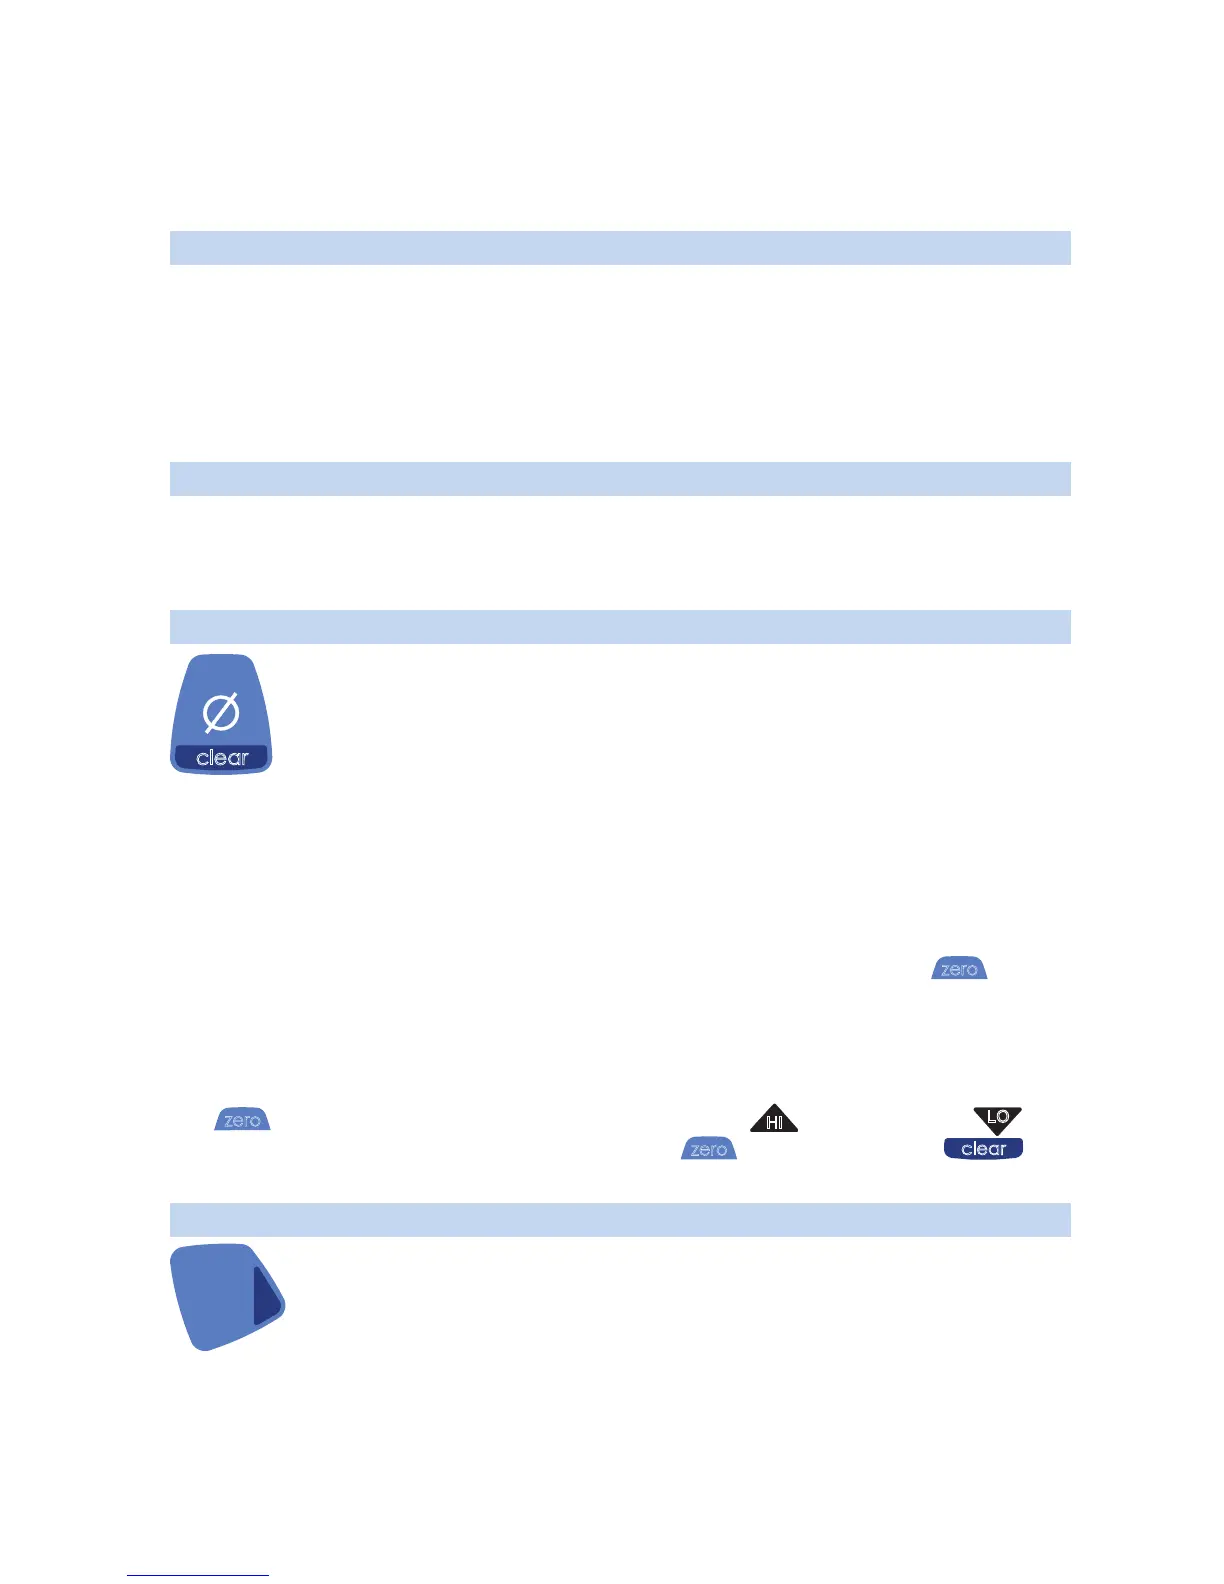
To zero or tare the XP2, you must turn off peak indication, then press the
button
for at least ½ second before it responds. The delay avoids unintentional changes to the
zero/tare setting. The display will briefly flash all dashed lines, indicating that it has been
re-zeroed. If you attempt to tare or zero the gauge when more than 200 PSI is being applied,
the command will be ignored, and “--HI-” will be displayed.
The
button changes its function when the peak high (
) or the peak low (
)
icon is displayed. While a peak icon is displayed the
button becomes the
button.
Units button
Pressing this button causes the XP2 to select the next unit of pressure
measurement. There are up to 9 units available. See “Pressure Ranges,
Display Scales & Resolution” for the list of pressure units available for your
model.