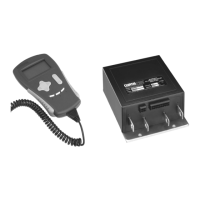
6. Insert the 4 pin original wire harness plug
into the new controller.
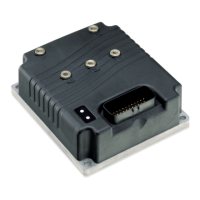
7. Remove the solenoid environmental
protection cover.
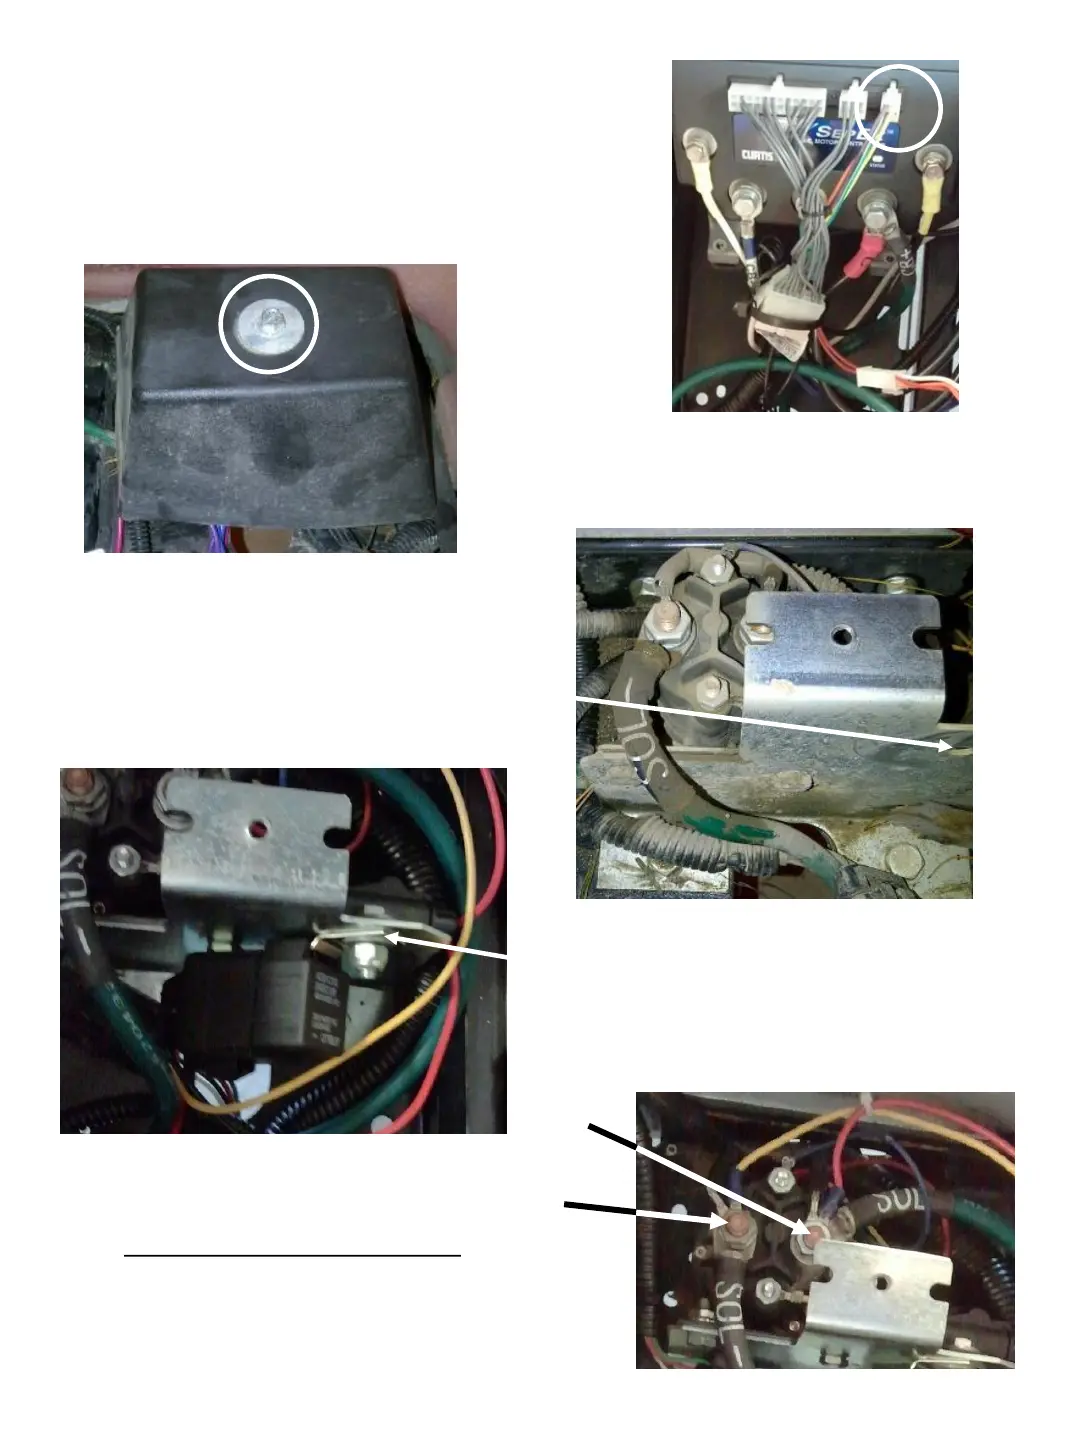
8. We will be using an open hole on the
solenoid cover mounting tab to fasten the
walk-away relay and protection fuse.
9. Using the supplied M5x20mm bolt,
washers, lock washer, and nut attach the
walk-away relay and fuse to the solenoid
cover mounting tab as shown.
10. Remove the pre-charge resistor and
connect the yellow wire from the walk-away
relay to the SOL- terminal and the red wire
from the fuse to the SOL terminal as shown.
Yellow
Red
62-EZHB-AO WORK INSTRUCTIONS REV. 02 9/14/2018

 Loading...