8. Secure the left junction covers.
A. Using a Phillips screwdriver, tighten the three screws that hold the junction covers
in place.
9. Secure the motor cover.
A. Lower the motor cover center into position. See Figure 2.
B. Using a Phillips head screwdriver, tighten the three screws on each side. NOTE: Be
sure the screws are catching the center motor cover’s holes.
Cybex TROTTER Elite Treadmill Owner’s & Service Manual
Service
Page 7-36
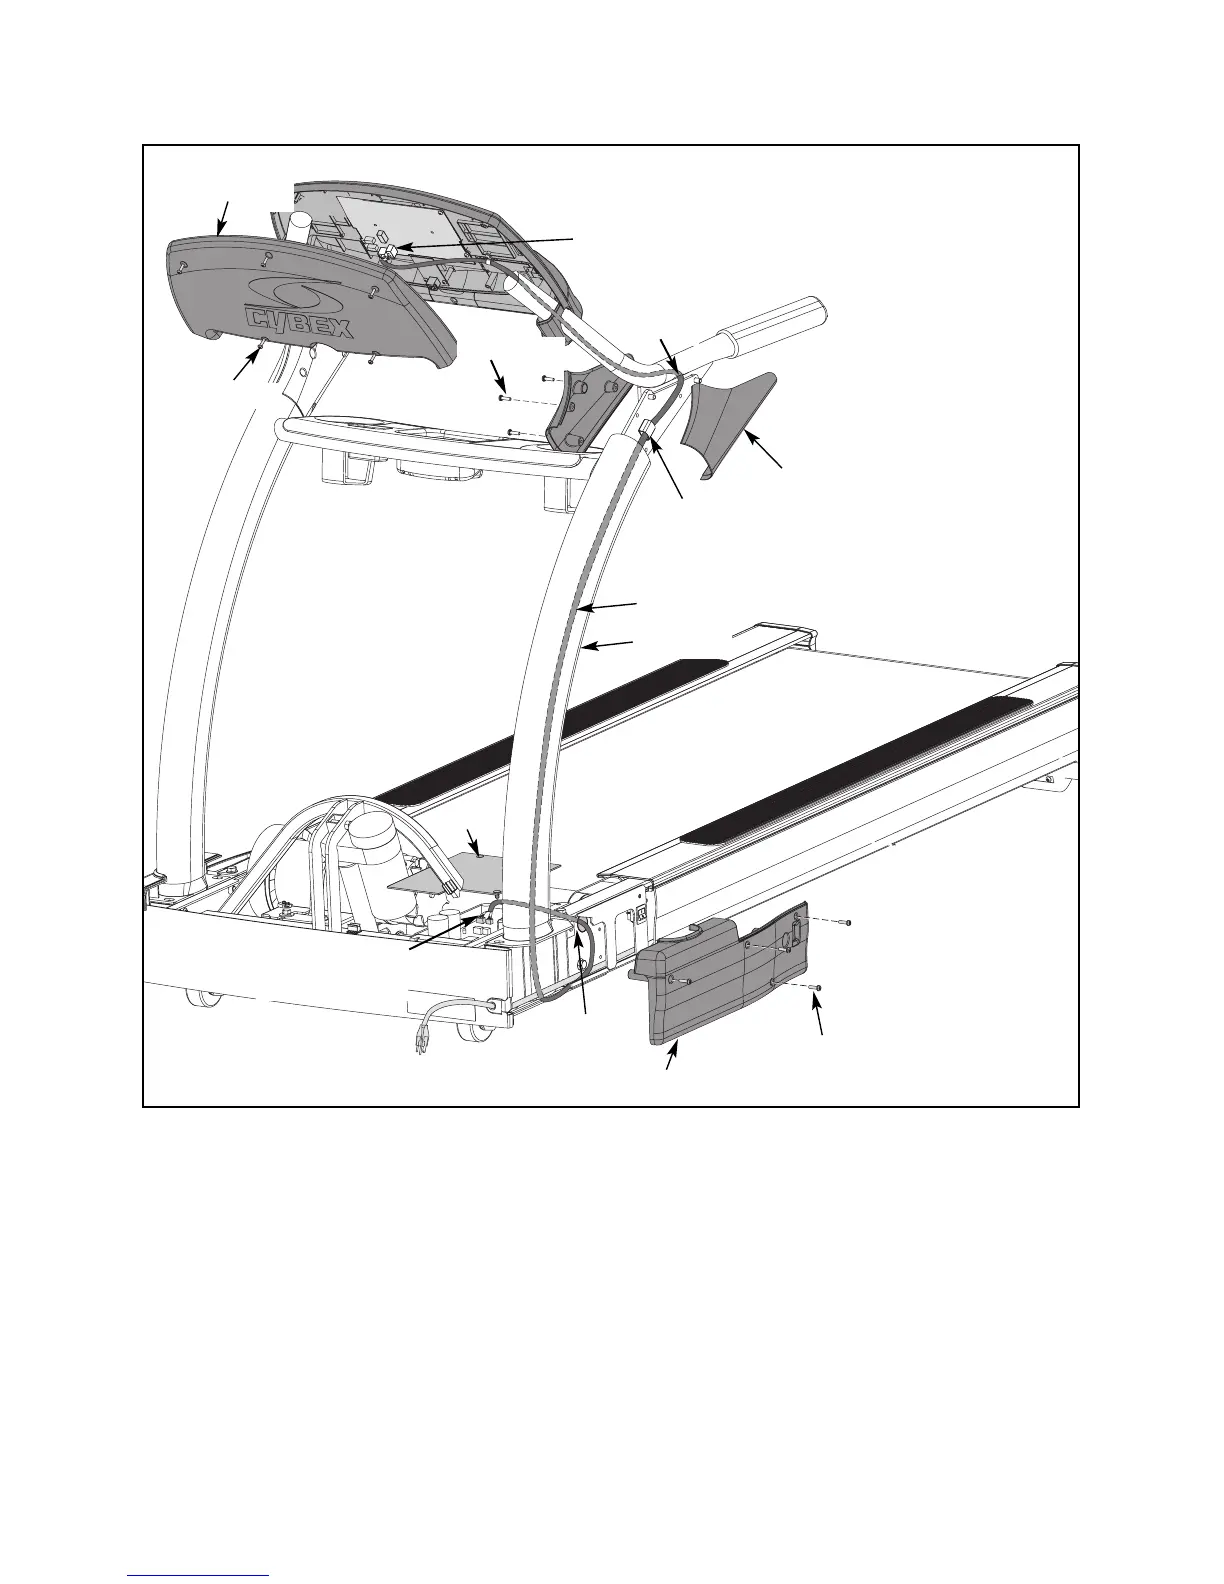
Figure 29
Shield
Display Cable
Screws (4)
Screws (5)
Screws (3)
Left
Junction
Covers
P3 and P8 Connectors on
Upper Display Board
Top Console
Back Cover
P1 and P2 on
Lower Board
Left Side Cover
NOTE: “Right” and “left” denote
user orientation.
Access
Hole
Bottom
Hole
Wire
Holder
Upright
 Loading...


