6
Installing the SmartConsole Utility
The following instruction guides you to install the SmartConsole utility.
1. Insert the Utility CD in the CD-Rom Drive.
2. From the Start menu on the Windows desktop, choose Run.
3. In the Run dialog box, type D:\SmartConsole Utility\setup.exe (D:\
depends where your CD-Rom drive is located) and click OK.
4. Follow the on-screen instructions to install the utility.
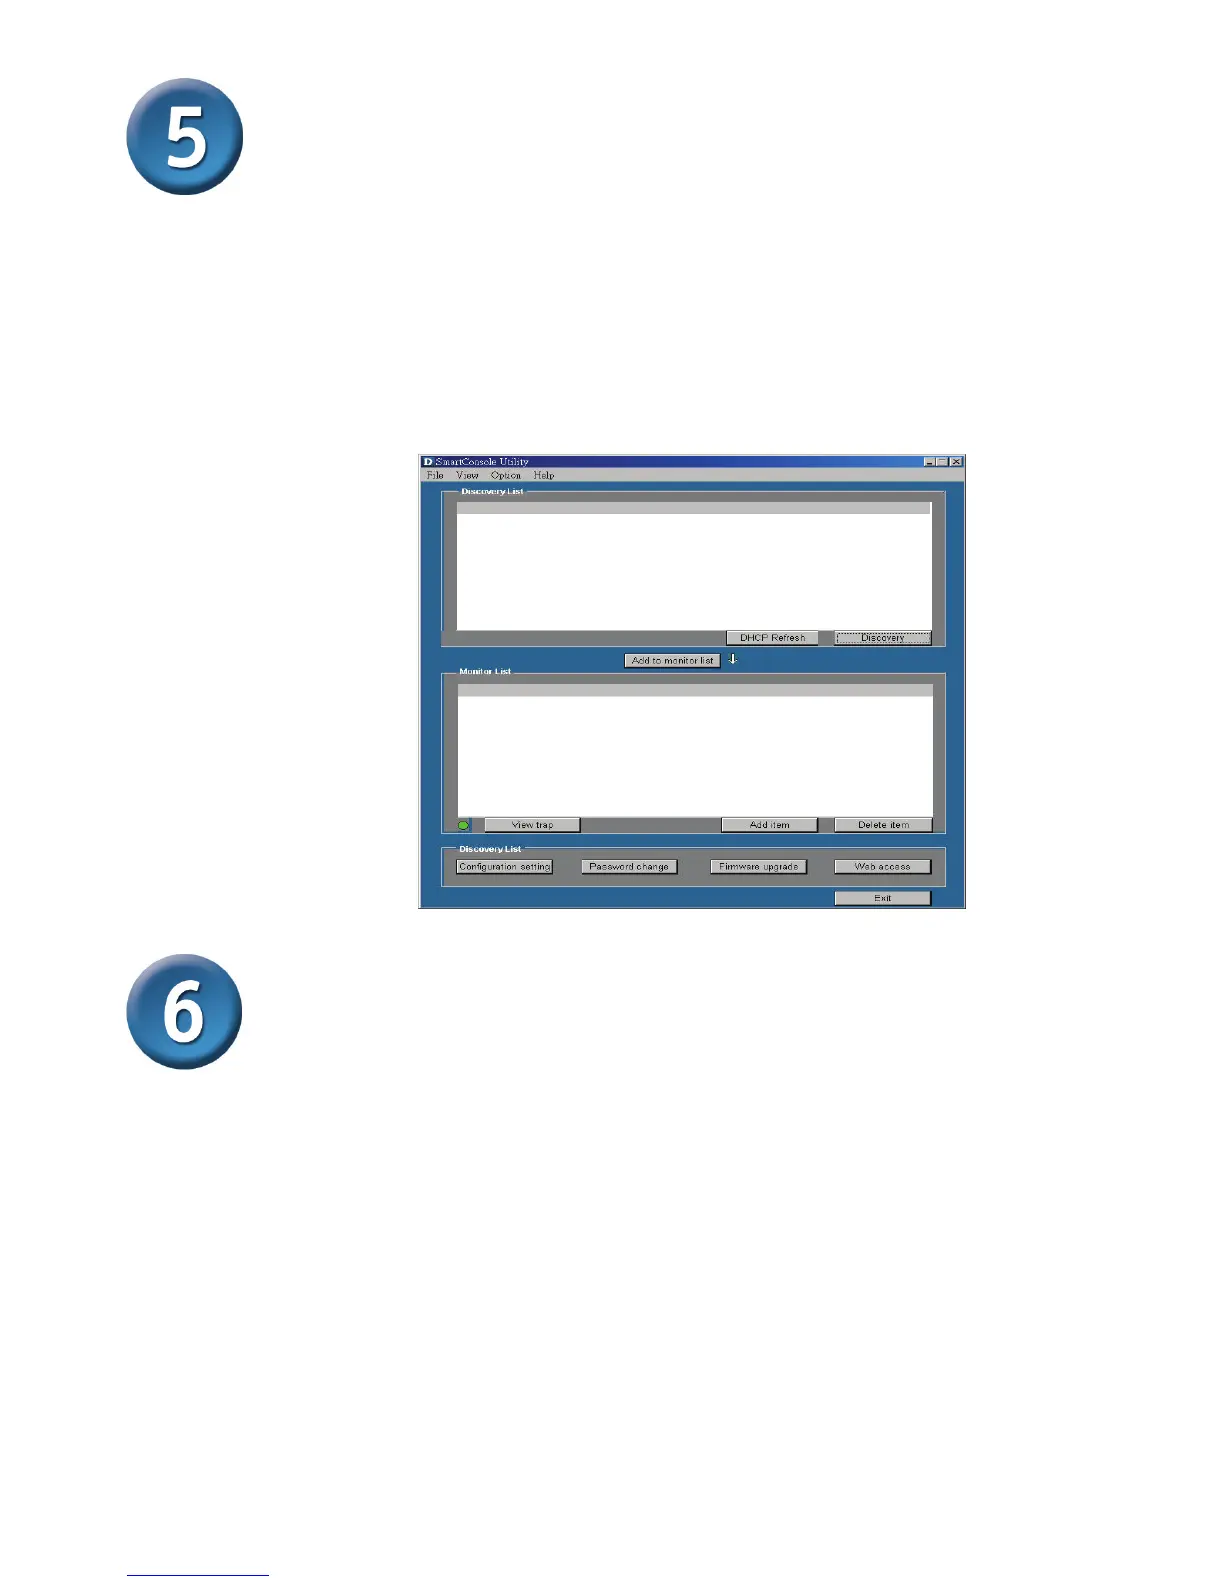
5. Upon completion, go to Program Files -> SmartConsole Utility
and execute the SmartConsole utility. (Figure 1.)
Figure 1. SmartConsole Utility
Configuring the Switch
The DGS-1216T has a Web GUI interface for smart switch configuration.
The Switch can be configured through the Web Browser. A network
administrator can manage, control and monitor the switch from the local
LAN. This section indicates how to configure the Switch to enable its
smart functions.
Use Internet Explorer 5.5 or above Web browser.
Login
Before you configure this device, note that when the Web Smart Switch
is configured through an Ethernet connection, make sure the manager
PC must be set on the same IP network. For example, when the default
network address of the default IP address of the Web Smart Switch is
192.168.0.1, then the manager PC should be set at 192.168.0.x (where x
is a number between 2 and 254), and the default subnet mask is
255.255.255.0.

 Loading...