DGS-3100 Series Gigabit Stackable Managed Switch Hardware Installation Guide
Installing the Device
Use the following guidelines when choosing a place to install The DGS-3100 Series device:
• The surface must support at least 4kg.
• The power outlet should be within 1.82 meters/6 feet of the device.
• Inspect the power cord and see that it is secured to the AC power connector.
• Ensure proper heat dissipation from and adequate ventilation around the DGS-3100 Series device. Do not place
heavy objects on the DGS-3100 Series device.
This section contains the following topics:
• Installing the Device on a Desktop or Shelf
• Installing the Device on a Rack
Installing the Device on a Desktop or Shelf
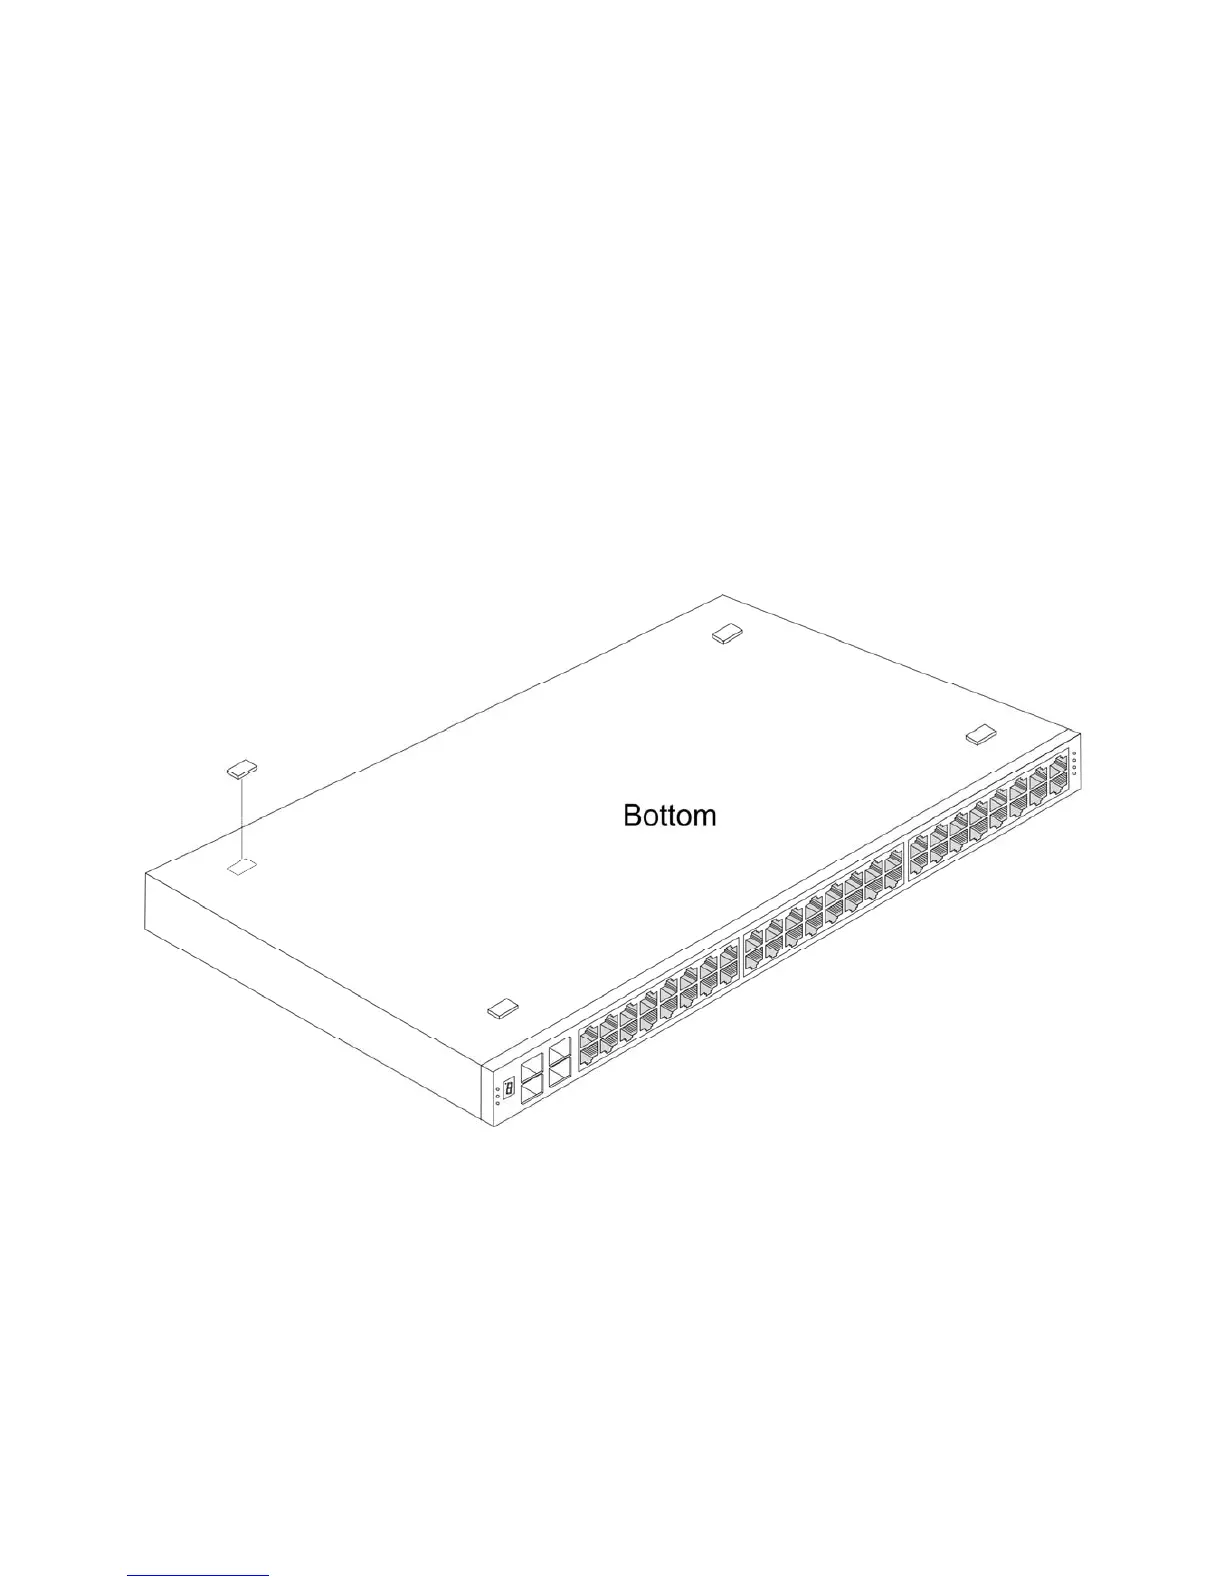
When installing the DGS-3100 Series device on a desktop or shelf, the rubber feet included should be attached first. Attach
the cushioning feet on the bottom at each corner of the device. Allow adequate space for ventilation between the device and
the objects around it.
Figure 2-1. Installing Rubber Feet for Desktop Installation
Installing the Device on a Rack
The DGS-3100 Series can be mounted in an EIA standard-sized, 19-inch rack, which can be placed in a wiring closet with
other equipment. To install:
1. Attach the mounting brackets on the device side panels (one on each side).
2. Secure the device with the screws provided.
12
 Loading...