15
3 Local Interface Config
3.1 Software Interface Basic Operation
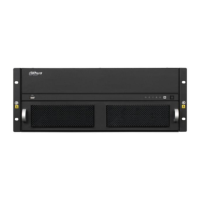
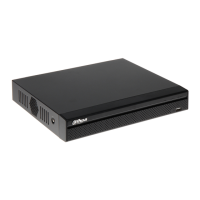
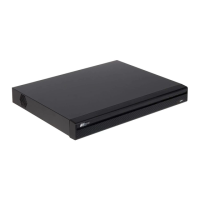
3.1.1 Boot Up Device
Plug in power line, and press power switch on front panel. Power indicator turns on and device
boots up followed by boot interface which lasts for 90s.
When you boot up device, please keep the following in mind:
1) Make sure whether the supplied voltage is within 100~240V 47~63Hz. Turn on the device
after you check power line connection.
2) We recommend you to use power supply with stable voltage and little interference (refer to
international standard), which benefit the device to work stably and last longer. This will also
benefit external devices such as camera. UPS is the best choice if possible.
3.1.2 Shut Down Device
1. Enter main menu in shutdown system select shutdown device.
2. Press ON button on panel for 5s to shutdown.
Note:
Method 1 is recommended.
Stop all performance of the device, and then you may unplug the device from power
supply.
3.1.2.1 Outage Recovery
When the device is under working status, and there is an outage or forced shutdown, the
system can automatically save and resume previous working status after power recovery.
3.1.2.2 Replace Button Battery
Please make sure to use the same battery model if possible.
We recommend replace battery regularly (such as one-year) to guarantee system time
accuracy.
Note: Before replacement, please save the system setting, otherwise, you may lose the
data completely!
3.1.2.3
3.1.3 Enter System Menu
After you properly turn on the device, system pops up the startup wizard. Click the Cancel button;
you can go to the system login interface. Click the Next Step button; you can go to the startup
wizard interface. Here you can set general, encode, schedule, record control, and network.
Please see Figure 3- 1.