16 | Unit installation
Installer and user reference guide
55
FAA71+100BUV1B
Split system air conditioner
4P654517-1 – 2021.03
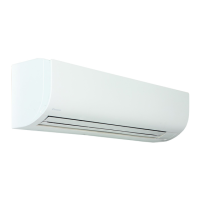
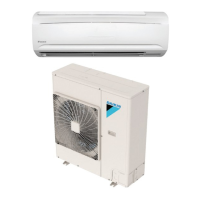
A Class 71
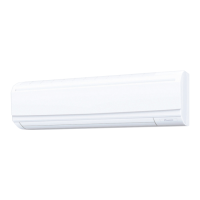
B Class 100
a Mounting plate
b Screw
c Knob
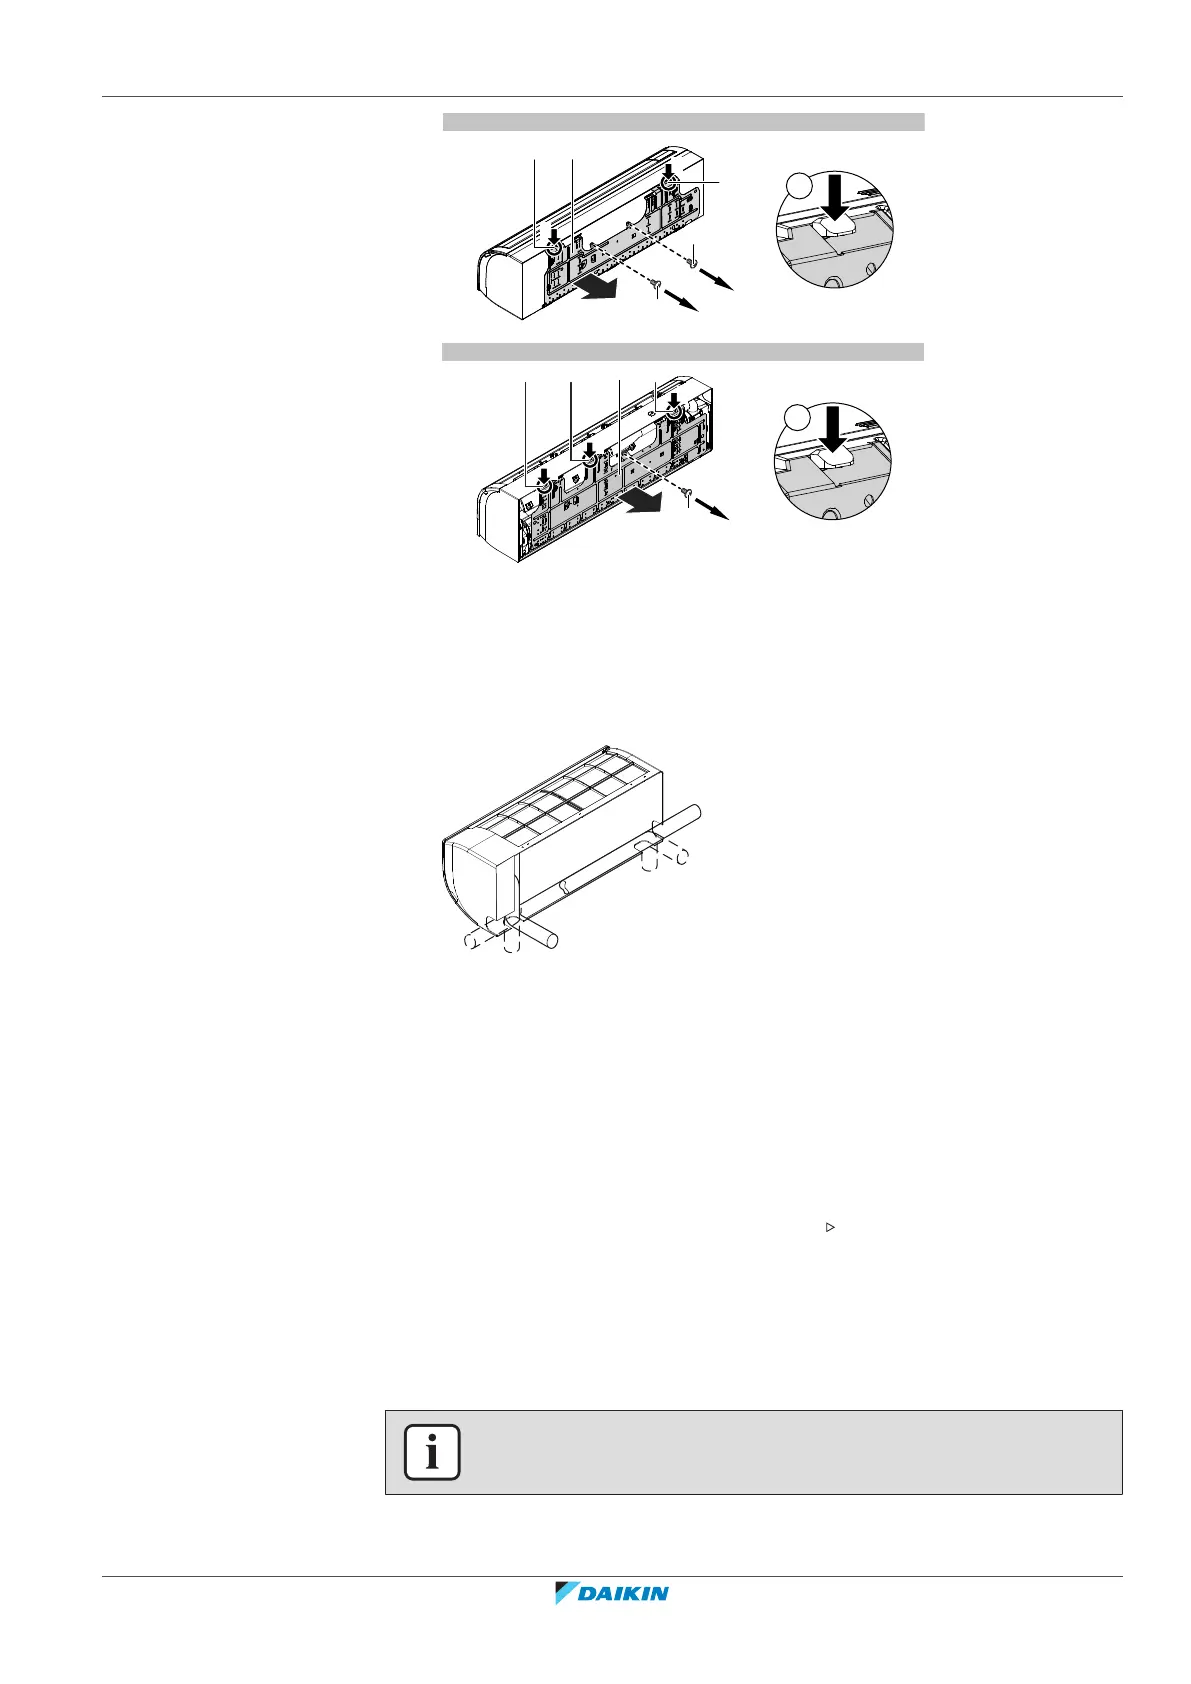
2 Choose position for piping (for bottom or side piping see "16.3.3To remove
the pipe port cover"[457]):
a Right piping
b Bottom-right piping
c Back-right piping
d Bottom-left piping
e Back-left piping
f Left piping
3 Attach the mounting plate on the wall and install it temporarily.
4 Level the mounting plate (use tabs on the mounting plate).
5 Mark the centers of the drilling points on the wall using a tape measure.
Position the end of tape measure at symbol " ".
6 Finish the installation by securing the mounting plate on the wall:
▪ When using M4×25L screws (accessory), install evenly at least 4 screws on each
side.
▪ When using bolts (Example: for concrete wall): use M8~M10 bolts (field supply)
one for each side.
INFORMATION
The removed pipe port cover can be kept in the mounting plate pocket.
 Loading...