132
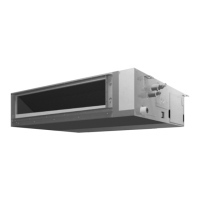
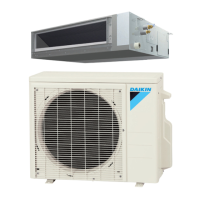
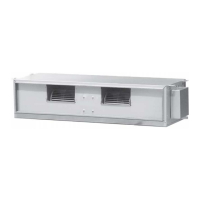
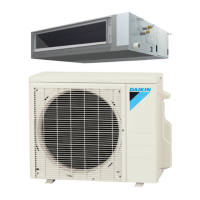
FTX-N/U, FVXS-N, FDMQ-R Series EDUS091558E
3P243521-7L
5
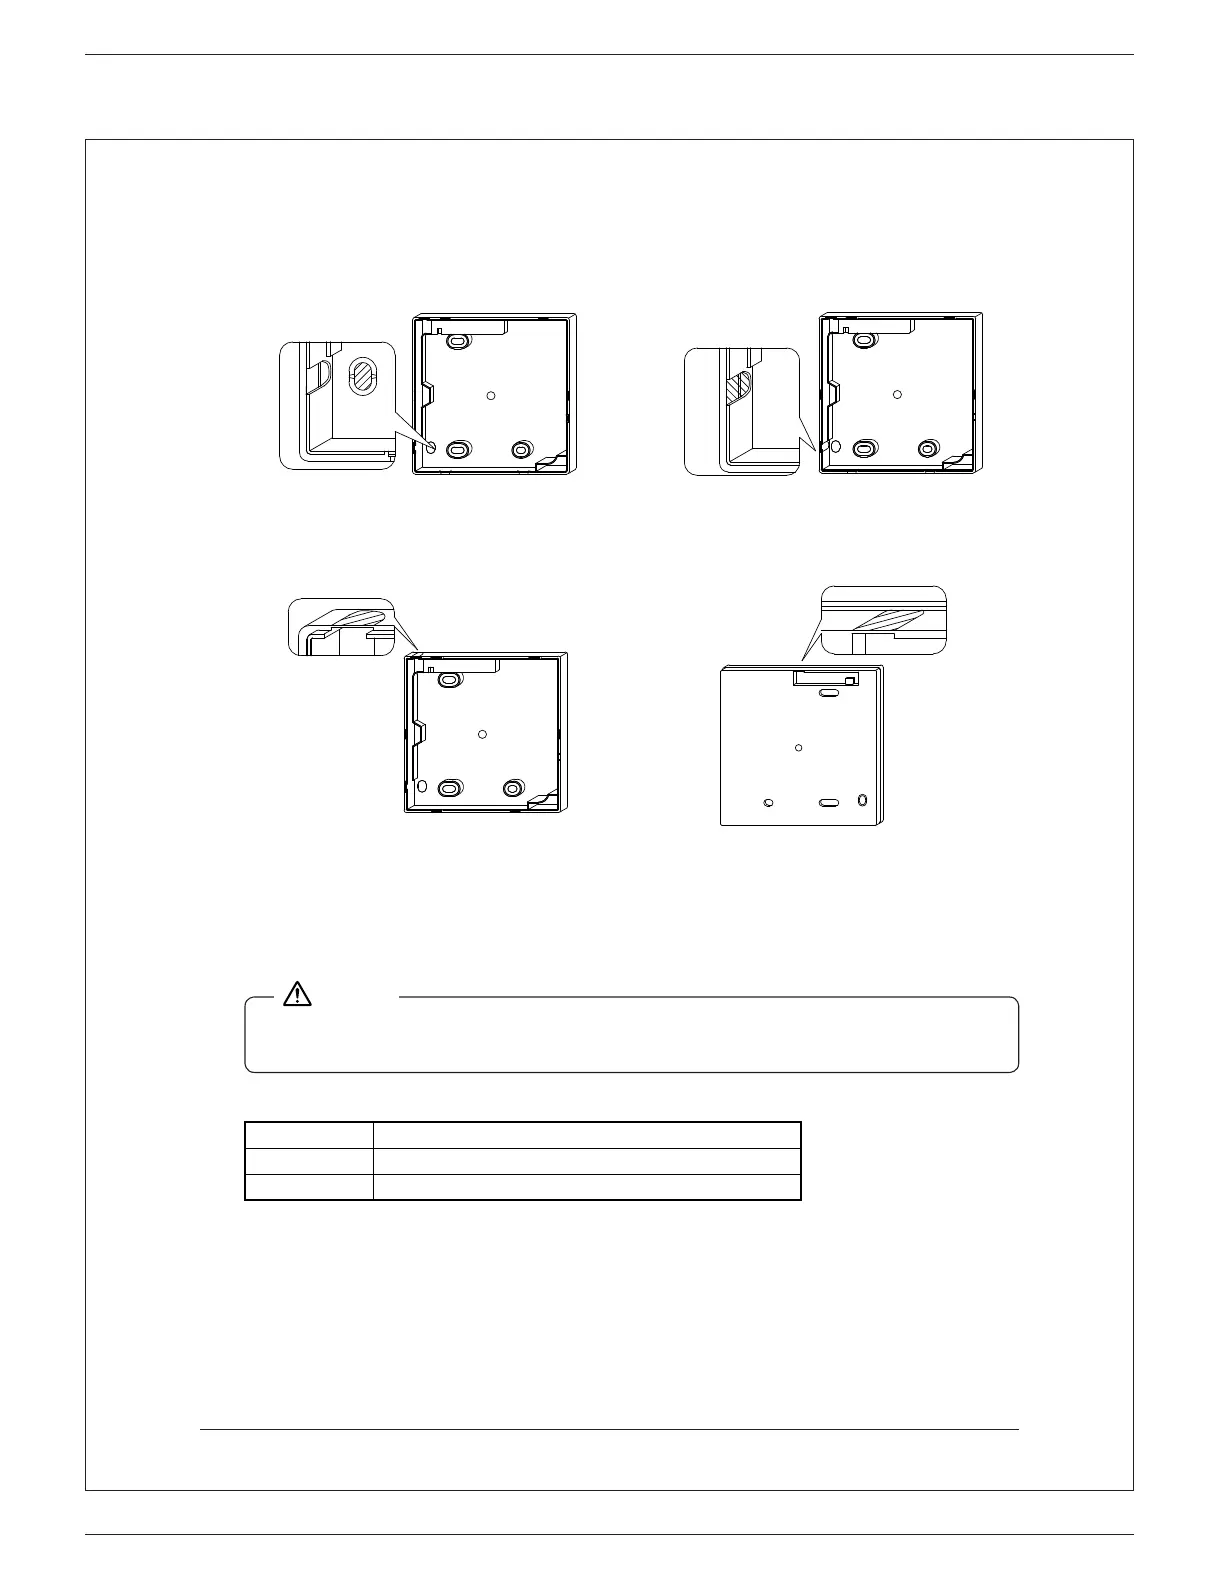
Determine the location where the wiring will enter the3-4
remote controller (back, left side, top left, top center).
Back outlet3-4-1 Left outlet3-4-2
Cut off resin area (notched area). Cut the plastic at the notched area and
remove any remaining burrs.
Top left outlet3-4-3 Top center outlet3-4-4
Cut the plastic at the notched area and
remove any remaining burrs.
Cut the plastic at the notched area and
remove any remaining burrs.
Install wiring.3-5
1. Switch box and control wiring are led supplied.
Do not touch the remote controller printed-circuit board.2.
NOTE
Wiring Speci cations
Wiring Type Non-shielded, 2-conductor, stranded copper wire
Wiring Size AWG-18
Wiring Length Maximum 1640 feet (500 m)
01_EN_3P243521-7L.indd 5 11/27/2014 11:21:42 AM
 Loading...