ESIE17-19C | Part 3. Repair 3.3. Unit specific repair procedures
19/08/19 | Version 1.1 Page 89
Optimized Heating 4
3.3.2.7. Replacing expansion valve body
PRELIMINARY ACTIONS
1. Switch off the Daikin unit via the user interface.
2. Switch off the Daikin unit with the field supplied circuit breaker.
3. Remove the expansion valve motor, refer to "Replacing expansion valve motor" on page 91.
4. Remove plate work when required.
5. Remove any part that block the way to the expansion valve body.
PROCEDURE
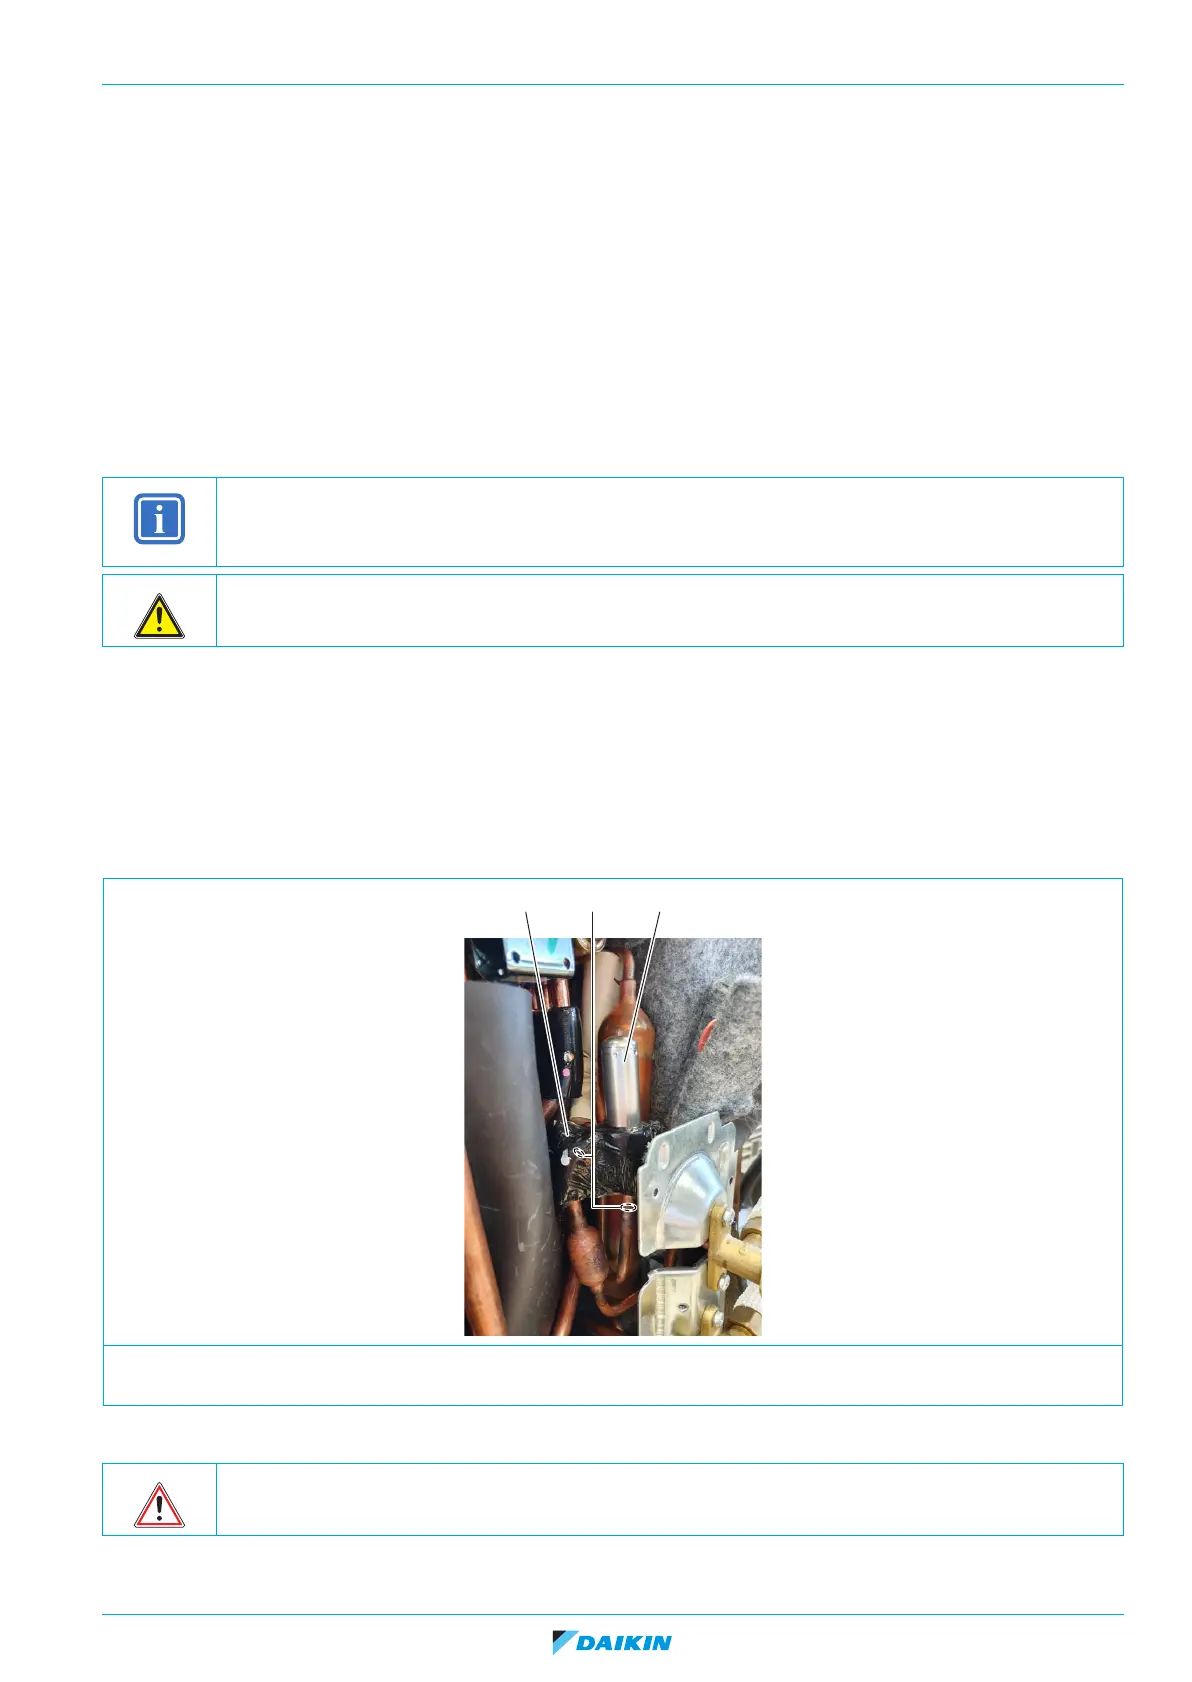
Removal
1. Recuperate the putty (1).
2. Using a pipe cutter, cut the expansion valve body pipes (2).
3. Remove the expansion valve body (3).
Figure 3-20: Removing the expansion valve
Installation
1. Wrap a wet rag around the expansion valve body (3).
INFORMATION
Follow local regulations and Daikin refrigerant repair procedures during the repair of your unit, refer to "Refriger-
ant repair procedures" on page 65.
CAUTION
The maximum applied Nitrogen pressure must not exceed 0.02 MPa.
1. Putty 3. Expansion valve
2. Expansion valve pipe
WARNING
Overheating the expansion valve body will damage or destroy it.
1 23