Notication Tone Setting
ON* OFF
Setting procedures Unit
Hold down for about 3 seconds with the power supply plug inserted and the unit
turned off.
• Each time is held down for about 3 seconds, the setting switches between ON and OFF.
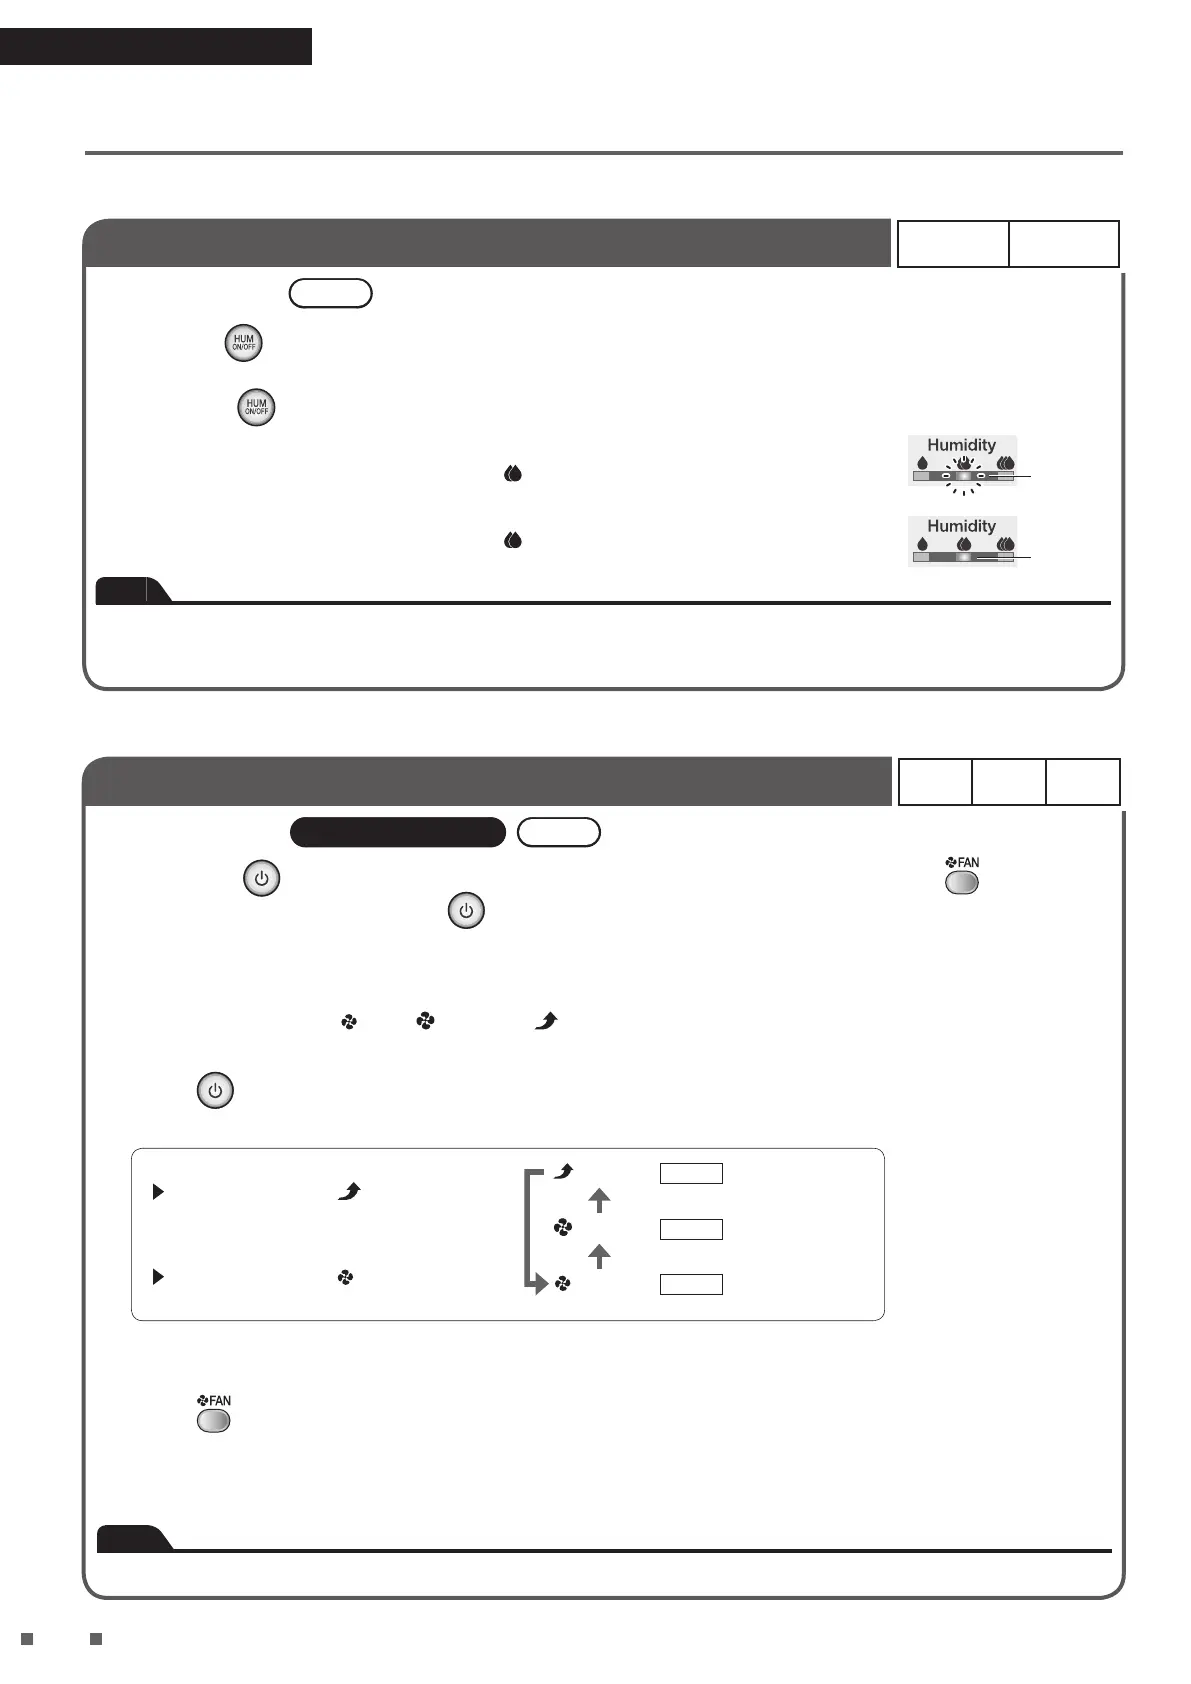
[When the setting is changed to OFF]
A short beep sounds and the humidity lamp
(Standard) blinks for about 5 seconds.
[When the setting is changed to ON]
A short beep sounds and the humidity lamp
(Standard) lights up for about 5 seconds.
Blinking
Lit up
Note
• This function is useful for use during sleep hours etc.
• Settings are remembered even if the unit is unplugged.
• The error notication alarm cannot be turned off.
Dust / PM2.5 Sensor Sensitivity Setting
High
Normal*
Low
Setting procedures Remote controller Unit
1.
Hold down on the unit for about 5 seconds and when a short beep sounds, press on the
remote controller while pressing
on the unit.
• This setting change can be performed when the unit is on or off.
2. Release both buttons when a short beep sounds.
• One of the FAN lamps ( (Low), (Standard), (Turbo)) will blink for about 5 seconds and then the lamp
corresponding to the currently set sensitivity will light up.
3. Press
on the unit to change the sensitivity setting.
• Each press cycles between the FAN lamps allowing you to change the sensitivity.
To set sensitivity High
Select the FAN lamp (Turbo).
(Turbo)
(Standard)
(Low)
High
Normal
Low
The sensor is
highly receptive.
The sensor is
slightly receptive.
Setting at time
of purchase
To set sensitivity Low
Select the FAN lamp (Low).
• Setting is indicated using the FAN lamps. If the FAN lamps do not change, unplug the unit, wait at least 5 seconds, then
re-insert the power supply plug and repeat the above procedure from the beginning.
4. Press
on the remote controller after selecting the new setting.
• A short beep sounds and the new setting will blink. Unplug the unit while the lamp is blinking, wait at least 5 seconds,
and then re-insert the power supply plug. Setting is now complete.
• If this procedure is not performed, the unit will not return to regular operation mode.
Note
• Settings are remembered even if the unit is unplugged.