4
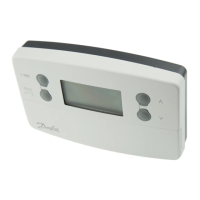
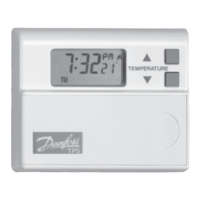
All models
Sw
1
5/2 day programming 7 day programming
Sw
2
Optimum start contoller enabled Optimum start contoller disabled
Sw
3
Chrono-proportional control On/O control
TP7000, M, & RF models with 3/6 cycles per hour option
Sw
4
Chrono-proportional, 6 cycles / hour Chrono-proportional, 3 cycles / hour
Installation
DIL Switch Settings
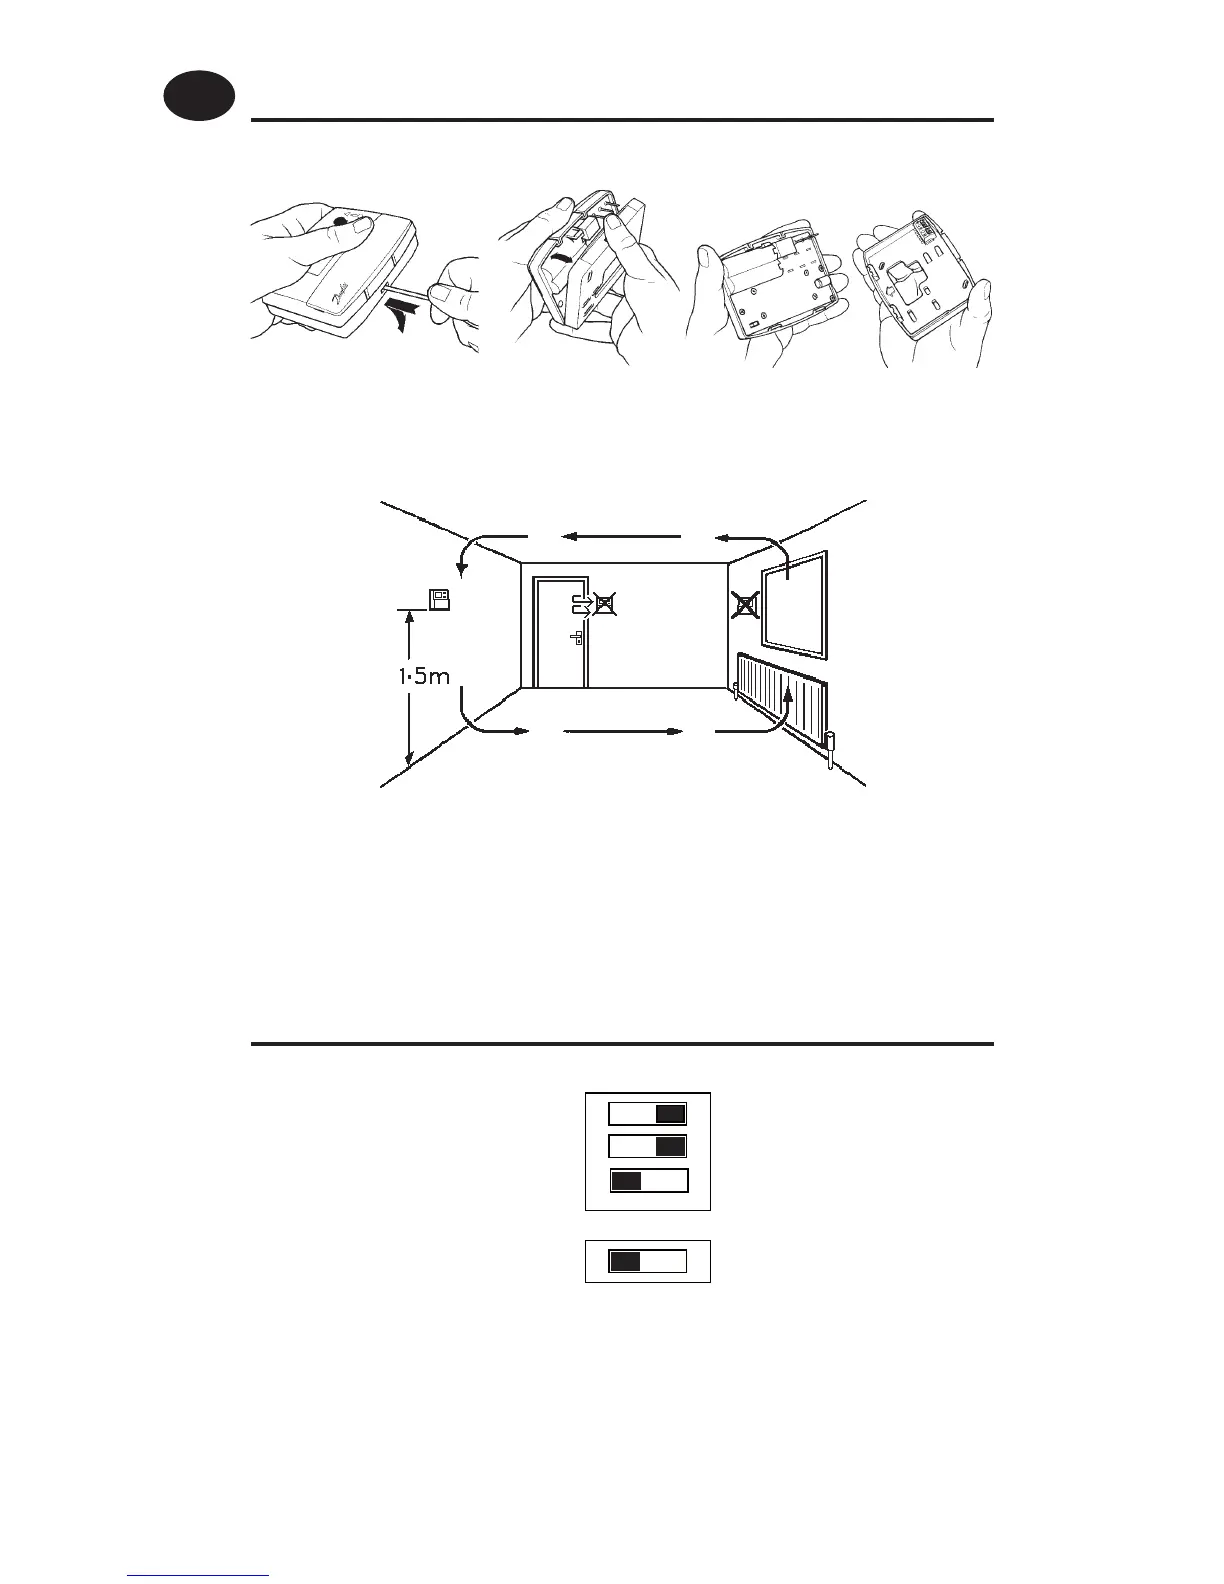
First remove the wallplate from the back of the unit.
From the top left hand corner of the wallplate, there must be
clearances of at least 140mm to the right, 15mm to the left, 30mm
above and 100mm below in order to mount the plug-in module.
Before mounting the unit ensure the 4 DIL switches on the rear of the
unit have been moved to the required settings (see below). Factory
preset is 7-day, with Optimum Start and Chrono-proportional
control OFF.
NOTE
Use Chrono 3 for high thermal inertia systems, e.g. oor standing cast iron boilers.
Use Chrono 6 for low thermal inertia systems, e.g. low water content boilers and combi
boilers.
Installation Instructions
GB

 Loading...