19
STEP 1:
STEP 2:
If using an extension or adapter with an auger, grease the inside of the extension or
adapter collar, and attach the extension or adapter to the drive unit using PN 10038
Retaining Bolt and PN 10041 Nut included with the drive unit.
Grease the inside of the auger collar and attach the auger using PN 10038
Retaining Bolt and PN 10041 Nut included with the drive unit, or the bolt and nut
included with your auger.
Each time an auger, adapter, or extension is attached, the inside of the collar should
be coated with grease.
Keep hands, feet, hair,
jewelry, and clothing
away from all moving
and/or rotating parts.
Recommended Tools
• 1-1/8" wrench (2, for PN 10038 Retaining
Bolt and PN 10041 Nut)
• 1-5/16" wrench (2, for 2-9/16" round
adapter with 7/8" bolt hole)
• 15/16" wrench (2, for 2" round adapter with
5/8" bolt hole)
• 3/4" wrench (2, for 2" round or 2-9/16"
round adapters with 1/2" bolt hole)
Never replace the auger retaining bolt with anything other
than the specified length bolt in this manual. A longer,
or protruding, fastener is more likely to grab clothing or
gloves, which can result in serious injury or death.
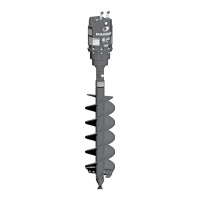
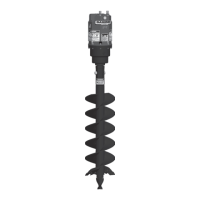
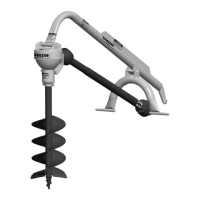
Assembly &
Installation
Auger, Extension, &
Adapter
Assembly &
Installation
(continued)
With the vehicle set at idle, engage the auxiliary hydraulics and verify output spindle
rotation. The output spindle should rotate clockwise when viewed from above.
Check the hydraulic system for leaks.
Proceed to Assembly & Installation: Auger, Extension, & Adapter section.
Never check pressurized system for leaks with your bare
hand. Wear proper hand and eye protection and use wood
or cardboard when searching for suspected leaks. Oil
escaping from pinhole leaks under pressure can penetrate
skin and create a serious medical emergency. If any fluid
is injected into the skin, gangrene, blood poisoning, even
death may result. Obtain medical attention immediately.
STEP 9:
STEP 10: