Chapter 3. Switch Installation
3.1. Package Contents
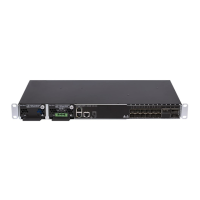
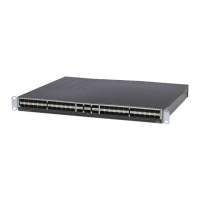
• One DmSwitch 2000 or 3000
• Two mounting brackets already attached to the switch
• One AC power cord
Be sure you have received all the content listed above and check the items for damage. If there’s something
missing or damaged, contact DATACOM for assistance.
3.2. Installation Guidelines
Before you choose a location to install the switch, make sure to follow the guidelines below:
• Choose a location where you can easily access the RJ-45 ports and that allows the LEDs to be visible.
• The site’s temperature should be kept within 0 to 50 degrees Celsius and its humidity within 10 to 90%,
non-condensing.
• Do not restrict airflow by providing approximately 5 centimeters (2 inches) of space on all sides of the
device.
• Locate the switch near a power source.
3.3. Installing the Switch without a Rack
To use the switch outside a rack, you may want to remove the side brackets that come attached to the
switch. Use a Phillips screwdriver to remove them.
After removing the brackets, choose a flat surface near an AC power source to place the switch.
3.4. Installing the Switch in a Rack
The switch can be installed in a 19" rack. The brackets used to fix the device already come attached to the
switch. To install the switch in a rack, use the following procedure and refer to the figure below:
15