Appendix B – Wireless and Wired LAN Setup 75
B
B
B
W
W
W
i
i
i
r
r
r
e
e
e
l
l
l
e
e
e
s
s
s
s
s
s
a
a
a
n
n
n
d
d
d
W
W
W
i
i
i
r
r
r
e
e
e
d
d
d
L
L
L
A
A
A
N
N
N
S
S
S
e
e
e
t
t
t
u
u
u
p
p
p
B
B
B
.
.
.
1
1
1
N
N
N
e
e
e
t
t
t
w
w
w
o
o
o
r
r
r
k
k
k
C
C
C
a
a
a
r
r
r
d
d
d
S
S
S
e
e
e
t
t
t
u
u
u
p
p
p
Whether a wired or wireless connection is intended, it is recommend to establish a wired
connection to the printer first. This will allow access to the printers internal web pages to
configure the settings necessary for a typical wireless connection. If a wired connection is not or
can not be achieved all connection parameters can also be set using the NETira CT configuration
utility, see section 3.3.
The printer makes IP requests at power-up, so before making a network connection to the printer
consider how your IP addressing needs to be assigned. The IP addressing of the printer can be
configured in one of two ways: Using a static IP Address or Using IP Discovery (DHCP, BootP, or
RARP). At factory default settings IP DISCOVERY is ENABLED (DHCP).
1. With Printer Off, connect the network cable then turn on Printer.
2. The printer will now search for a DHCP server. Once the printer has obtained an IP address
the icon will be displayed signifying that an IP address has been obtained. Allow up to 90
seconds for the printer to retrieve an IP address.
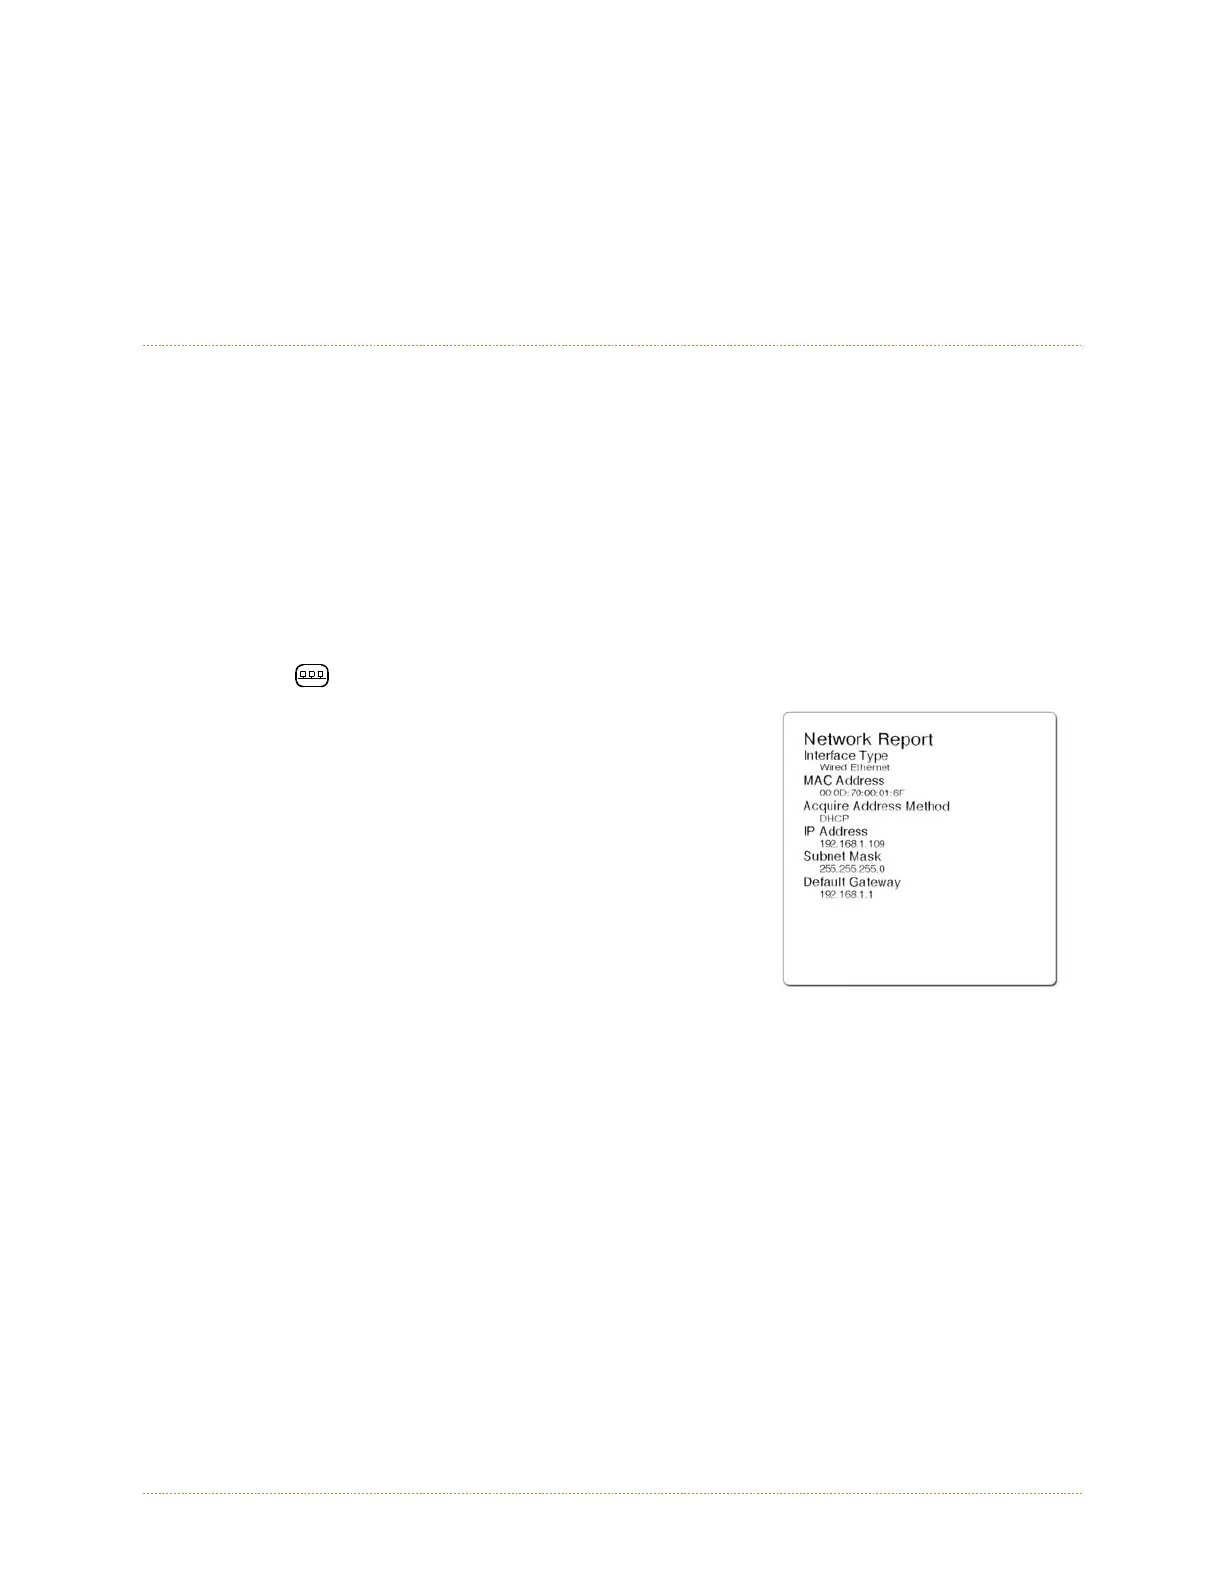
3. At this point it is recommended to print a Network Report.
This Network Report is generated by the printer and lists
important default information such as the IP and MAC
Addresses as well as SSID for wireless equipped cards. To
print the ‘Network Report’: Press the PAUSE, FEED,
CANCEL buttons at the same time.
4. Verify the printer has obtained a valid IP address for your
network. If a valid IP address was not obtained or you wish
to use a different static address this can be set via the
printer’s front panel.
The information on this label will vary depending
on your configuration and firmware version.
Enter the printer’s menu and navigate to the Communications/Network Interface/Wired
Ethernet menu branch.
Set the “IP Discovery” menu item to “Use Static Addresses”.
Set the “IP Address” menu item to desired value, continue the same procedure with
“Subnet Mask” and “Default Gateway” menu items if necessary. Exit the printers menu.
Cycle power to the printer, upon start-up the printer will connect to the network using the
new parameters you provided.
Once the previous steps have been successfully completed you may now use the IP Address to:
If your printer is equipped with wireless capabilities, browse to the printer’s internal web
pages for wireless/advanced configuration. See section B.2, Wireless Setup.
-or-
Install a printer driver, and start printing from your Windows applications. See section B.3,
Installing the Printer Driver.

 Loading...


