Appendix B – Wireless and Wired LAN Setup 79
4. In the SSID field type the name of the SSID you wish to assign to the printer.
5. Under the “WIFI Security and Authentication”, set any security/authentication settings
necessary for your network.
6. Scroll down to the bottom of the page, enter the password (default is “sysadm”) and click
Apply.
7. Click on the “General Network Settings” menu item on the left side of the screen. Locate and
set the following items:
8. In the “Network Interface”, select the “Wireless Ethernet” radio button
9. Scroll down to the bottom of the page, enter the password (default is “sysadm”) and click
Apply.
10. Click on the “Restore Defaults/Restart” menu item on the left side of the screen. Be sure that
Restart Printer is displayed in the “Action to Execute:” drop down box. Enter the password at
the top of the page (default is “sysadm”) and click Execute to restart the printer.
11. Once the printer has restarted the
icon will be displayed signifying that an wireless
connection has been obtained. Allow up to 90 seconds for the printer to make a connection.
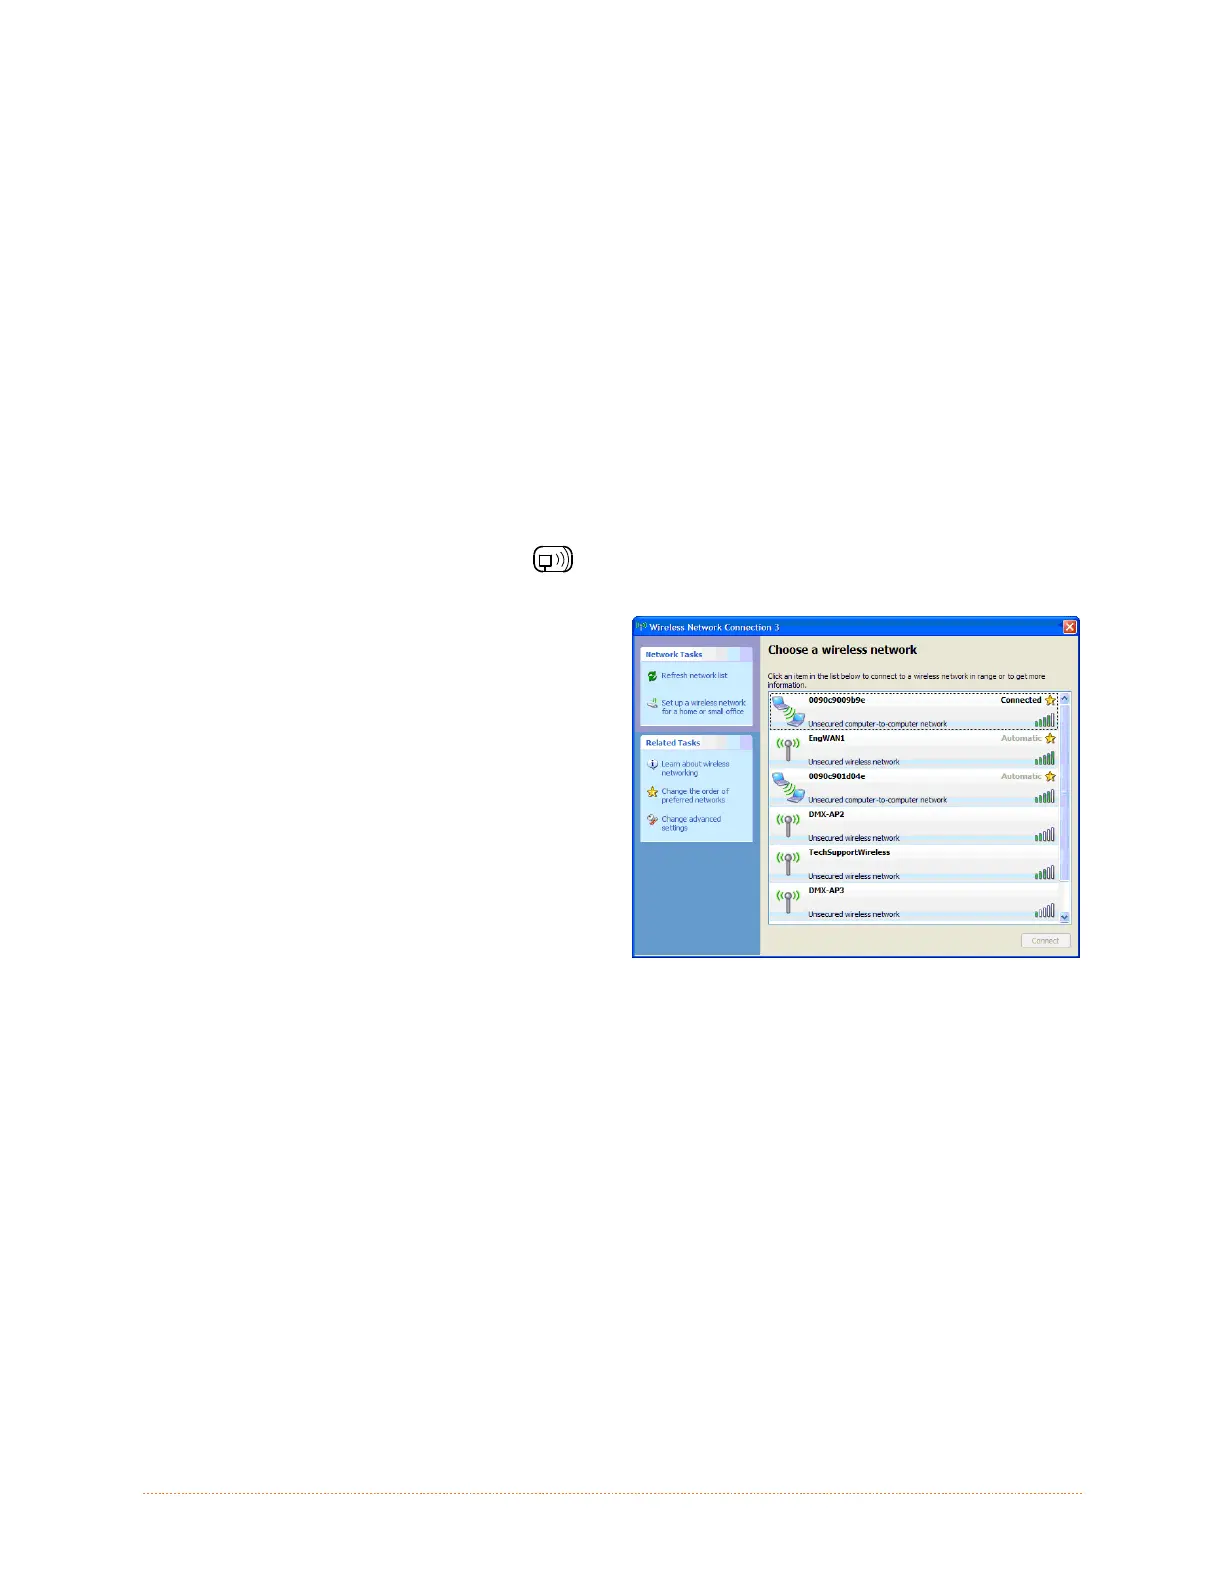
12. From Windows, you may now “View
Wireless Networks”. From the list of
available wireless networks select the
printer that you wish to connect to and
then click on the Connect button.
If you do not see your printer listed be
sure you have the host computer
configured for Ad-hoc wireless networks.
This process will vary depending on your wireless device installed in your
host computer and your operating system version.
Once the previous steps have been successfully completed you may now use the IP Address
assigned to the printer to install a printer driver, and start printing from your Windows
applications. See section B.3, Installing the Printer Driver.

 Loading...


