Operation
16
Operation
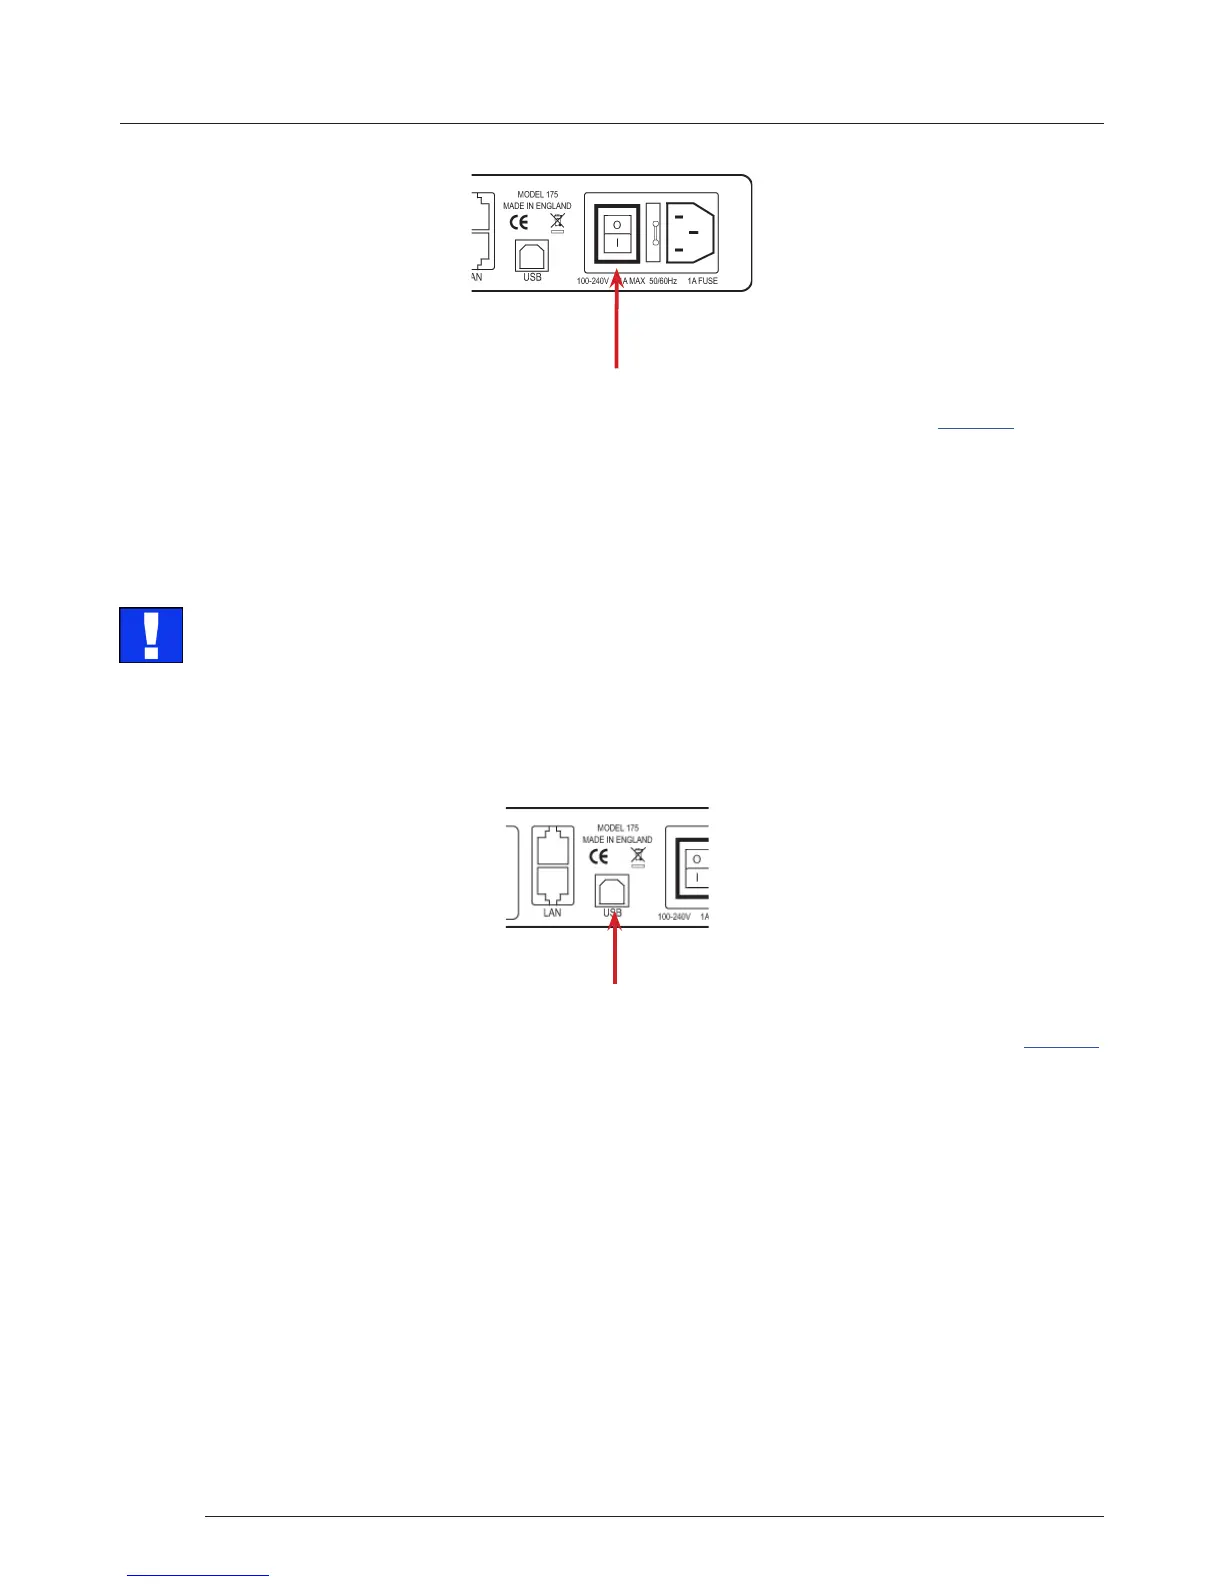
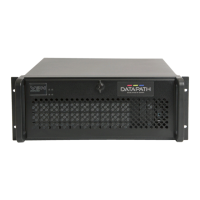
Power Switch
When the power is switched on the Fx4 will boot and the LEDs on the front panel will ash as described in Chapter 4.
Please note, it could take up to 15 seconds for the Fx4 to fully boot.
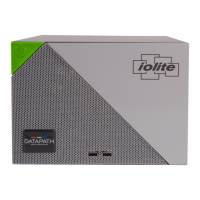
7.3 Conguring the Fx4 via USB
When the Fx4 has booted, connect it to the computer which has the Wall Designer application installed using the USB cable
provided.
USB Port
Open the Wall Designer application and begin to design your video wall layout using the Monitors tab as described in Chapter 5.
With the monitors selected and the layout completed select the Input tab. Allocate the input to the Fx4 by clicking on Create
then selecting the required input from the drop down menu.
Once the input has been selected, navigate to the Devices tab, this is where the Fx4 is congured.
The Devices window is where the input, devices and monitors are linked to complete the design of the video wall; this is done
by allocating inputs to devices and the outputs from the devices to specic monitors on the video wall.
For ease of use the Auto-cong Fx4 function will, when clicked, automatically add devices and congure all the links from the
inputs to the monitors via the Fx4 in the most logical conguration.
Click on the Auto-cong Fx4 button and a visual representation of the congured Fx4 will appear in the main window, for
example:
The Fx4 is a plug and play device therefore relies on the device drivers in the Windows operating system. To enable the
operating system to “attach” to the Fx4 you must ensure the Device Installation Settings are set to automatic:
Control Panel \ Devices and Printers then right click on your computer icon and select Device Installation Settings from the
menu. In the Device Installation Settings, select Yes, do this automatically (recommended) and click on Save Changes.