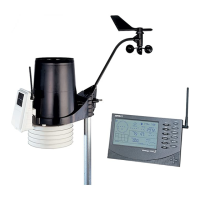
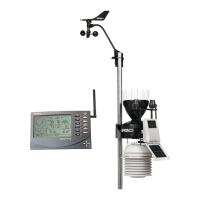
Page 10 Integrated Sensor Suite
4. Verify that the rain sensor cable is plugged into the receptacle labeled “RAIN” on the
SIM.
5. If you have a Vantage Pro Plus, verify that the UV and solar radiation sensors are
plugged into the SIM.
S
ENSOR
I
NTERFACE
M
ODULE
(SIM)
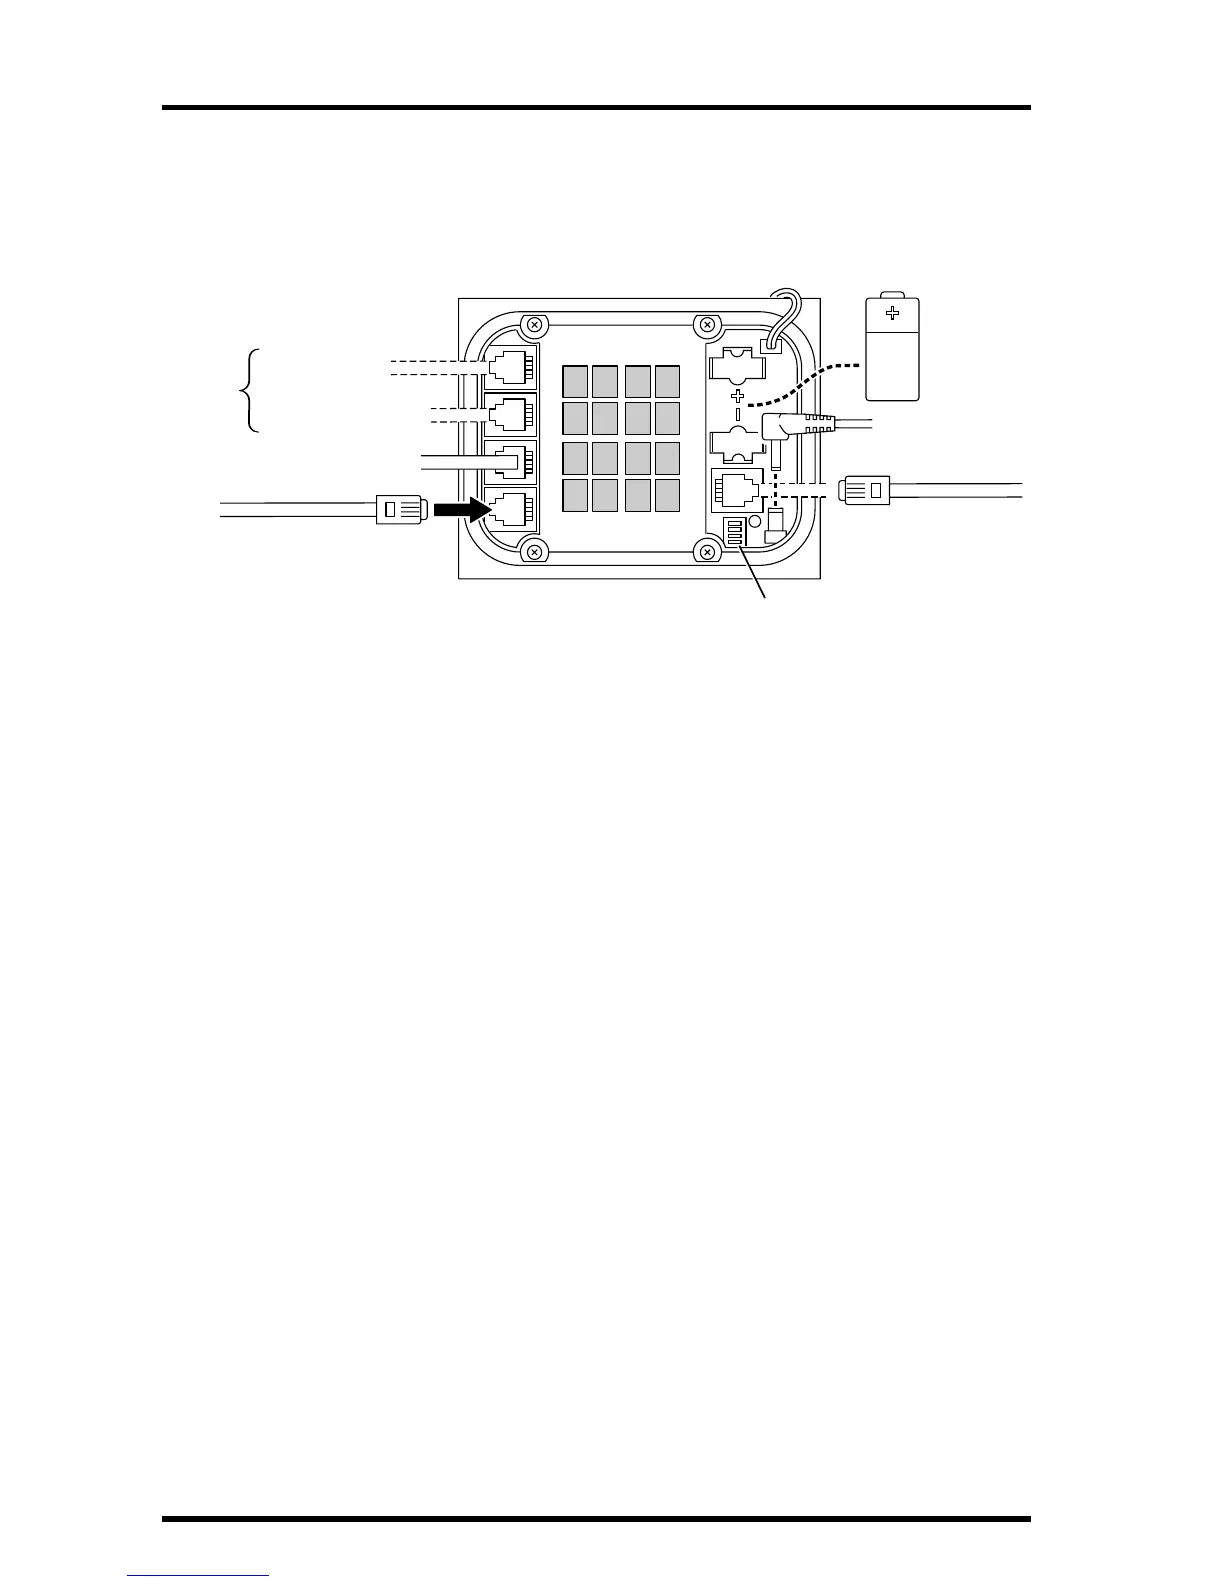
Connecting Anemometer to SIM
✦
Gently insert the end of the anemometer cable into the receptacle labeled
“WIND” on the SIM.
Unwind the coil of cable enough to work with the anemometer.
(Wireless Vantage Pro instructions continue on page 12.)
C
ABLED
V
ERSION
: P
OWERING
THE
ISS
AND
T
ESTING
C
OMMUNICA-
TION
WITH THE CONSOLE
Applying Power to ISS
The ISS receives power from the console via the 40' (12 m) cable that runs
between them. This cable can be extended by up to 1000' (305 m). Please plug
in the console’s AC adapter at this time, if you haven’t done so already. See the
Console Manual: “Cabled Vantage Pro Console Installation.”
✦ On the SIM, gently insert one end of the 4-conductor cable into the receptacle
labeled “CONSOLE”.
✦ On the back of your console/receiver, insert the other end of the cable into the
receptacle labeled “ISS”.
3-Volt
Lithium
Battery
(wireless
versions only)
AC Power
(optional)
Console Cable
(cabled versions
only)
DIP Switches
Anemometer Cable
UV Sensor Cable
Solar Radiation Cable
Rain Collector Cable
(factory installed)
(factory
installed
on Plus
models)
UV SUN RAIN WIND
CONSOLE