3KP64 - 3.23
3000PLUS WITH 5D64 INSTRUCTION MANUAL V. SB.2
Daytronic Corporation
2211 Arbor Blvd. Dayton, OH 45439 • (800) 668-4745
Tel: (937) 293-2566 • Fax: (937) 293-2586 • www.daytronic.com
SETUP STAGE 4(T): TWO-POINT CALIBRATION
(cont’d)
When the
3000PLUS
displays this . . . Do this . . .
If the displayed span-point reading is not satisfactory, you may perform
additional “CAL 2” adjustment by answering “NO” to the “OK?” query—
that is, by pressing
—which will return you to Step 4(T).c.
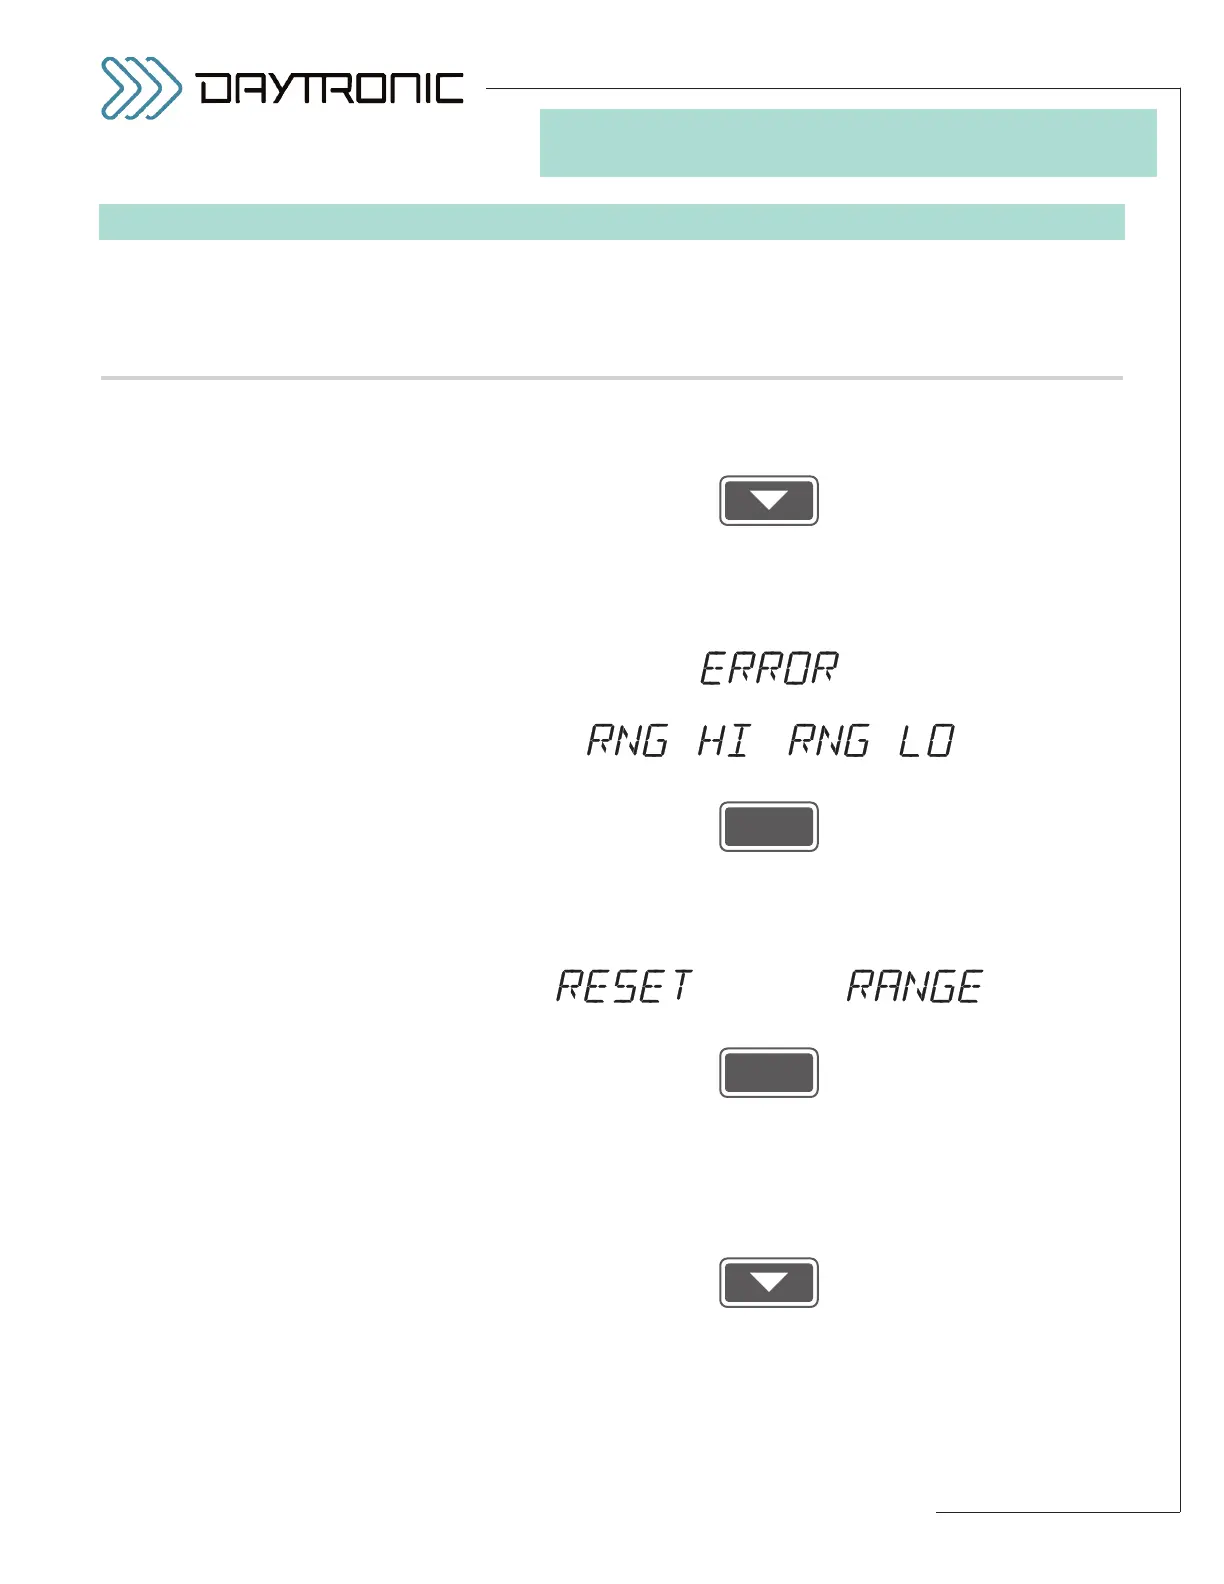
If the gain calculation yields a value that is out of its legal limits for a
5D64 conditioner module (i.e., either less than 1.0000 or greater than
1.5999), you will see a display of
alternating with, respectively,
or
Press
to acknowledge the error message.* The instrument will now determine
whether or not the
RANGE setting (Step 2.d) can be adjusted to allow
the amount of gain specified by the calculated value.
If a
RANGE readjustment is possible, the 3000PLUS will display
alternating with
If you want the
RANGE value to be appropriately reset, press
to answer “YES.” The new
MODULE SCALING FACTOR will be applied
to the instrument’s output—along with the new
RANGE setting and the
readjusted
MODULE INPUT OFFSET—and you will be returned to Step
4(T).a for re-entry of the
ZERO POINT (“CAL 1”), after you have
“unloaded” the transducer once more.**
If you do not want the
RANGE value to be reset, press
to answer “NO.” You will be returned to Step 4(T).c for re-entry of the
SPAN POINT (“CAL 2”).
If the 3000PLUS is not able to adjust the
RANGE setting to accommo-
date the calculated gain, you will be automatically returned to Step
ST
and
CL
are lit.
3. FRONT-PANEL CONFIGURATION
AND CALIBRATION
* It is also possible that, while the
calculated scaling factor is accept-
able, the recalculated offset term
(
MIO) is not. In this case, the
instrument will display “
ERROR”
alternating with “
ZRO HI.” Press
ENTER to acknowledge the error
message and return to Step 4(T).a
for re-entry of the
ZERO POINT
(“CAL 1”)
, after you have
“unloaded” the transducer once
more. In this case, the offset will
have been automatically set to the
highest allowed value (20%).
** A complete recalibration is
required because of the change in
the
RANGE setting.