Dedicated Micros Page 35
Configuration of VMD will be separated into three sections:
Enabling video inputs and display options
Configuring action on notification of VMD
Setting up the VMD area
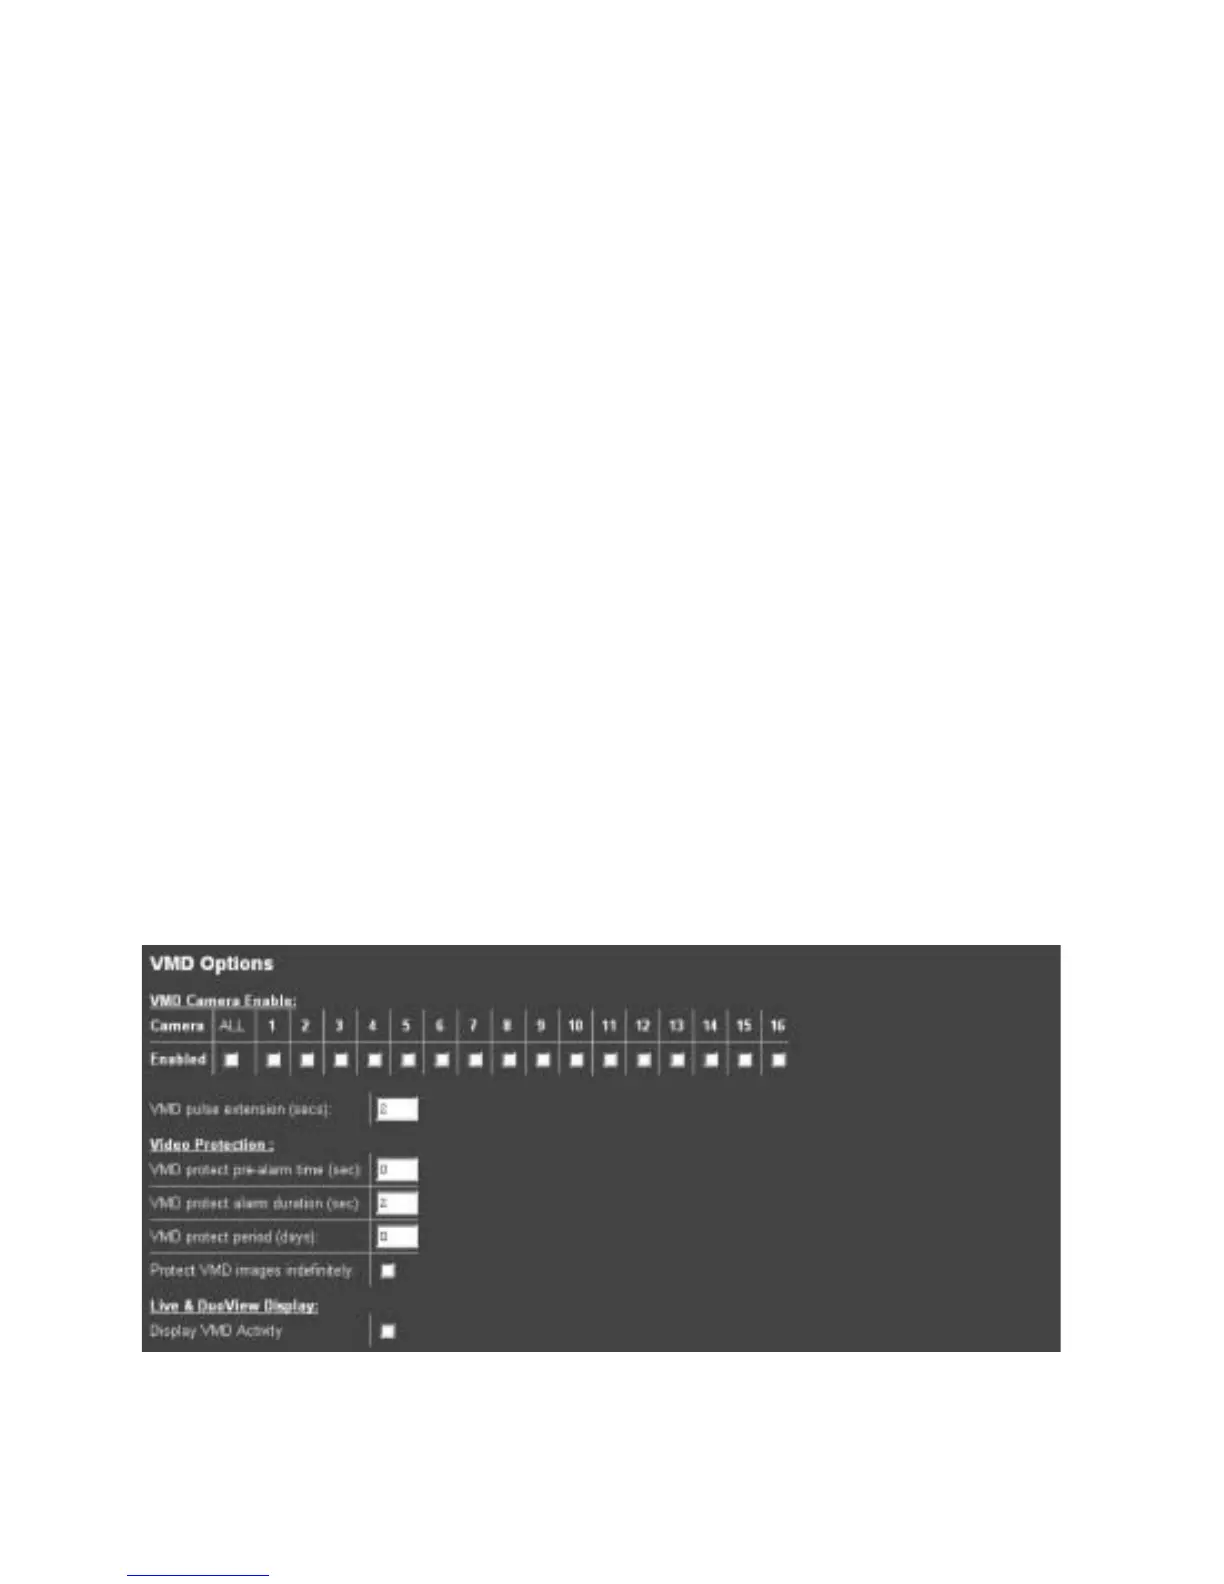
To enable individual video inputs on the Digital Sprite 2:
1. Select Alarms/VMD -> VMD.
2. Enable the video inputs that will identify movement by placing a tick next to the
corresponding input.
3. The pulse extension ensures that the unit does not have double triggers by extending the
alarm time. If a second alarm is received after the first alarm is complete but still within this time
period the unit will not enter a new event in the database, this setting is set in seconds.
4. Enter the pre-alarm time settings in seconds, this is the time prior to the VMD trigger that is
to be saved and protected from being overwritten along with the actual incident.
5. The alarm duration is the minimum time period in seconds from the start of the alarm that
will be protected from being overwritten, it includes the alarm recording, the pulse extension and
post alarm recording (if applicable).
6. If VMD actions are to be saved and protected it is possible to allocate the time period
these are to be maintained or select indefinitely. Enter the time period in days for protecting the
files or tick indefinitely.
7. It is possible to monitor the video from the Live and DuoView web pages on the server, if you
want to view VMD triggers on these page enable the function by placing a tick in the box.
8. Remember to save the configuration by selecting Save Settings!