Dedicated Micros Page 85
9. To generate the watermark codes that will be linked to the partition selected press the
watermark button.
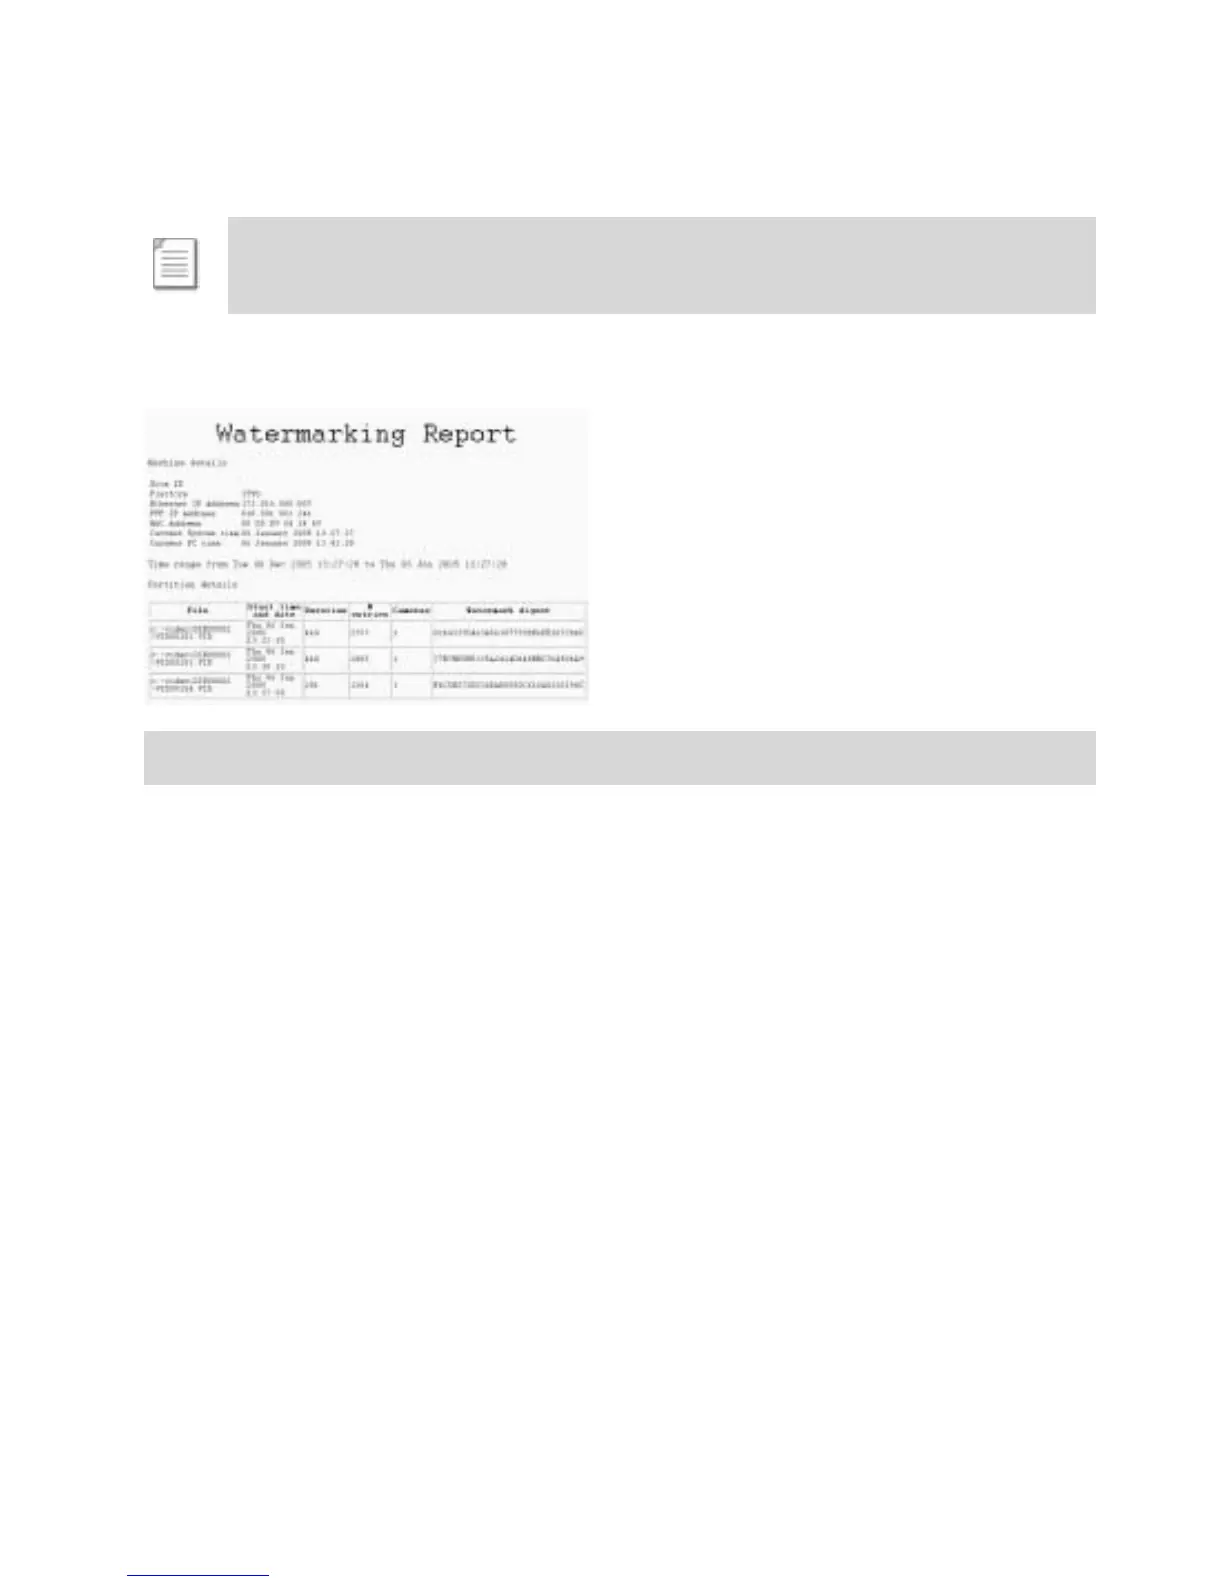
10. When the watermark codes have been generated a certificate must be created by pressing
the create certificate button, this certificate should then be printed and archived. This should
form part of the customer security procedure regarding incidents.
Note: The smaller the step size the longer the calculation process. Do not press any
buttons while the Digital Sprite 2 is calculating. The progress of the process is
displayed in the status bar.
Function Description
Start Date and time This is the start time and date for the time period of interest.
End Date and time This is the end time and date for the time period of interest.
Report author This will identify the Operator or Administrator responsible for
generating the watermark certificate and can be used as part of the
audit trail.
Watermark step size
This is the step size in bytes used when calculating the watermark, if
the step size is set to 1 then every byte in the in the video partition
will be part of the watermark calculation.
Note: The smaller the step size the more information that is to be
processed. The process time will increase, this is displayed in the
status bar.
Partition Information
Summary
This is the area when the partition information within the set time
and date will be displayed. Each partition can be selected by
highlighting the file.
Partition Info This button is selected for the Digital Sprite 2 to search for the
partition information within the set time and date. The partitions are
then displayed in the partition information summary area.