proxSafe flexx
9.
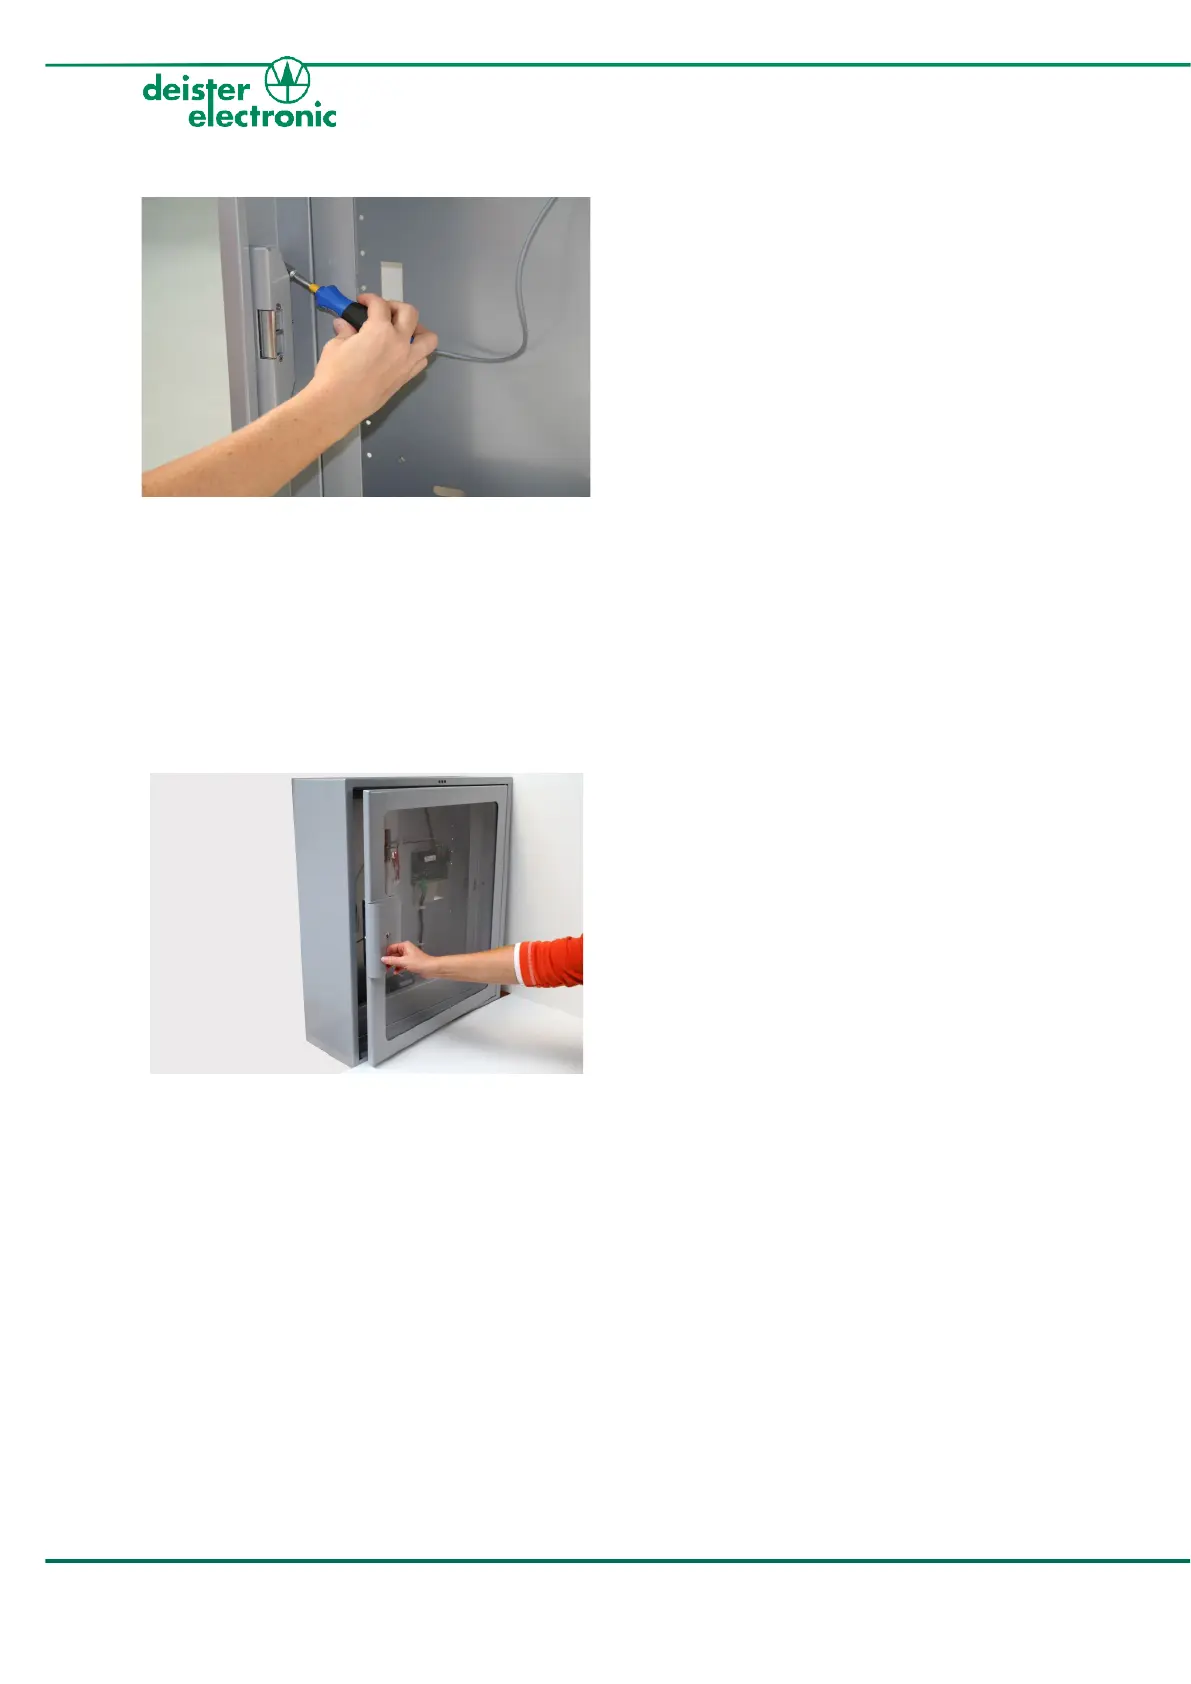
Fix the door lock again on the left side of the
housing using a socket wrench.
10.
Adjusting the door lock:
The two screws, with which the door lock
has to be mounted to the flexx housing, are
placed within a guiding rail. Before
tightening the screws, push or pull the door
lock slightly into a position, where the front
door can be closed with a clear clicking
sound but will not be jammed or have too
much tolerance (in the last case the door
lock may not properly transmit the
opening/closing status to the backplane
PCB causing alarms etc.).
Important:
The door lock needs to be adjusted
carefully in order to guarantee a
failure-free operation of the front door
mechanism!
11.
Ready! You can now close the front door by
pushing it back into the door lock.