proxSafe flexx
3.4 Mount flexx to the wall
The following steps will help you to prepare the wall mounting. Be sure that:
●
the terminal has been mounted to the flexx housing
●
the two terminal cables have been guided into the inside
●
the cable from the external wall power supply has been guided into the inside
●
a possible network cable has been guided into the inside
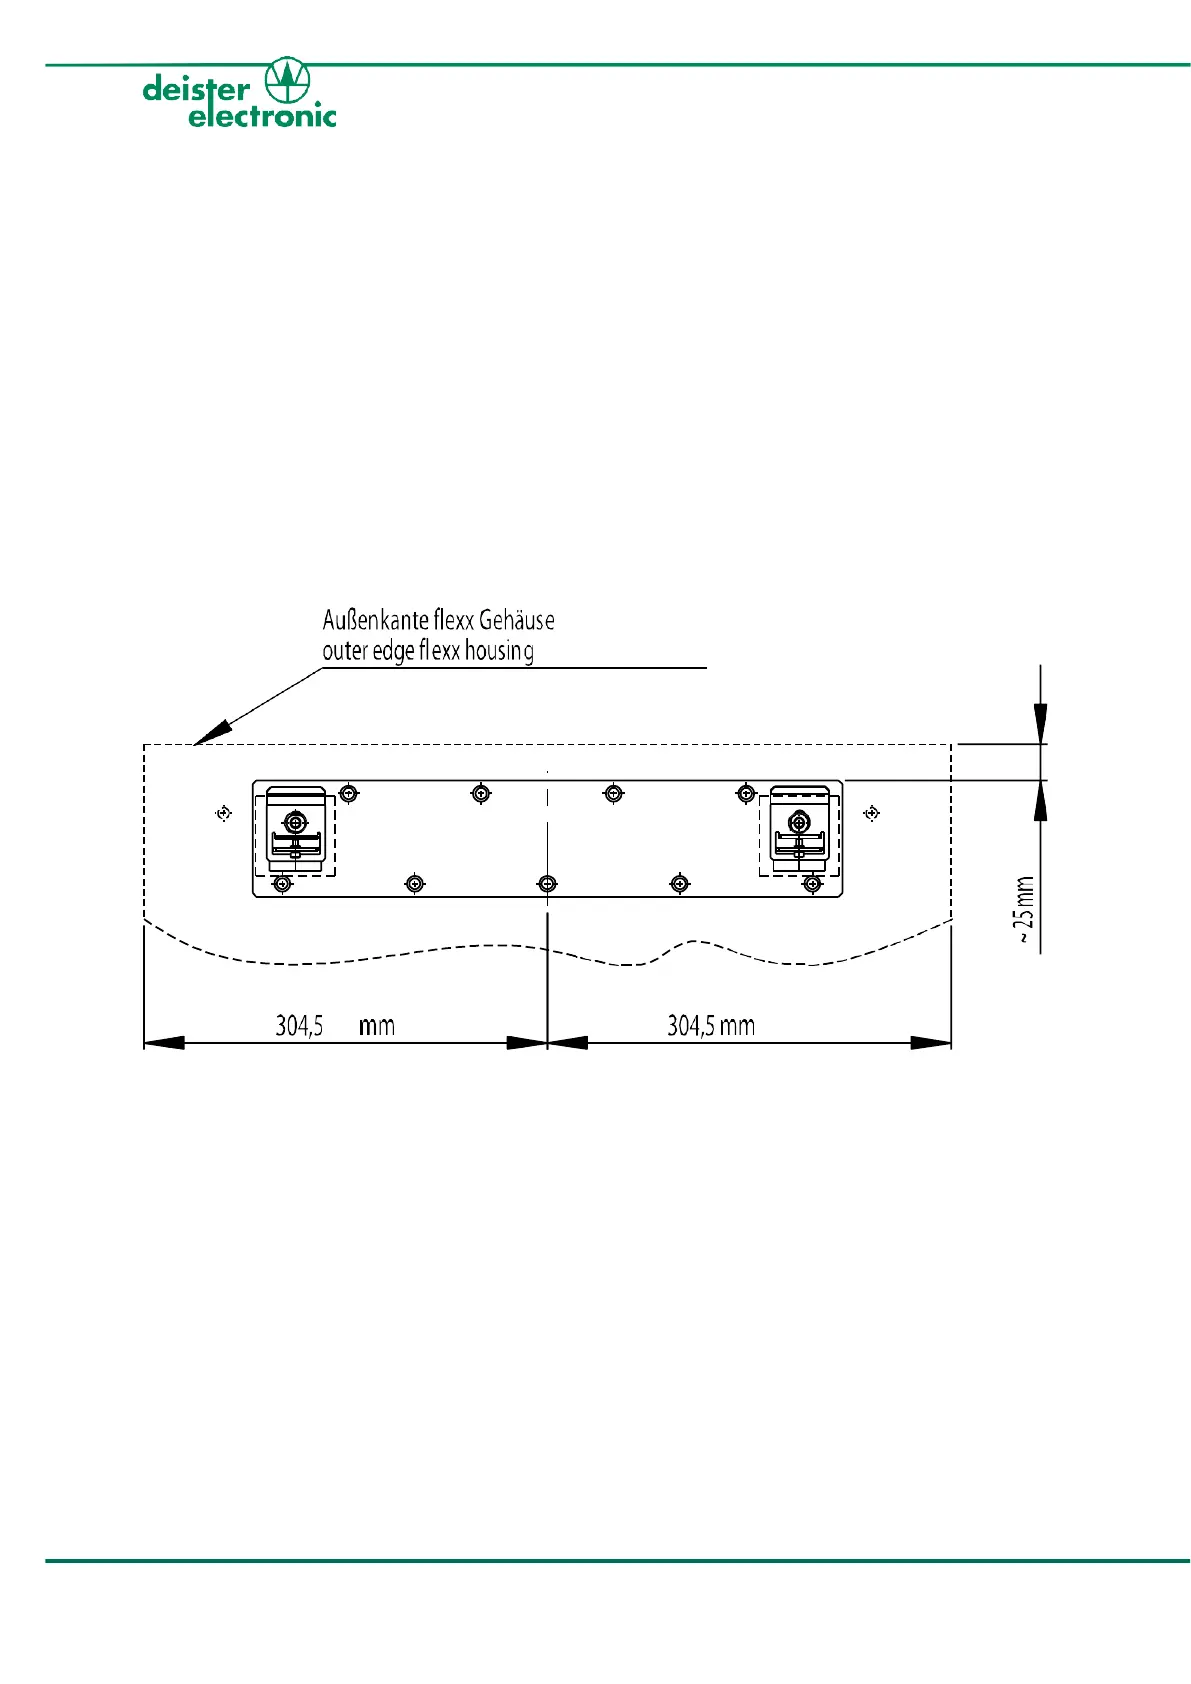
Now you can start mounting the flexx to the wall by using the provided wall mounting rail
(see drawing below) and a spirit level. There are nine (9) holes of 8 mm diameter for fixing
the mounting rail to the wall. After mounting just hook in the flexx. For the final wall
assembly we further recommend to use the four prefabricated boreholes (8 mm diameter)
in each corner of the backplate (see arrows in the pictures).