244 Installing Blade Components
Installing an HT Bridge Card
1
Perform the following steps to prepare the two sockets on the new system
board:
a
Remove the processor filler blank.
b
Lift the plastic processor socket cover from the socket.
c
Unlatch and rotate the socket-release lever 90 degrees upward.
d
Lift the processor shield.
e
Repeat step a through step d to prepare the second processor socket.
2
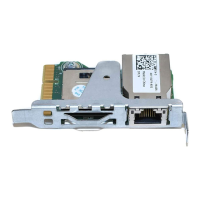
Install the bridge card in the socket. See Figure 3-51.
CAUTION: Positioning the card incorrectly can permanently damage the card and
the system board when you turn the system on. Be careful not to bend the pins on
the LGA socket.
a
Identify the pin-1 corner of the card by locating the tiny gold triangle
on one corner of the card. Place this corner in the same corner of the
ZIF socket identified by a corresponding triangle on the system board.
b
Ensure that the socket-release lever is fully open.
c
With the pin-1 corners of the card and socket aligned, set the
processor lightly in the socket.
Because the system uses a ZIF processor socket, do not use force.
When the card is positioned correctly, it drops down into the socket
with minimal pressure.
d
Close the processor shield.
e
Rotate the socket release lever down until it snaps into place, securing
the card.
3
Close the blade. See "Closing the Blade" on page 159.
4
Install the blade. See "Installing a Blade" on page 148.